Ankle Mobility Drills With Heel Raises and Lowering for Calf Strength
Tight ankles limit calf strength by reducing range of motion and force transfer, but you can fix this with targeted mobility drills and heel raises. Perform ankle circles and banded stretches daily to improve dorsiflexion, then add slow, controlled heel raises-lowering over 3–5 seconds-to build strength and tendon resilience. Keep your feet flat and aligned to avoid strain. Use the full forefoot and progress only when form is solid. You’ll soon discover how smarter technique transforms results.
Notable Insights
- Perform heel raises with a slow 3–5 second eccentric lowering phase to build calf strength and improve ankle dorsiflexion.
- Maintain proper alignment by keeping ankles stable and avoiding inward collapse during heel raises and lowers.
- Use daily ankle mobility drills like ankle circles and banded stretches to enhance joint range before heel raise exercises.
- Engage full forefoot contact and control movement without bouncing to maximize calf activation and tendon resilience.
- Progress loading gradually only after mastering form, starting with bodyweight and adding weight like a 10–15 lb dumbbell.
Why Ankle Mobility Boosts Calf Strength
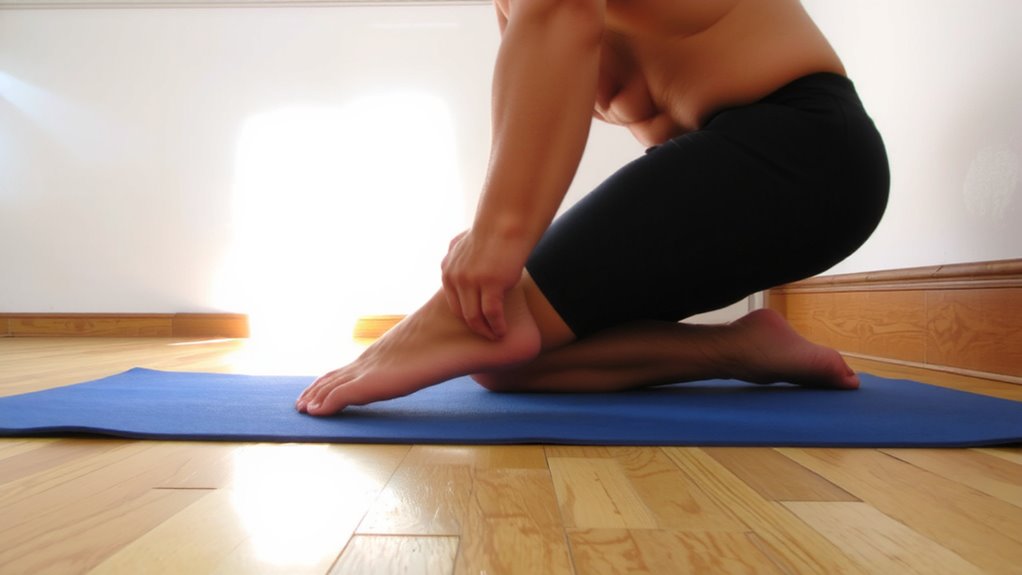
While it might seem counterintuitive at first, improving your ankle mobility directly enhances calf strength by allowing the muscle to work through its full range of motion. When your ankle stability is ideal, you maintain better control during movements, reducing energy leaks and boosting force production. Poor joint alignment limits how effectively your calf engages, especially in loaded or dynamic situations. With improved mobility, the gastrocnemius and soleus can activate more fully during contractions, leading to stronger, more resilient muscles over time. Think of it this way: restricted ankles are like driving with the parking brake on-inefficient and limiting. Quality mobility drills prep the joint for performance, supporting long-term development. That’s why incorporating targeted ankle work isn’t just preventive care-it’s performance upgrade. You’re not just moving better; you’re building strength with smarter biomechanics, minimizing wear and maximizing output in every stride or lift.
How Heel Raises Improve Ankle Flexibility
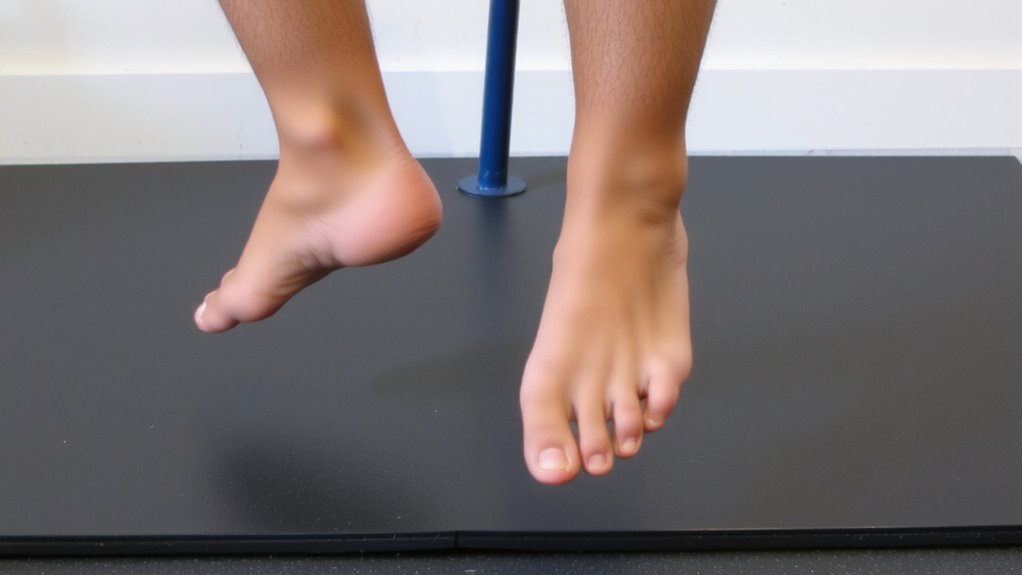
Since you’re aiming to enhance both ankle flexibility and calf function, heel raises aren’t just about lifting your heels-they’re a dynamic way to stretch and strengthen the entire posterior chain. By repeatedly moving through full ankle dorsiflexion on the descent, you actively improve joint range of motion and reduce stiffness. This controlled mobility builds calf elasticity, allowing muscles and tendons to lengthen under tension, which supports both performance and injury resilience. You’ll notice that consistent practice increases soft tissue pliability, especially when paired with proper footwear that supports natural foot mechanics. Unlike static stretches, heel raises integrate strength with flexibility, making them more effective for daily movement demands. Over time, this translates to smoother gait patterns, reduced tightness, and better force absorption during activity. You don’t need advanced gear-just body weight and attention to full range of motion. The result? Improved ankle flexibility that’s functional, sustainable, and directly linked to stronger, more adaptable calves.
Master the Eccentric Lower: Form Tips
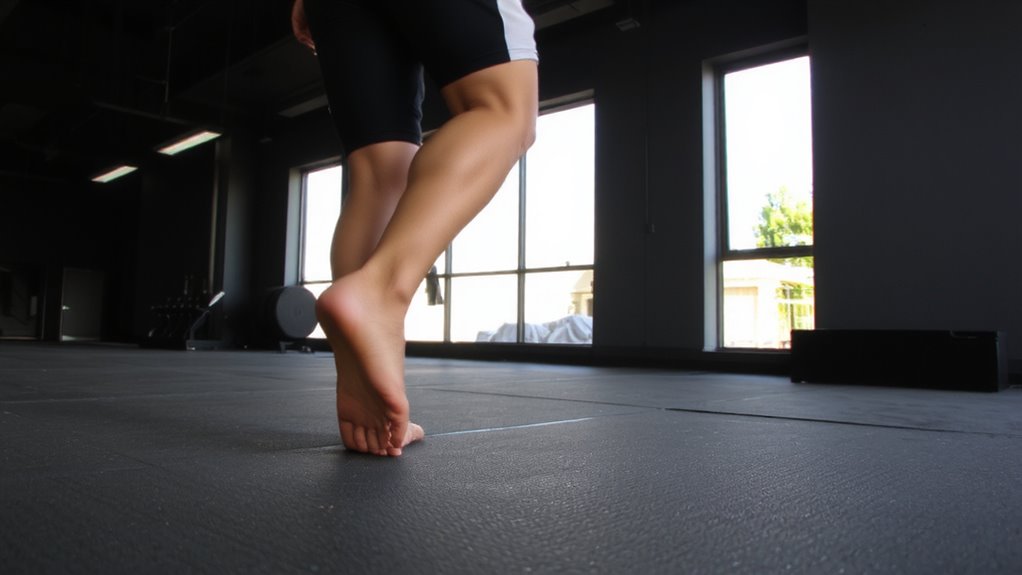
The eccentric lower is where the real magic happens-when you slow down the descent of a heel raise, you’re not just stretching; you’re building strength through lengthened muscle fibers. Focus on eccentric control by lowering your heel over a count of three to five seconds. This controlled lower speed increases time under tension, boosting muscle adaptation and tendon resilience. Keep your stance stable, weight evenly distributed, and avoid letting your ankle cave inward. Drive through the ball of your foot and maintain a straight alignment from heel to hip. Don’t rush-slower isn’t just safer; it’s more effective. Proper form maximizes activation in the gastrocnemius and soleus, enhancing both strength and mobility. Over time, consistent eccentric control improves calf endurance and joint stability, making daily movements easier and reducing injury risk. It’s not just about reps; it’s about how you lower.
3 Daily Ankle Mobility Drills
Why do some people move through squats and lunges with ease while others struggle to stay balanced? The answer often lies in ankle mobility. Tight or stiff ankles restrict range of motion, compromising form and increasing injury risk. That’s where daily ankle mobility drills come in. Performing ankle circles-10 to 15 reps in each direction-helps lubricate the joint and improve dorsiflexion. Pair this with targeted balance training, like single-leg stands or wobble board exercises, to enhance proprioception and stabilize movement patterns. These drills don’t require gear, but using a mobility band or foam pad can intensify the stretch and feedback. Consistent practice yields measurable gains in joint flexibility and functional strength, creating a solid foundation for effective heel raises and lowering. Over time, you’ll notice smoother shifts, less calf strain, and improved control-especially during dynamic movements. Making these drills a daily habit supports long-term calf development and joint health.
Avoid These 5 Heel Raise Mistakes
You’re probably doing heel raises wrong-and that’s costing you gains. Improper alignment is a common error: letting your ankles cave in or roll outward shifts stress from the calves and increases joint strain. Keep your feet parallel and knees stacked over toes. Rushed repetitions are another issue-speed sacrifices muscle engagement. Lower slowly; a 3-second descent maximizes time under tension for deeper fiber recruitment. Avoid bouncing at the bottom, which turns it into a momentum-driven move. Also, don’t rise onto just the ball of your foot-use the whole forefoot for stability. And skip swaying or jerking your torso; that’s cheating the lift. Each rep should be controlled, purposeful. Fixing these mistakes boosts calf activation and joint resilience, enhancing both strength and mobility. You’ll build better endurance and reduce injury risk-key for long-term progress.
When (And How) to Add Weight
Once you’ve cleaned up your form and built a solid foundation with bodyweight heel raises, it’s time to think about loading the movement for greater strength gains. Progressive loading is key-you shouldn’t rush into heavy weight. Start small, maybe with just a 10- or 15-pound dumbbell held close to your chest, and gradually increase as your control and strength improve. You’ve got solid resistance options: dumbbells, kettlebells, weight vests, or even a barbell across your shoulders. Choose gear that allows balanced, stable loading without compromising ankle mobility or form. Well-designed gear supports performance but won’t fix poor mechanics. Monitor fatigue and joint feedback-adding weight too soon can hinder recovery. Done right, progressive loading boosts calf strength efficiently, reinforcing both muscle and tendon resilience without overtaxing the system. A versatile and space-saving option for adjustable resistance is using an adjustable kettlebell.
On a final note
You’ve seen how ankle mobility and heel raises work together to build stronger, more resilient calves. These drills enhance dorsiflexion, improve eccentric control, and boost overall lower leg function. When done consistently and with proper form, they support injury prevention and performance. Adding weight gradually guarantees progressive overload. Pair them with quality recovery gear-like compression sleeves or foam rollers-and you’re not just training harder, but smarter, too.