Turkish Get-Up Steps Broken Down for Total Body Coordination Post-Trunk Injury
You start lying down with a foam pad under your head and a block under your knee to support alignment. Press the kettlebell up, keep your eyes on it, and brace your core throughout. Roll to your elbow, then press to your hand, maintaining shoulder and hip stability. Shift to your front knee and stand, using controlled motion to build coordination. This full sequence rebuilds neural control and trunk endurance safely-and there’s a smarter way to integrate each phase for lasting recovery.
Notable Insights
- The Turkish Get-Up rebuilds core stability and coordination through slow, controlled movements ideal for post-trunk injury recovery.
- Proper support like a foam pad and yoga block helps maintain alignment and reduces strain during each phase.
- Initiating the movement with a braced core and pressed kettlebell establishes shoulder and trunk control from the floor.
- Rolling to the elbow emphasizes neuromuscular engagement, preventing pelvic drop and promoting spinal alignment.
- Standing up with glute and core activation ensures joint stability, alignment, and full-body coordination under controlled load.
Why the Turkish Get-Up Aids Trunk Injury Recovery
Recovery from a trunk injury often hinges on controlled, coordinated movement-and that’s where the Turkish get-up shines. You engage multiple muscle groups in a slow, deliberate sequence that promotes neural adaptation, helping your brain reestablish communication with stabilizing core muscles weakened post-injury. Each phase demands focus, reinforcing joint proprioception so you regain awareness of your body’s position without relying on sight. This isn’t just strength training-it’s re-education of movement patterns. The controlled shifts from lying to standing challenge your trunk’s endurance and alignment, making it ideal for recovery. Unlike isolated exercises, the get-up integrates mobility, stability, and coordination, mimicking functional daily motions. When performed correctly, it builds resilience without excessive load, reducing re-injury risk. While it requires practice, the movement’s scalability and emphasis on form over speed make it a practical, effective tool in functional rehabilitation-especially when guided by an informed professional.
Start With Supportive Props and Proper Positioning
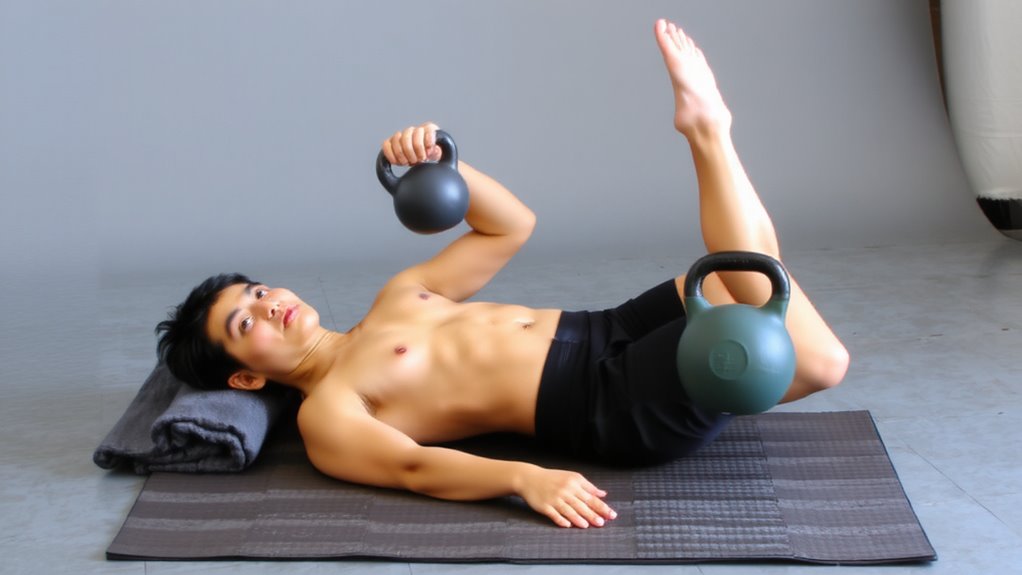
You’ve seen how the Turkish get-up rebuilds movement integrity after trunk injury by blending strength, stability, and neural re-patterning-now it’s time to set up safely. Proper prop selection and body alignment are critical to prevent compensation and support symmetric loading. Begin with a foam pad under your head and a yoga block under the knee to maintain neutral spine and pelvic alignment. Use a light dumbbell or kettlebell-under 8 lbs-to reduce strain while still providing feedback. A mat with moderate thickness cushions joints without compromising ground awareness. For additional support, consider using a high-density foam roller to stabilize the spine during transitional phases.
| Prop | Purpose |
|---|---|
| Foam head pad | Supports cervical alignment |
| Knee block | Encourages pelvic control |
| Light kettlebell | Limits shear forces |
| Stable mat | Enhances proprioception |
These tools guide efficient motor learning and reduce risk during early recovery.
Turkish Get-Up Step 1: Press and Brace From the Floor
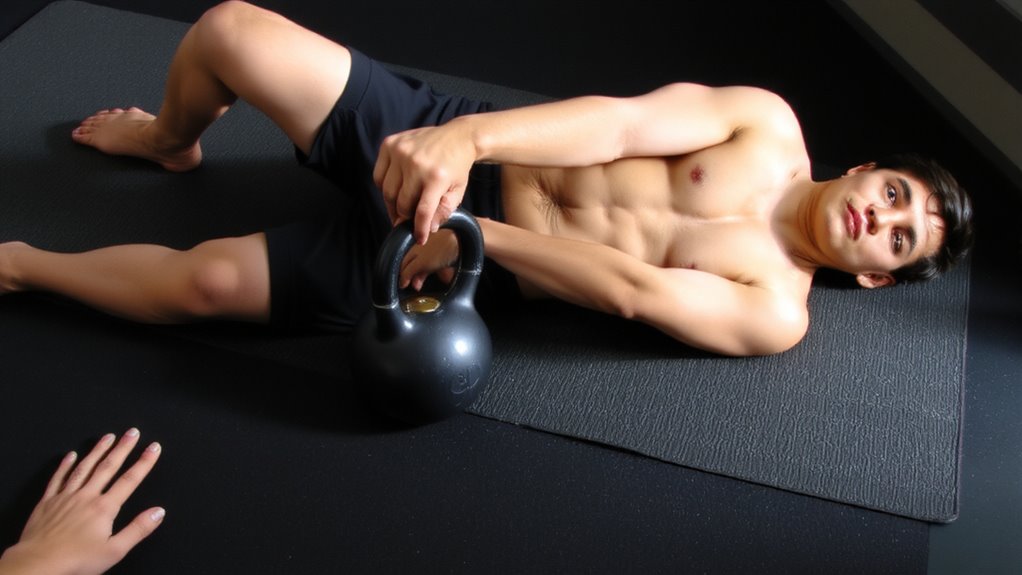
While lying on your back with the support of the foam pad under your head and the yoga block beneath your knee, you’ll initiate the first phase of the Turkish get-up by pressing the kettlebell upward with full control. Keep your arm vertical, aligning the weight with your shoulder joint to guarantee proper shoulder alignment-this minimizes strain and supports joint integrity. Your free hand rests on your abdomen, encouraging trunk awareness without motion. Maintain floor stability by pressing your grounded foot and both shoulder blades firmly into the surface, creating a solid base. This foundational tension helps protect your spine and enhances neuromuscular feedback. The press isn’t just about strength; it’s about precision and control, especially critical during recovery from trunk injury. Using a lightweight kettlebell allows safer execution, letting you focus on form rather than load. This step builds confidence, coordination, and core engagement-all essential for progression.
Turkish Get-Up Step 2: Roll to Elbow With Core Control
Now that you’ve established a stable base and pressed the kettlebell overhead with control, it’s time to initiate movement by rolling up to your elbow. Keep your eyes on the weight to maintain proper shoulder activation and protect your rotator cuff. As you roll, engage your core to create tension from pelvis to ribcage-this isn’t just about arm strength. You need hip stability to prevent your pelvis from sagging or hiking unevenly. Think of your torso as a solid unit moving together, not segmented parts. Press into your base hand slightly to assist, but don’t collapse into your shoulder. This step challenges coordination and core endurance, both critical in post-trunk injury recovery. Using a lighter kettlebell allows safer focus on form. High-quality, grippy flooring enhances safety and performance, helping maintain joint alignment. You’re building neuromuscular control, not momentum.
Turkish Get-Up Step 3: Push Up to Hand, Align Hips
From the elbow, you’re lifting into the next phase by pressing down through your supporting hand to push up to a straight arm, turning your torso into a stable pillar. This shift demands shoulder alignment to protect your joint and transfer force efficiently. As you rise, focus on hip stability-your pelvis must stay neutral, preventing sagging or hiking. Engage your glutes and core to create a solid foundation. This position bridges the floor movement and standing, so control matters more than speed.
| Phase | Key Focus | Benefit |
|---|---|---|
| 1 | Hand placement | Guarantees joint safety |
| 2 | Shoulder alignment | Supports upper body mechanics |
| 3 | Hip stability | Prevents compensatory strain |
| 4 | Core engagement | Enhances postural control |
| 5 | Controlled lift | Builds neuromuscular precision |
Finish Standing: Rise Safely With Full-Body Control
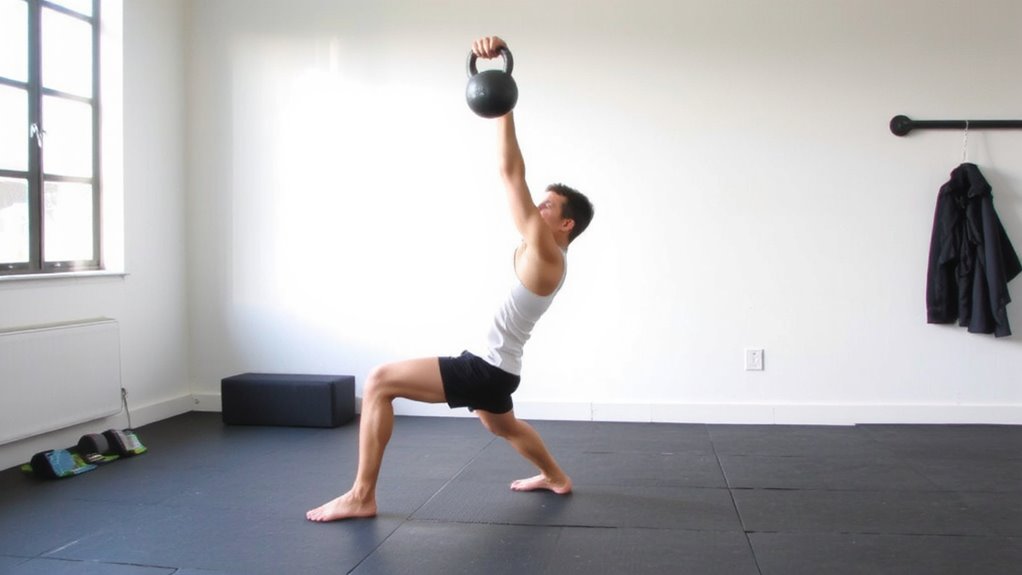
Because this final phase requires precise coordination between strength and balance, you’ll need to maintain full-body tension as you rise to standing. Shift your weight onto your front foot and back knee, then drive through your heel to initiate the balance shift. As you rise, keep your core braced and eyes on the kettlebell to support stability maintenance. Avoid rushing-controlled movement prevents excessive strain on the trunk and promotes neuromuscular re-education. Your planted foot should remain flat, providing a stable base, while your hip and torso align seamlessly. This phase isn’t just about standing; it’s a functional test of coordination, strength, and post-injury confidence. Using supportive fitness gear like a firm mat or stability disc can enhance proprioception but isn’t essential. The get-up trains real-world movement patterns, making proper form more valuable than added resistance. Master this step, and you’ve built a foundation for safe, sustainable recovery progression.
On a final note
You’ve seen how the Turkish get-up rebuilds coordination after trunk injury, step by step. This move demands control, not speed, making it ideal for rehab. With proper props and alignment, you safely regain strength and balance. Fitness recovery isn’t just about gear-it’s smart movement. The get-up teaches your body to work as one unit, improving stability where it matters most.