Swimming Pull Buoy Drills to Eliminate Leg Contribution and Isolate Upper Body
You use a pull buoy to eliminate leg drive and focus entirely on upper-body mechanics, improving stroke technique and reducing drag. Positioned just below the hip crease, it lifts your legs for better alignment and less energy waste. Firm closed-cell foam offers precise resistance, while softer EVA suits sensitive swimmers. Drills like single-arm or fingertip drag builds stroke clarity and strength. Overusing it can weaken kick coordination, so limit sets to 30–40% of your workout. Proper maintenance guarantees lasting performance. There’s more to mastering form than buoy placement alone.
Notable Insights
- Use a pull buoy between the thighs to elevate the legs and eliminate kick contribution during upper-body drills.
- Position the buoy just below the hip crease for optimal alignment and minimal leg drag.
- Perform single-arm freestyle with a buoy to enhance stroke isolation and balance without leg drive.
- Execute fingertip drag drills with a pull buoy to increase arm propulsion focus and water sensitivity.
- Limit buoy use to 30–40% of workout volume to prevent shoulder strain and maintain kick coordination.
Why Use a Pull Buoy for Upper-Body Swimming
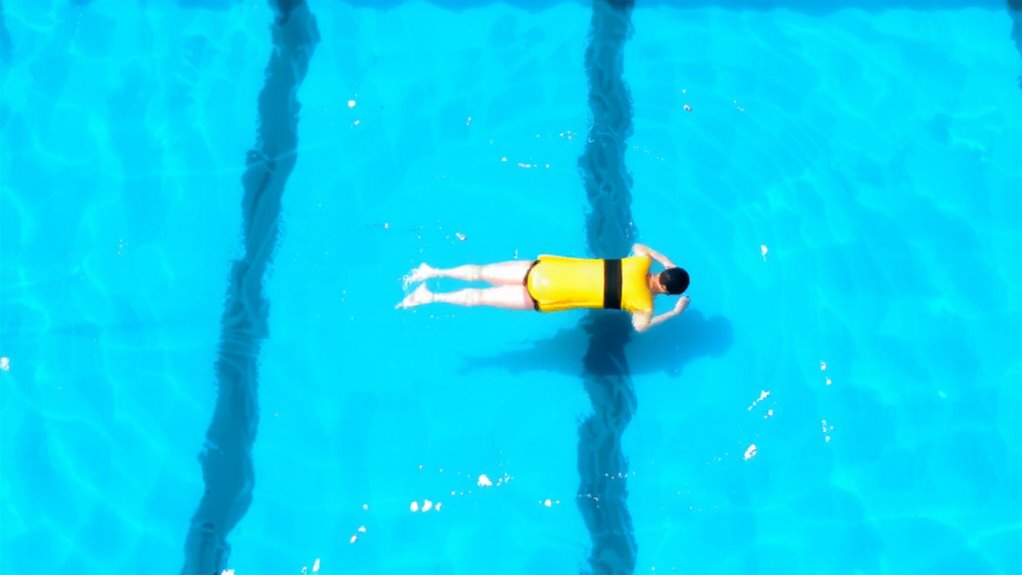
Why rely on a pull buoy during upper-body swimming? Because it lifts your legs, letting you focus purely on stroke technique and upper-body strength. The buoy mechanics are simple: closed-cell foam displaces water, creating lift that keeps your hips high. Without sinking legs, you achieve better alignment and significant drag reduction, slicing through water more efficiently. You’re not wasting energy compensating for poor body position. That means cleaner pulls, stronger back, shoulder, and core engagement-all critical for swimmers aiming to refine form. Pull buoys aren’t just training aids; they’re precision tools that simulate ideal hydrodynamics. Used consistently, they expose weaknesses in your stroke you might otherwise miss. While they don’t replace full-stroke swimming, they offer targeted feedback. Invest in a durable, contoured buoy-it’ll last longer and perform better. For serious technique work, drag reduction and proper buoy mechanics make this gear essential.
How to Position a Pull Buoy Correctly
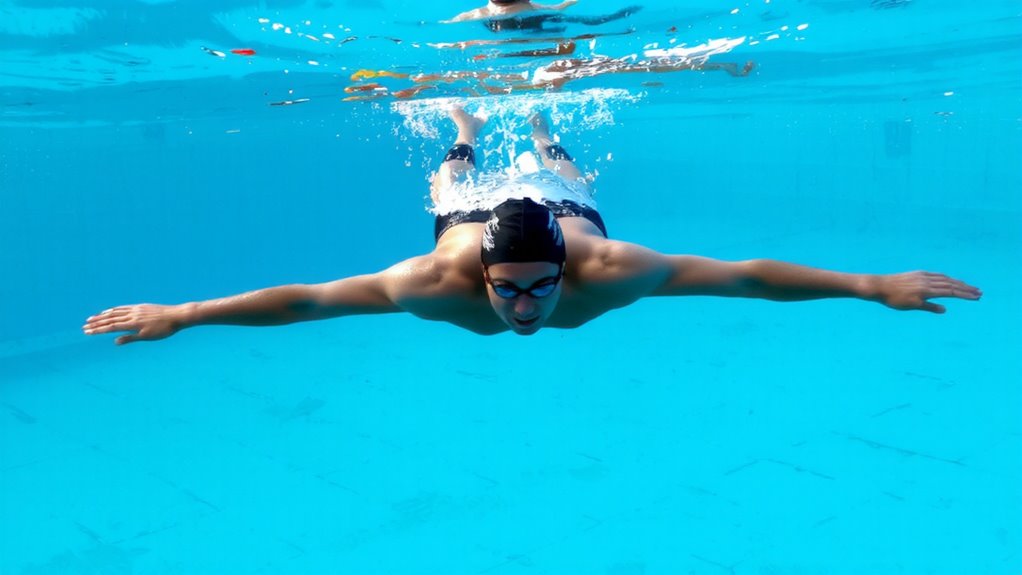
Just below the crease where your legs meet your torso is exactly where you should place the pull buoy for ideal alignment and performance. Proper buoy alignment keeps your hips high and your body in a streamlined position, reducing drag and mimicking full-stroke swimming without kicking. You’ll want a slight leg separation-just enough to snug the buoy comfortably between your thighs-but not so wide that it creates resistance or misaligns your pelvis. Too much leg separation destabilizes your core and undermines stroke efficiency. A well-positioned pull buoy supports neutral spine alignment, allowing you to focus solely on upper-body strength and technique. Most models, especially those made from compressible EVA foam, conform well to your anatomy when placed correctly, enhancing both comfort and hydrodynamics. Positioning isn’t one-size-fits-all, but best placement consistently yields better balance and more effective drills.
How to Avoid Common Pull Buoy Mistakes
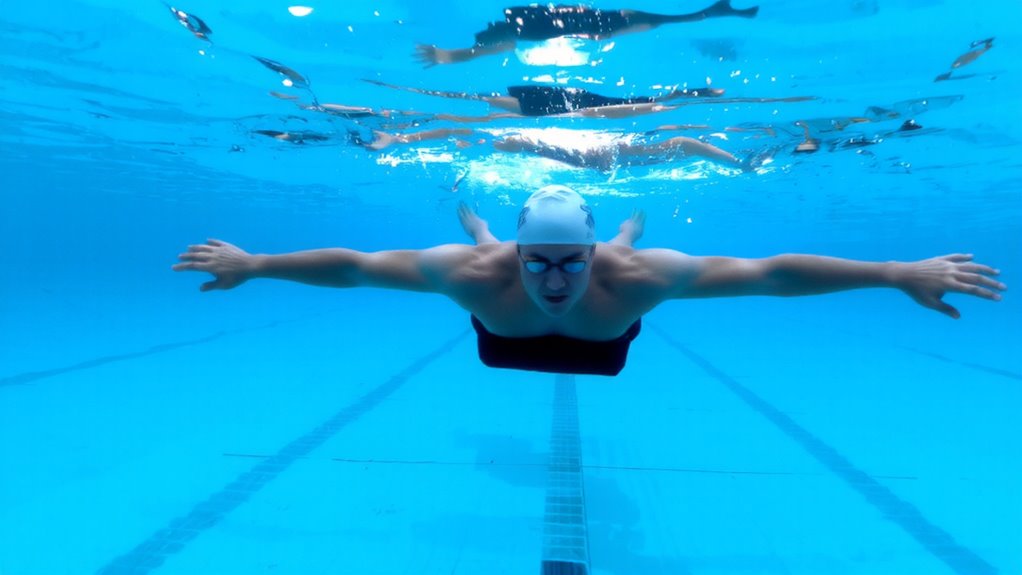
You’ve got the pull buoy positioned right-snug just above your thighs where it lifts your hips and keeps your body aligned-but even with perfect placement, small errors can still undermine your workout. One common mistake is overusing the buoy, leading to overuse injuries in your shoulders due to repetitive strain without proper leg-driven balance. Swimming with excessive resistance for too long shifts load unnaturally, stressing joints and connective tissues. Another pitfall is developing buoy dependency, where your body relies on the device to maintain form, weakening natural kick coordination and core engagement over time. To prevent this, limit pull sets to 30–40% of your workout and occasionally remove the buoy mid-set to recalibrate your stroke. High-density foam buoys last longer but compress over time-replace them when they lose rigidity. Smart usage guarantees better technique without sacrificing long-term functionality or joint health.
Top 5 Pull Buoy Drills for Freestyle Technique
A well-structured pull buoy drill can sharpen your freestyle by isolating arm mechanics and reinforcing balanced, streamlined body position. Using pull buoy buoyancy correctly helps eliminate leg drive, forcing you to rely on upper body resistance for forward motion. Try catch-up freestyle first-it boosts timing and stroke clarity. Then, single-arm freestyle, where one arm rests at your side, sharpens coordination and balance. Fingertip drag drill heightens feel for water and lift, enhancing propulsion awareness. Add sculling with a buoy to refine forearm angles and stability. Finally, high-elbow freestyle pulls amplify shoulder engagement and stroke efficiency. Each drill leverages pull buoy buoyancy to challenge core control while spotlighting flaws in hand entry or catch mechanics. You’ll notice improved stroke rhythm and sustained upper body resistance utilization. These drills, though simple, offer deep technical feedback-making them essential for swimmers refining freestyle precision without relying on kick.
Adding Pull Buoy Workouts to Your Routine
Incorporating pull buoy workouts into your regular swim routine enhances upper body development and technique without overloading your legs. You’ll sharpen timing synchronization by focusing on clean, controlled arm movements, removing the propulsion edge from kicks. This isolation improves stroke rhythm, helping your arms find a smoother, more efficient pattern. Start with two weekly sessions, integrating buoy drills into the main set-try 4 x 100 freestyle with short rest to build endurance and form. Over time, you’ll notice better catch mechanics and shoulder engagement, benefits directly transferable to full-stroke swimming. The buoy’s foam design is durable but requires rinsing post-use to maintain integrity. While the tool doesn’t build leg strength, its role in refining upper body precision is unmatched. Used consistently, it becomes a staple in skill-focused training, promoting clarity in movement and deliberate practice.
How to Choose the Right Pull Buoy for Your Goals
One key decision in optimizing your pull buoy use lies in selecting the right design for your training aims-whether you’re refining stroke technique, building upper body endurance, or rehabbing an injury. The buoy material affects both comfort and performance; closed-cell foam offers firm support and durability, while softer EVA foam eases pressure on sensitive thighs. For precision in stroke work, a firmer buoy provides better feedback. Sizing options matter too-compact buoys suit smaller swimmers or those needing subtle lift, while longer models offer greater leg separation and stability. If you’re training for endurance, a mid-length buoy balances support and maneuverability. Consider your body proportions and stroke mechanics when choosing. A well-matched pull buoy enhances form without straining hips or lower back. Always rinse after use to preserve buoy material integrity and extend its life. The right choice supports consistent, effective upper-body focus.
On a final note
You’ll find a pull buoy sharpens your upper-body strength and stroke mechanics by removing leg drive. When used correctly-positioned between the thighs, not the ankles-it promotes proper alignment and torso engagement. These drills enhance catch efficiency and stroke tempo without sacrificing form. Quality foam buoys last longer and offer consistent buoyancy. Used wisely, they’re a practical tool for technique refinement, though overreliance may hinder full-stroke coordination. Balance drill work with integrated swimming for best results.