Supported Bridge Pose With Pillows to Relieve Glute Tightness From Squatting
After intense squats, your glutes tighten from microtears and lactic acid buildup, making recovery essential. The supported bridge pose with a firm 4–6 inch pillow under your sacrum gently releases tension while promoting spinal alignment and blood flow. Unlike foam rolling, it encourages true relaxation without triggering protective spasms. Use a durable foam or wedge pillow-avoid flatting polyester types-for best results. You’ll soon discover even better ways to optimize this recovery move.
Notable Insights
- Squats stress the glutes, causing tightness from fatigue, microtears, and lactic acid buildup.
- Supported Bridge Pose relaxes tight glutes by eliminating contraction and promoting spinal alignment.
- Use a firm 4–6 inch pillow to support the sacrum without overarched lower back.
- Place the pillow under the sacrum while lying down, keeping hips lifted and spine neutral.
- Perform post-workout or before bed 3–5 times weekly for best glute recovery and mobility.
Why Your Glutes Get So Tight After Squats
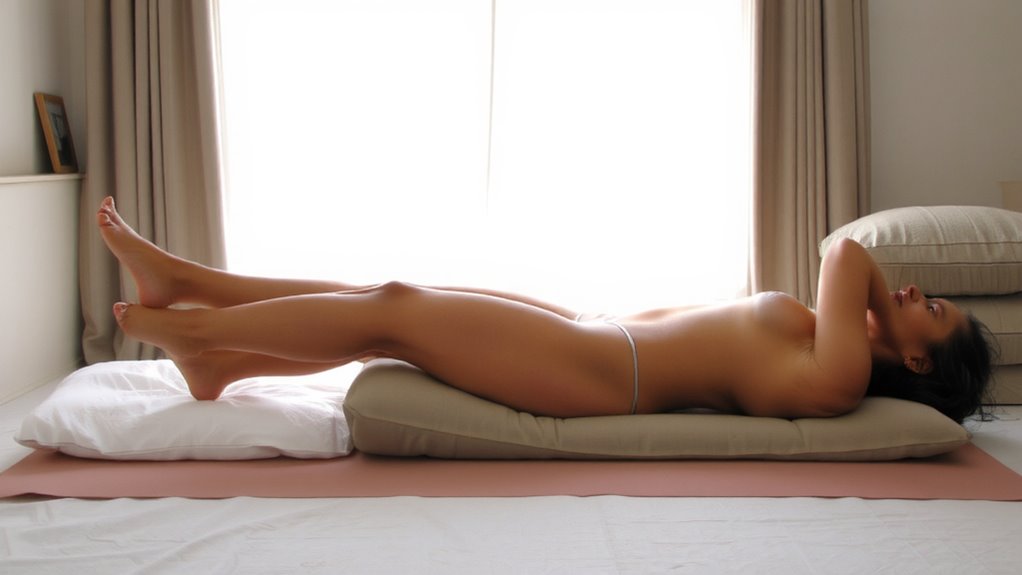
Your glutes often feel tight after squats because the movement places heavy demand on these muscles, especially during the eccentric (lowering) phase and at the bottom range of motion. You’re generating significant force to control descent and drive upward, which leads to muscle fatigue. As you push through multiple reps, your glutes accumulate metabolic byproducts like lactic acid, contributing to that tight, burning sensation. This isn’t damage-it’s a normal response to intense effort. The fatigue you feel reflects microtears and energy depletion, both necessary for strength gains. However, without proper recovery, chronic tightness can develop. Foam rollers and recovery gear may help manage symptoms, but they don’t replace rest or hydration. Effective recovery balances activity with biological repair processes. Relying solely on tools without addressing workload or recovery time limits long-term progress. You need both smart training and physiological awareness to maintain glute health. Using a high-density foam roller can enhance myofascial release and improve circulation post-workout.
How the Supported Bridge Releases Tight Glutes

While many recovery techniques focus on aggressive release or passive stretching, the supported bridge offers a subtle yet effective alternative by combining gentle traction with active relaxation to address tight glutes. You allow your body to open without strain, encouraging natural pelvic alignment as the spine is fully supported. This position reduces compressive forces on the sacroiliac joint, creating space where tightness once dominated. With your hips elevated on support, the glutes aren’t actively contracting, which promotes deep muscle relaxation. Unlike foam rolling, which can trigger protective tension, this pose lets your nervous system settle, enhancing parasympathetic engagement. You’ll notice improved circulation and reduced tone in overactive gluteal muscles after just a few minutes. The supported bridge doesn’t rely on force-it works with your body’s mechanics, making it a smarter, sustainable recovery choice for post-squat tightness.
What Pillows to Use for the Supported Bridge Pose
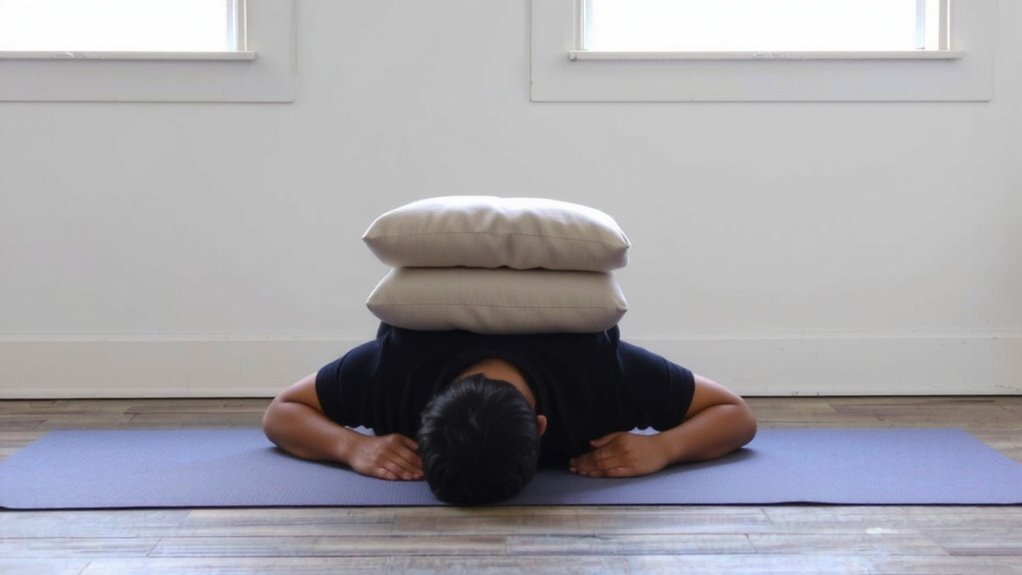
A well-chosen pillow can make or break the effectiveness of the supported bridge pose, so it’s worth picking one that balances firmness and shape retention. Pillow firmness matters-too soft, and it’ll collapse under your weight; too firm, and it’ll create pressure on your lower back. You want something in the middle: dense enough to support your sacrum without sinking, yet cushioned enough to feel comfortable. Pillow height is just as essential. Aim for 4 to 6 inches-tall enough to gently lift your hips and release tight glutes, but not so high that it overextends your spine. Foam pillows or firm wedge cushions often work best, maintaining shape over time. Inexpensive polyester ones tend to flatten quickly, reducing effectiveness. For consistent recovery benefits, invest in supportive, durable options you can rely on session after session. Best pillows for back pain offer the ideal combination of support and comfort for therapeutic poses like this.
How to Do the Supported Bridge Pose Safely
Since proper alignment and support are essential for effective glute release, starting the supported bridge thrust with correct setup makes all the difference in both safety and results. Begin by lying on your back with knees bent and feet flat, then slowly lift your hips to slide a pillow under your sacrum-this pillow placement should support, not overarch, your lower back. Too high a pillow strains the spine, while too low offers little relief. Center the pillow to maintain balanced spine alignment and avoid twisting. Keep your shoulders grounded and arms relaxed at your sides to stabilize your posture. The ideal setup reduces compression while encouraging gentle release in tight glutes, especially after heavy squatting. You’ll feel supported, not stretched too far. This method enhances recovery by aligning the spine naturally and distributing pressure evenly-critical for consistent, injury-free use. For those with cervical concerns, choosing the right pillow can also improve overall spinal alignment, making best pillows for cervical spondylosis a valuable consideration when supporting the body during recovery poses.
Common Mistakes in the Supported Bridge Pose
You’re likely using a pillow or bolster to support your sacrum in the supported bridge pose, but even with the right tools, small missteps can limit effectiveness or invite strain. Improper alignment is a common issue-your shoulders, hips, and knees should stack in a straight line, not tilt sideways or overextend. Letting your hips sag or lift too high reduces glute release and stresses the lower back. Pillow height is just as critical; too high and your spine compresses, too low and you won’t get full sacral support. A standard couch pillow often collapses under body weight, so firmer foam or yoga bolsters perform better. Position the pillow horizontally beneath your sacrum, not your lower back, to target the right area. Adjust gently until your pelvis feels level and supported-this small correction enhances recovery markedly.
When to Use the Supported Bridge for Recovery
When your glutes feel chronically tight or overworked from heavy lifting or prolonged sitting, the supported bridge pose can be a strategic tool in your recovery routine, especially when used at the right time. The timing benefits are clear: using this pose post-workout or before bed helps release tension and restore length to compressed hip tissues. You’ll get the most from it when incorporated consistently, making recovery frequency a key factor-aim for 3 to 5 times weekly, or even daily if needed. Unlike aggressive stretching, this passive pose uses pillow support to gently unload the pelvis, encouraging blood flow without strain. It’s especially effective after squat-heavy sessions or long sedentary periods. The design is simple, but performance improves with proper pillow height and spine alignment. Over time, regular use can reduce soreness and improve mobility, making it a practical, low-risk addition to your recovery gear-even if all you have is a couple of household pillows.
On a final note
You’ve likely felt how intense squatting tightens your glutes, but the supported bridge with pillows offers smart, effective relief. This recovery move gently unloads hip flexors and eases gluteal tension, especially when using firm, elevation-appropriate cushions. Done correctly, it supports spinal alignment and enhances flexibility. Avoid over-arching or slipping by positioning the pillow under your sacrum. It’s a practical, low-equipment method worth adding to your cooldown.