Shoulder Mobility Drills With Wall-Assisted Shoulder Flexion
You’ll use the wall to guide proper shoulder flexion by keeping your back flat, feet three inches out, and arms in a “W” shape with palms forward. This drill reinforces ideal joint alignment, reduces strain from shrugging or arching, and builds neuromuscular control for overhead motion. Physical therapists note improved range of motion with consistent use. Perform it regularly as part of a smart mobility routine-there’s more to discover about refining form and advancing the movement safely.
Notable Insights
- Maintain full back, head, and glute contact with the wall to ensure proper spinal alignment during shoulder mobility drills.
- Position feet three inches from the wall to stabilize the base and prevent compensatory movements.
- Form a “W” with arms at 90-degree bends, keeping elbows, wrists, and knuckles against the wall throughout.
- Slide arms upward slowly, preserving the “W” shape to train controlled shoulder flexion.
- Avoid arching the lower back or flaring ribs by engaging the core and tucking the ribcage.
How to Do the Shoulder Wall Drill (Step-by-Step)
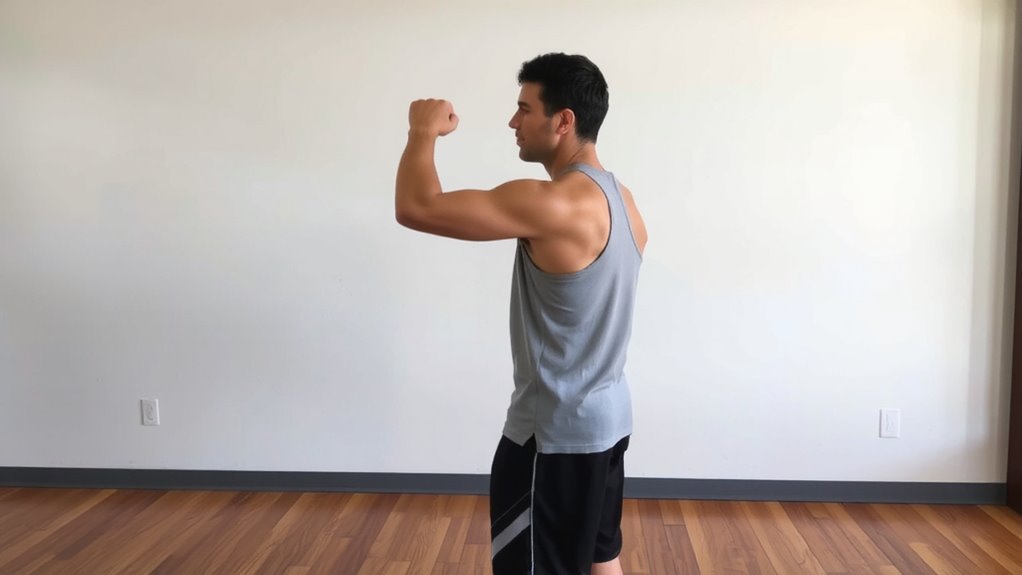
With your back flat against a wall and feet a few inches away from the base, begin the Shoulder Wall Drill by positioning your arms into a “W” shape-elbows bent at 90 degrees and palms facing forward. Maintaining proper wall alignment is key: keep your head, shoulders, and hips flush, avoiding arching your lower back. This guarantees stability and targets the correct musculature. Your arm positioning should stay precise-don’t let your wrists collapse or elbows drop below shoulder height. Slowly slide your arms upward while keeping contact at knuckles, elbows, and wrists. This drill enhances neuromuscular control, essential for injury prevention and shoulder health. Unlike many recovery tools, this exercise requires no fitness gear yet delivers measurable improvements in motor control. It’s especially effective post-workout or during desk breaks, correcting posture accumulated from prolonged sitting. With consistent form, the drill supports sustainable mobility gains-practical, efficient, and biomechanically sound.
How the Wall Improves Shoulder Flexion

Why does pressing your arms against a wall actually make it easier to raise them overhead? Because the wall resistance provides real-time feedback, helping you engage the right muscles without overextending. As you slide your arms upward, the wall guides your movement, reinforcing proper joint alignment from shoulder to wrist. This tactile cueing minimizes compensatory patterns, like arching your back or shrugging your traps, which often undermine mobility work. Wall resistance isn’t just physical-it’s neurological, training your body to recognize safe, efficient motion paths. You’re not forcing flexibility; you’re teaching control. Over time, this improves neuromuscular coordination, making overhead movements feel more natural off the wall, too. Think of it as a scaffold: the wall supports correct mechanics so your joints learn to track properly under load. It’s not a shortcut-it’s a smarter way to rebuild range, one rep at a time.
How to Get Into Position for the Drill

You’ve seen how the wall supports proper mechanics during shoulder flexion, but before you start sliding your arms upward, your starting position makes all the difference. Begin by standing with your back flat against the wall, feet about three inches away-this guarantees correct wall alignment. Your head, upper back, and glutes should all make contact; if they don’t, adjust your stance slightly. Maintain a neutral spine throughout-no excessive arching or rounding. For effective body positioning, place your arms at your sides with palms facing forward, elbows straight but not locked. Keep your wrists and knuckles lightly touching the wall too. This full-point contact creates stability and guarantees accurate movement tracking as you progress. Proper setup doesn’t just prevent compensations-it maximizes mobility gains by enforcing alignment from the start. Taking five seconds to nail your posture now enhances long-term shoulder health and training efficiency.
Avoid These Shoulder Wall Drill Mistakes
While perfecting your form during shoulder wall drills, slipping into common errors can undermine both effectiveness and joint safety. You might push too hard during overhead reaching, forcing your arms beyond a natural range and compromising alignment. This isn’t just ineffective-it can strain ligaments and reduce joint stability over time. Another mistake? Letting your lower back arch as you reach, which shifts focus from the shoulders to the lumbar spine. Keep your ribs tucked and core engaged to maintain proper positioning. Also, avoid flaring your elbows outward; instead, keep them facing forward to target the right musculature. Rushing through reps won’t build control or mobility-go slow and focus on quality. These drills are about precision, not speed. Correct form guarantees lasting gains without setback.
Progressions for Better Shoulder Flexion
How do you move past plateaus in shoulder mobility when basic drills no longer yield gains? You progress strategically, focusing on shoulder blade retraction and scapular stability to access deeper ranges. Enhance wall-assisted flexion by increasing time under tension or adding resistance. These progressions build control and neuromuscular coordination essential for functional strength.
| Progression | Key Benefit |
|---|---|
| Add resistance band overhead | Boosts scapular stability |
| Slow eccentric descent | Improves shoulder blade retraction |
| Single-arm variation | Enhances neuromuscular control |
| Foam roller assist | Increases thoracic extension |
| Hold at end-range | Builds active flexibility |
When to Do the Shoulder Wall Drill
When should you perform the shoulder wall drill for maximum benefit? The ideal timing is either during your warm-up or as part of a mobility-focused cooldown. Doing it before upper-body strength work primes your joints and improves movement efficiency, while performing it post-workout aids in recovery by clearing tension. For ideal frequency, aim for 3 to 5 sessions per week-consistent repetition yields noticeable gains in range of motion. You don’t need special fitness gear; just a flat wall and proper form. Perform 2–3 sets of 10–15 reps per side, focusing on slow, controlled motions. This drill integrates seamlessly into most routines, especially if you sit for long periods or lift regularly. Over time, you’ll observe improved shoulder alignment and reduced stiffness. While not a standalone solution, its effectiveness increases when paired with balanced programming and recovery practices.
Why Shoulder Mobility Matters for Daily Life
You’ve probably noticed how stiff shoulders can throw off your posture or make simple tasks like reaching for a high shelf feel awkward-this is where shoulder mobility plays a quiet but powerful role in daily function. Good mobility supports joint health by maintaining synovial fluid circulation and ensuring smooth glenohumeral movement. Without it, you’re more likely to compensate with your neck or lower back, increasing strain. Prioritizing mobility isn’t just about flexibility-it’s a key factor in injury prevention, especially during overhead activities or lifting. Think about how often you reach, carry, or lift; each action relies on stable, mobile shoulders. Over time, restricted motion can lead to impingement or rotator cuff stress. Regular drills enhance neuromuscular control and keep connective tissues resilient. Whether you’re an active lifter or mostly sedentary, improving shoulder mobility is a practical, evidence-backed way to protect function and support long-term physical independence.
On a final note
You’ve seen how wall-assisted shoulder flexion boosts mobility with minimal gear. This drill works because it aligns posture while targeting tight anterior capsules and lats. When done consistently, it enhances overhead motion critical for lifting, reaching, and posture. Paired with proper recovery tools-like foam rollers or quality resistance bands-it supports long-term joint health. The wall drill isn’t flashy, but its precision and accessibility make it a reliable staple in any functional fitness routine.