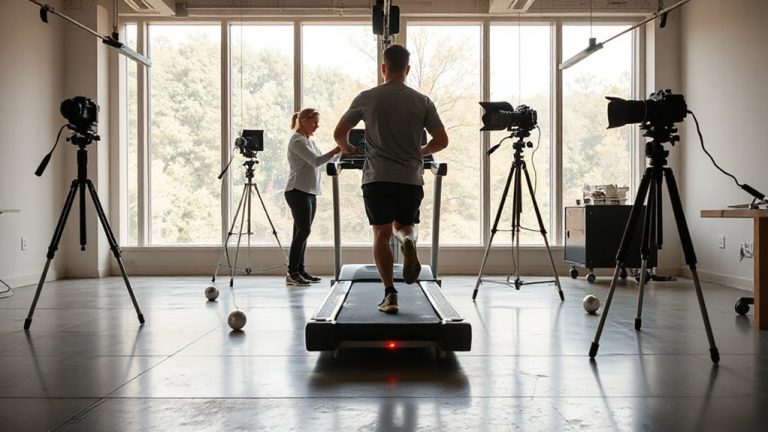
Progressive Throwing Programs for Baseball Pitchers Following Shoulder Surgery
You start a progressive throwing program 12 to 16 weeks post-surgery, once you have full, pain-free range of motion and adequate strength. It typically lasts 16–24 weeks, beginning with short, controlled tosses at 45 feet and gradually increasing distance and intensity. Emphasis is placed on proper mechanics, scapular stability, and rotator cuff strength using low-load, high-repetition exercises. Mound work resumes around months five or six, contingent on stability and professional evaluation. Success hinges on feedback, consistent form, and smart workload management-key signs you’re advancing safely.
Notable Insights
- Progressive throwing programs gradually reintroduce pitching after shoulder surgery to ensure safe return to play.
- Programs typically start with light tosses at 45 feet around 12–16 weeks post-surgery, based on healing milestones.
- Emphasis is placed on proper mechanics, shoulder stability, and controlled increases in intensity and distance.
- Scapular stabilization and rotator cuff exercises support re-injury prevention during the throwing progression.
- Return to competition involves mound work, pitch count limits, and ongoing monitoring of fatigue and mechanics.
What Is a Progressive Throwing Program After Shoulder Surgery?
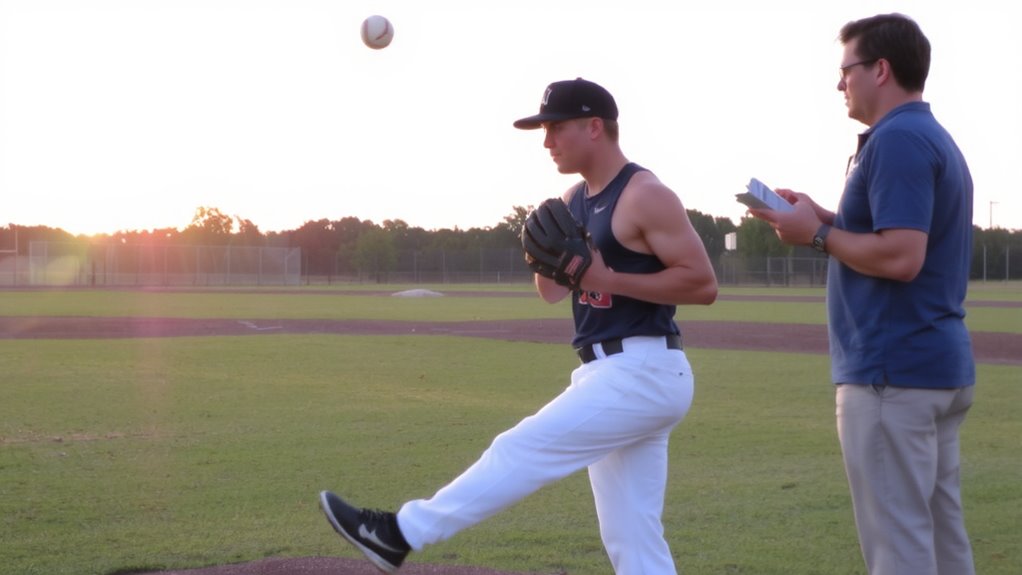
How do you safely return to throwing after shoulder surgery? A progressive throwing program guides your comeback by gradually increasing intensity while prioritizing shoulder stability and proper throwing mechanics. You don’t just start tossing hard-it’s structured, starting with light tosses and controlled movements to rebuild strength and neuromuscular control. Each stage tests your shoulder’s response, ensuring tissues adapt without overload. The program isn’t one-size-fits-all; it’s tailored to your recovery speed and physical feedback. Good throwing mechanics reduce stress on the repaired joint, lowering re-injury risk. Poor form? That can sabotage even the best rehab. Shoulder stability-achieved through rotator cuff and scapular strength-is non-negotiable. Without it, force distribution falters, compromising performance and joint health. Think of the program as both rehab and re-education: your body relearns efficient, safe throwing patterns essential for lasting return to play.
How Long Is the Throwing Program & What Are the Phases?
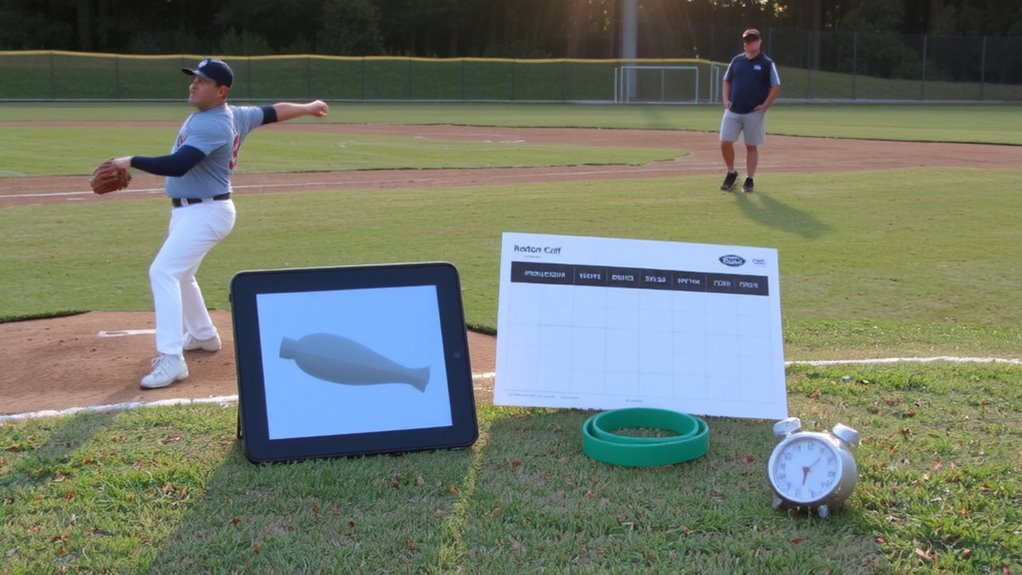
While recovery timelines vary depending on surgery type and individual healing rates, most progressive throwing programs after shoulder surgery last between 16 to 24 weeks, split into clearly defined phases that prioritize tissue adaptation and mechanical efficiency. You’ll start with short tossing-around 45 feet-emphasizing proper mechanics and minimal arm speed to protect healing structures. Gradually, you’ll increase throwing distance, systematically advancing every 1–2 weeks based on tolerance and feedback. As you progress, the program introduces controlled mound work, focusing on restoring timing and rebuilding arm speed safely. Each phase is structured to avoid overloading the joint while promoting neuromuscular re-education. The balance between throwing distance and arm speed is critical; rushing either can compromise recovery. Monitoring fatigue and maintaining crisp mechanics are non-negotiable. Consistency, not intensity, drives success in these programs.
What Shoulder Exercises Prevent Re-Injury Early On?
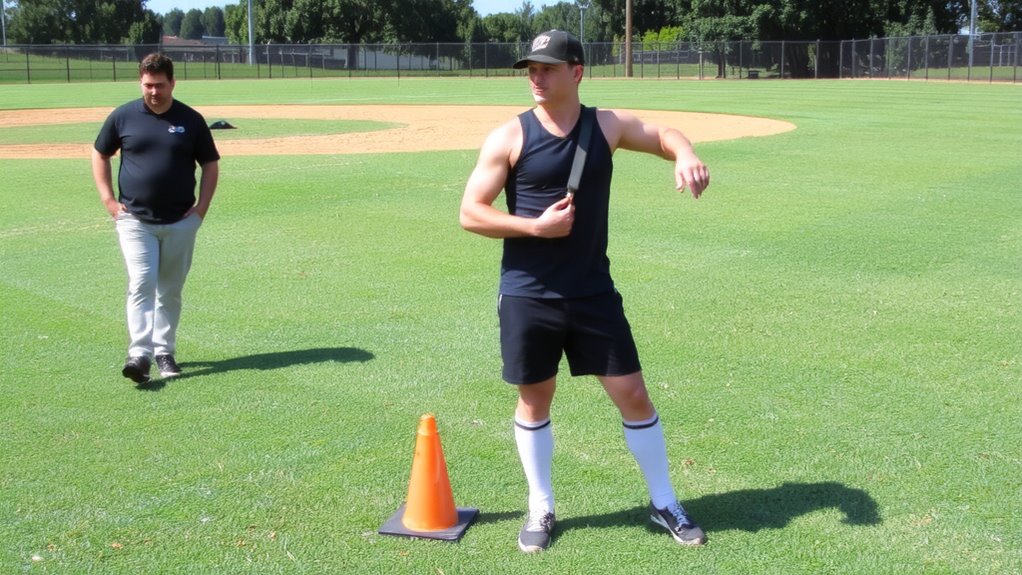
A well-structured shoulder rehabilitation program starts with low-load, high-repetition exercises designed to reactivate stabilizing muscles without stressing healing tissues. You’ll begin with scapular stabilization drills like scapular wall slides and prone T’s, which retrain the muscles around your shoulder blade to move efficiently and support joint health. These are critical-poor scapular control often contributes to recurring shoulder issues. Rotator cuff strengthening follows using light resistance bands or dumbbells, focusing on external and internal rotation. These movements rebuild endurance and dynamic stability. Performing them consistently improves neuromuscular control, which protective gear alone can’t provide. While recovery tools such as compression sleeves may offer comfort, they don’t replace proper strengthening. Your progress depends on disciplined execution of these foundational exercises. Skip them, and you risk compensatory mechanics. Stick with them, and you lay a resilient base for future throwing demands.
When Can You Safely Return to Pitching? Key Milestones
When can you finally step back on the mound without risking another setback? The answer depends on hitting key milestones tied to shoulder stability and throwing mechanics. You’re not ready just because weeks have passed-it’s about progress. Most pitchers begin light throwing at 12 to 16 weeks post-surgery, but only after demonstrating full, pain-free range of motion and strength. Progressing too fast is a common error. You need consistent control during each phase of a structured throwing program, gradually increasing intensity while maintaining proper mechanics. By month five or six, if shoulder stability has been rebuilt and your mechanics mirror pre-injury patterns, you may start mound work. Even then, volume must be carefully monitored. Returning isn’t just physical-it’s a measured, data-backed decision combining clinical tests, performance benchmarks, and professional evaluation.
How to Avoid Re-Injury During Competitive Throwing
How do you keep your arm safe once the pressure’s back on during live competition? Focus on proper mechanics and workload management to avoid re-injury. Even small flaws in your delivery can increase stress on the shoulder, so maintain consistent mechanics through video analysis and coaching feedback. Don’t let adrenaline push you beyond your limits-stick to pre-set pitch counts and rest intervals. Your arm isn’t fully invincible, even after clearing all medical benchmarks. Gradually build intensity over several outings, monitoring for fatigue or discomfort. Overuse remains a leading cause of setbacks, so track your throws weekly and adjust based on how your body responds. Recovery isn’t just rest-it includes mobility work, strength maintenance, and quality sleep. Use supportive gear like compression sleeves if they help, but don’t rely on them to compensate for poor planning. Smart workload management and disciplined execution give you the best shot at long-term success.
On a final note
You’ll need patience and discipline to complete your throwing program after shoulder surgery. These structured phases rebuild strength and mechanics gradually, lowering re-injury risk. Early exercises focus on scapular control and rotator cuff stability, which are essential for long-term joint health. Returning to pitching too soon can compromise recovery, so hitting each milestone matters. With proper technique, consistent rehab, and quality recovery gear-like compression sleeves and resistance bands-you’ll maintain durability on the mound.