Optimizing Isometric Glute Bridges to Activate Posterior Chain in Runners
You’re not maximizing glute activation because foot placement and hold time make or break the move. Set feet hip-width apart, toes slightly out, knees at 90 degrees, and drive through your heels. Hold for 8 seconds at the top to hit peak glute engagement-less than 6 seconds underwhelms. Brace your core like you’re zipping up a tight pair of jeans to prevent back arching. Elevate your feet slightly to increase hip extension and glute focus. Keep your hips in line from shoulders to knees, avoiding the common mistake of over-lifting. This tweak boosts posterior chain involvement more than most runners expect. You’ll see how small adjustments reveal better results.
Notable Insights
- Position feet hip-width apart with toes slightly outward and knees at 90 degrees for optimal glute activation.
- Hold the bridge for 8 seconds at the top to achieve peak glute contraction and posterior chain engagement.
- Drive through the heels and squeeze the glutes fully to ensure proper muscle recruitment and avoid lower back strain.
- Elevate feet on a bench to increase hip extension range and enhance glute and posterior chain activation.
- Brace the core moderately to stabilize the pelvis and prevent compensatory movements during the bridge.
How to Perform the Perfect Isometric Glute Bridge
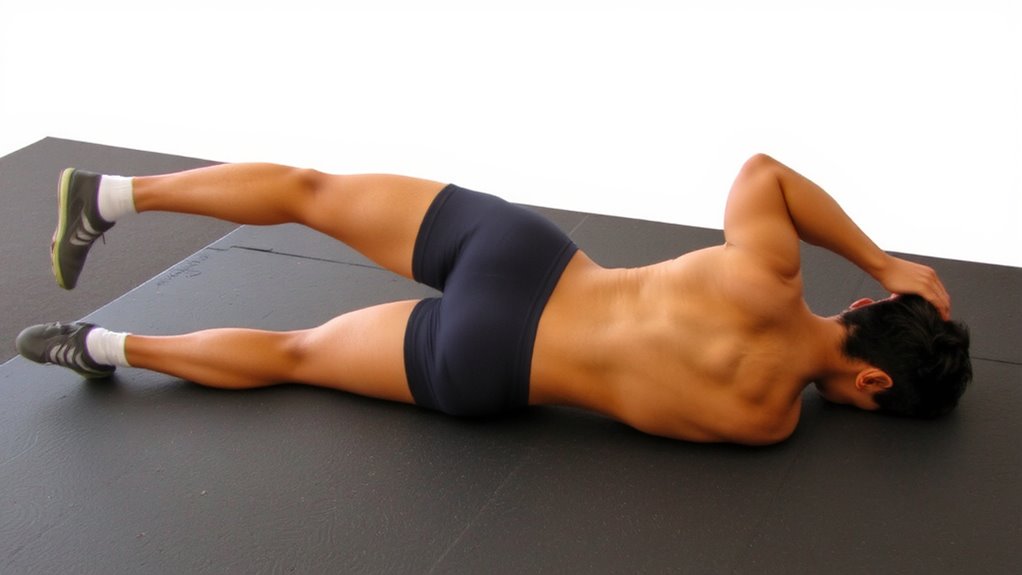
Why do so many runners still struggle to activate their glutes effectively, even after adding bridges to their routine? You’re probably missing key details-foot positioning and tempo control make all the difference. Place your feet just far enough from your body so your knees form a 90-degree angle when bent; too close or too far alters muscle recruitment. Point your toes slightly outward to engage the glutes more fully. As you lift into the bridge, drive through your heels and squeeze your glutes at the top until you feel a solid contraction. Maintain tempo control: a slow 3-second rise, a firm pause, and a controlled descent prevent momentum from taking over. Without deliberate pacing, you’re just going through the motions. Proper form beats reps every time. This isn’t about how many-you’re training neuromuscular efficiency, not endurance. Get it right, and you’ll notice stronger push-off and better pelvic stability on runs.
How Long to Hold for Maximum Glute Activation
While most runners focus on getting into position, you’re likely overlooking how long you should hold the top of the glute bridge to truly maximize activation. Achieving peak contraction requires sustained tension, not just a quick lift. A proper glute squeeze held for the right duration enhances neuromuscular recruitment, directly benefiting posterior chain engagement during runs.
| Hold Time (sec) | Glute Activation | Recommended? |
|---|---|---|
| 2 | Low | No |
| 4 | Moderate | Fair |
| 6 | High | Yes |
| 8 | Peak contraction | Optimal |
| 10+ | Fatigue sets in | Overkill |
A 6–8 second hold strikes the ideal balance-long enough to maximize glute activation without inducing early fatigue. You’ll feel a strong, controlled squeeze, ensuring quality over quantity. This duration aligns with muscle time-under-tension principles shown to improve strength endurance.
Brace Your Core to Boost Glute Engagement
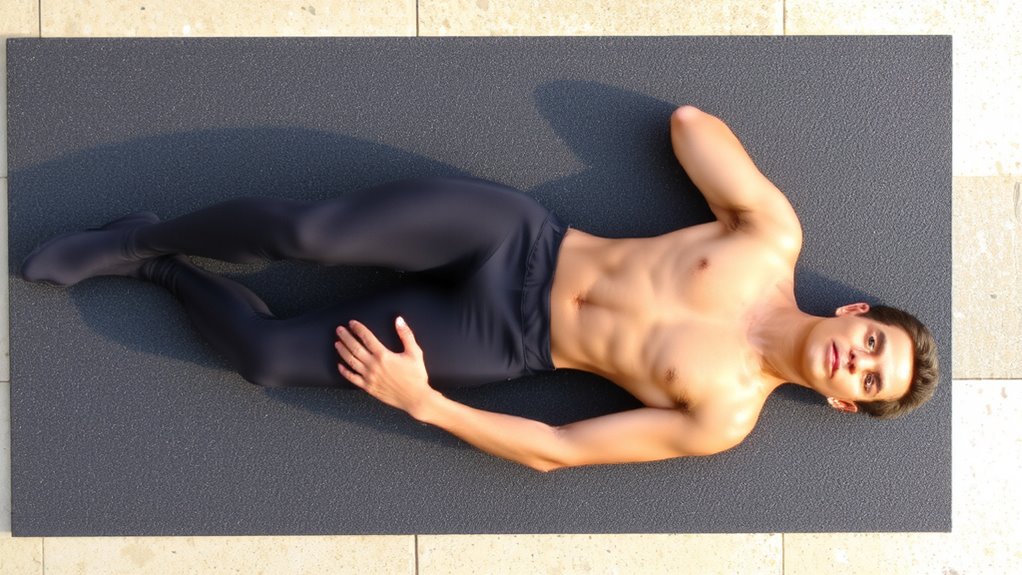
Holding the top position of your glute bridge for 6 to 8 seconds builds strong neuromuscular engagement, but that peak contraction only matters if your body’s aligned to make glutes the prime mover. To guarantee this, you’ve got to brace your core throughout the movement. Engaging your abdominal muscles creates core stability, which prevents excessive arching in your lower back and keeps force production centered where it should be. Without this tension, your hips might shift, compromising pelvic alignment and letting larger muscles like the quads or lower back take over. Proper bracing isn’t about holding your breath-it’s a controlled, moderate contraction, like tightening a belt one notch. Doing so fine-tunes muscle recruitment, making each bridge more effective. For runners, this precision develops resilient posterior chain activation, which translates to better stride efficiency and reduced injury risk.
Adjust Hips to Target Glutes or Hamstrings
If you’re looking to fine-tune muscle emphasis during your glute bridges, shifting your hip position can make a meaningful difference in whether you’re targeting the glutes or hamstrings. By adjusting your hip alignment slightly, you can shift the muscle focus where you need it most. If you elevate your feet-say, on a small bench-you’ll naturally extend the hips more at the top, increasing glute activation due to greater hip extension range. Conversely, keeping your feet flat on the floor with knees bent at 90 degrees emphasizes the hamstrings, especially if you press through your heels and drive the hips higher. Proper hip alignment guarantees force distribution stays balanced, reducing compensatory patterns. For runners, this control allows targeted posterior chain strengthening, enhancing stride efficiency. Small tweaks in setup aren’t just subtle-they’re strategic, letting you customize each isometric hold based on your training goal without adding external load.
Common Isometric Glute Bridge Mistakes That Kill Posterior Chain Gains
You’ve adjusted your hip position to dial in glute or hamstring emphasis, but even with perfect setup, small errors during the isometric hold can undermine your progress. Letting your knees cave inward ruins knee alignment, shifting stress to your joints instead of your posterior chain. You’re also shortchanging gains if your foot positioning is too wide or too narrow-both limit ideal muscle recruitment. Keep your feet hip-width apart, toes slightly out, so force transfers efficiently through glutes and hamstrings. Another killer is lifting your hips too high and arching your lower back, which disengages the target muscles and risks strain. Hold the bridge at the top without compensation, maintaining a straight line from shoulders to knees. Squeeze your glutes hard for 5–10 seconds, breathe steadily, and avoid shrugging your shoulders. Consistency with proper form beats longer holds with poor mechanics every time.
On a final note
You’ve learned how proper form, core bracing, and hip positioning maximize glute and posterior chain activation during isometric glute bridges. Holding for 30–45 seconds optimizes muscle time under tension, while avoiding common mistakes guarantees real gains. Paired with quality recovery gear-like foam rollers or compression sleeves-you’ll support muscle repair and maintain mobility. These small, evidence-backed adjustments elevate your routine from basic to effective, making them essential for runners aiming to boost performance, prevent injury, and stay resilient.