Overhead Press Progression With Wall Slide Prep for Throwing Athletes Post-Shoulder Dislocation
You’ll start with wall slides to rebuild scapular control and neuromuscular coordination after a shoulder dislocation. Keep your head, shoulders, and hips against the wall, engaging your mid-traps and serratus anterior to prevent winging. Once you’ve achieved pain-free range and stability, progress to seated kettlebell or band presses with light load. Use cues like “packed shoulders” and a neutral ribcage to protect the joint. Mastering this progression sets the foundation for safe, powerful overhead function tailored to throwers-especially when movement quality guides your next steps.
Notable Insights
- Begin with wall slides to restore scapular control and neuromuscular coordination post-dislocation.
- Ensure pain-free shoulder mobility and consistent wall contact during wall slide execution.
- Progress to overhead press only after mastering scapulothoracic rhythm and avoiding rib flaring.
- Start overhead loading with seated kettlebell or band presses to limit compensation.
- Advance gradually through half-kneeling, standing, and landmine presses for throwing-specific adaptation.
How to Use Wall Slides After Shoulder Dislocation
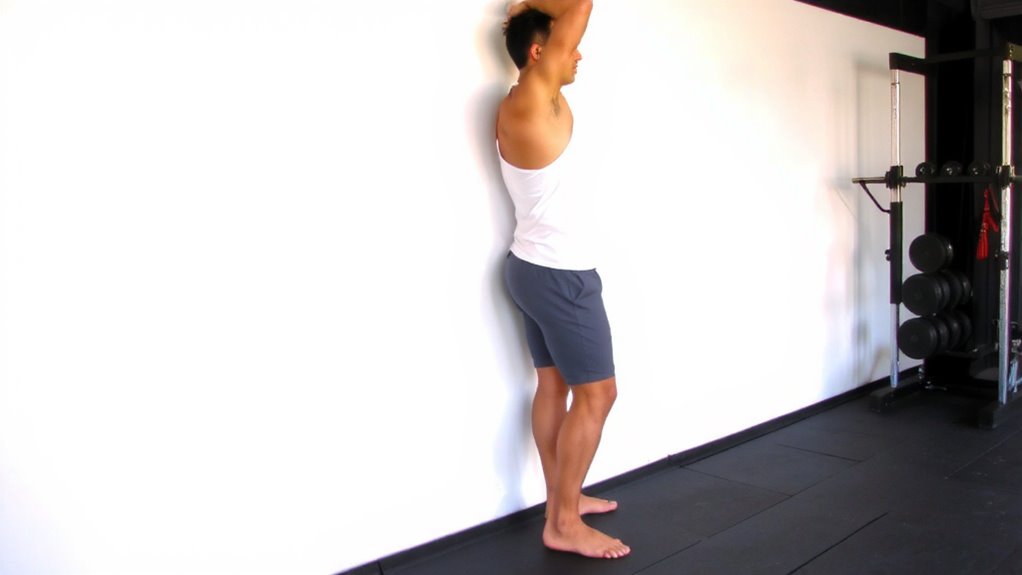
Why risk re-injury when recovery hinges on control and precision? You need wall mobility and joint stability to rebuild shoulder function safely after dislocation. Wall slides are low-impact and effective, letting you relearn proper movement patterns without overloading healing tissues. Stand with your back flat-feet a few inches from the wall-head, shoulders, and hips touching throughout. Slide arms up slowly in a “goal post” position, then overhead if pain-free. Keep contact at all points to maintain alignment. This movement retrains neuromuscular control and enhances scapulothoracic rhythm. Unlike resistance bands or weights, it demands no extra gear, reducing complication risks. Done consistently, it supports long-term joint stability. Though progress seems slow, wall slides lay essential groundwork. They’re not flashy, but their clinical value is well-documented. Use them early and often for best outcomes in your overhead return.
Master Scapular Control in the Wall Slide
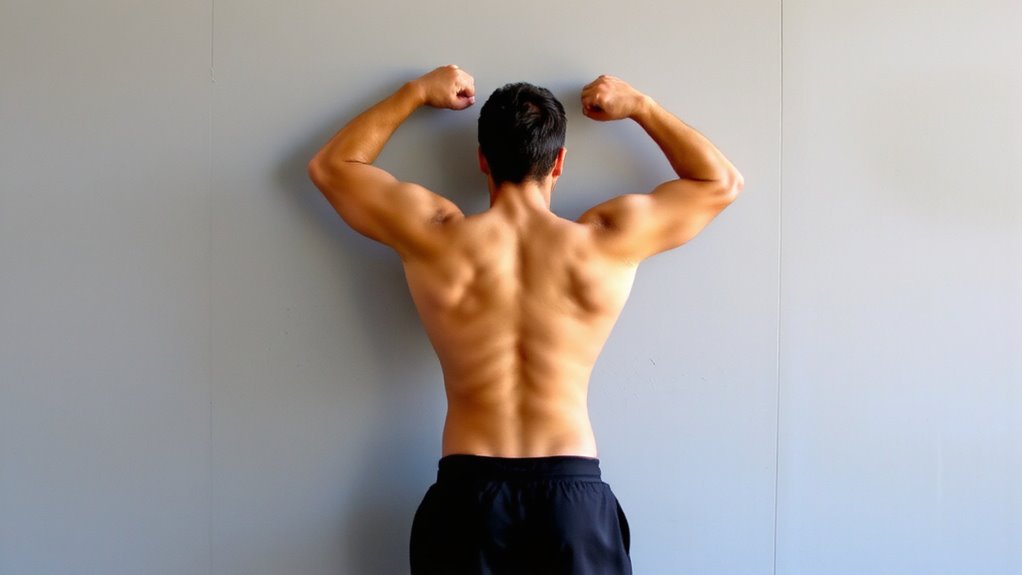
While rebuilding shoulder strength after dislocation, mastering scapular control during the wall slide isn’t just helpful-it’s essential. You need precise scapular setting to stabilize the joint and prevent re-injury. Start with your back against the wall, head, shoulders, and hips in firm contact-this wall alignment guarantees proper biomechanics. Slide your arms up without letting your lower ribs flare or shoulder blades wing. Focus on engaging the mid-traps and serratus anterior to maintain control. Each repetition should reinforce correct motor patterns, not just range of motion. Use a mirror or coach feedback to monitor form, since subtle shifts compromise effectiveness. Over time, consistent scapular control improves joint congruency and neuromuscular coordination. It’s not just about mobility; it’s about training your shoulder to function safely under load. This foundation directly supports future overhead demands-don’t rush it. Quality over quantity always wins in recovery.
Progress Safely to Overhead Press Post-Dislocation
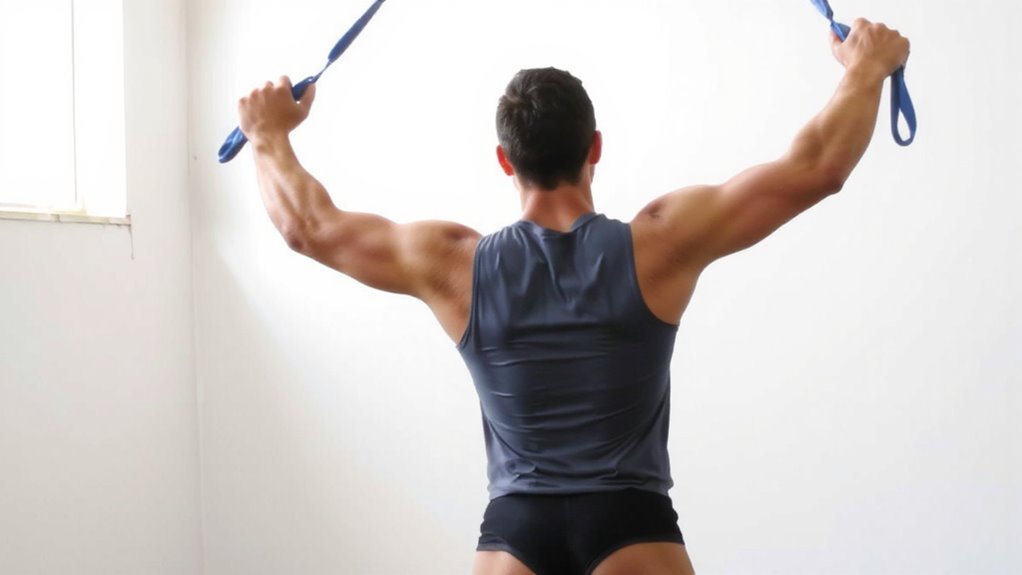
Once you’ve established solid scapular control and pain-free range of motion, progressing to the overhead press after a shoulder dislocation should be approached with careful structure and intent. Start with light loads or bodyweight variations, like half-kneeling band presses, to promote proper muscle activation without overloading joint stability. Gradually increasing resistance guarantees neuromuscular coordination keeps pace with strength gains. Emphasize slow, controlled movement to reinforce scapulohumeral rhythm and reduce anterior shear forces. You’ll want to monitor for any signs of compensatory motion or pain, adjusting volume accordingly. Consistent feedback from a trained professional helps optimize technique and progression timing. Using tools like resistance bands or landmine setups can enhance joint stability training by providing directional support during early strengthening. These implements aren’t just convenient-they’re effective for building confidence and control. Progression isn’t just about load; it’s about smart, sustainable movement re-education.
Use These Cues to Avoid Shoulder Impingement
You’ve built a foundation of stability and control, and now it’s time to fine-tune your overhead pressing mechanics to protect your shoulder from impingement. Focus on proper alignment-keep your ribcage down, shoulders actively engaged, and spine neutral throughout. Avoid flaring your ribs or overarching your low back, as this shifts stress into the joint. Think about “packing” your shoulder blades slightly down and back, creating space in the subacromial region. Use a controlled motion: press upward smoothly without jerking or using momentum. visualize drawing a slow line through the ceiling-this keeps tension in the right muscles. Don’t rush the top or collapse on the way down. These cues minimize compressive forces and support joint health. Consistent attention to form builds durable mechanics, especially critical for throwers retraining movement post-injury.
Program Overhead Press Progression for Throwers
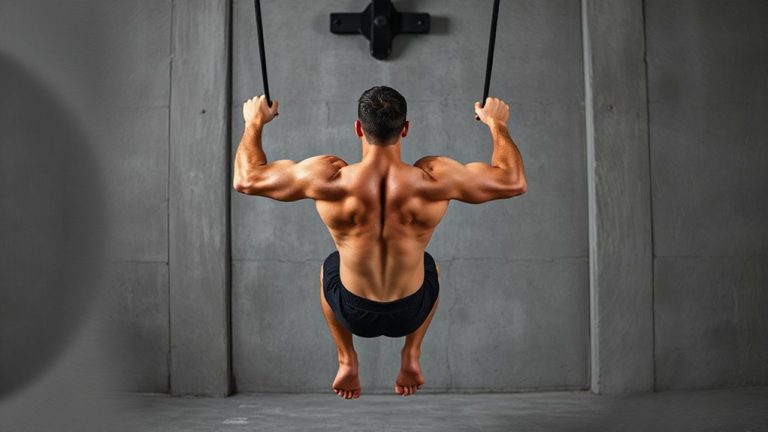
Right after you’ve reestablished control and mastered the cues to prevent impingement, it’s time to carefully layer in load and complexity through a structured overhead press progression-because throwing athletes need strength that translates to power without compromising joint safety. Start with seated kettlebell presses to reinforce shoulder stability under controlled conditions, then progress to half-kneeling and standing variations to challenge balance and rotator cuff engagement. Dumbbells are ideal early on, letting each arm work independently and exposing imbalances. As you advance, incorporate landmine presses for diagonal loading patterns that mimic throwing mechanics. Always monitor for excessive joint stress or compensation. This phased approach guarantees the rotator cuff adapts progressively, building resilient strength. Overhead pressing isn’t just about muscle-it’s about training precise neuromuscular coordination that supports durable shoulder stability throughout the throwing motion.
On a final note
You’ve now built foundational scapular control with wall slides, a key step in safe shoulder recovery. Progressing to overhead pressing post-dislocation demands patience and precision-proper cues prevent impingement. For throwers, this structured progression supports dynamic stability without compromising joint integrity. Fitness recovery isn’t just about exercises; it’s about smart, sequenced movement using minimal gear effectively. Consistency and technique trump intensity every time.