Mapping Out a 6-Week Sprint Phasing Model for Track Athletes Post-Femoral Neck Bone Stress
You’re rebuilding bone resilience after femoral neck stress, so start with walk-jog intervals (Week 1–2) to reacclimate tissues with minimal load. Progress to acceleration drills (Week 3–4), focusing on mechanics and neuromuscular control. By Weeks 5–6, introduce full sprints using fly-in builds, keeping volume low and quality high. Advance only with clinical clearance and pain-free movement. Strength, mobility, and recovery gear support adaptation-smart phasing prevents setbacks and primes you for what comes next.
Notable Insights
- Begin with walk-jog intervals to reintroduce loading while minimizing compressive forces on the femoral neck.
- Progress to acceleration drills emphasizing proper mechanics and neuromuscular control over short 10–20m distances.
- Introduce full sprints in weeks 5–6 using fly-in zones to safely reach maximal velocity with limited volume.
- Advance only after confirmed bone healing via imaging and absence of pain during loading.
- Integrate hip and ankle strength work alongside sprint progressions to support joint stability and tissue resilience.
Femoral Neck Stress: A 6-Week Sprint Progression Plan
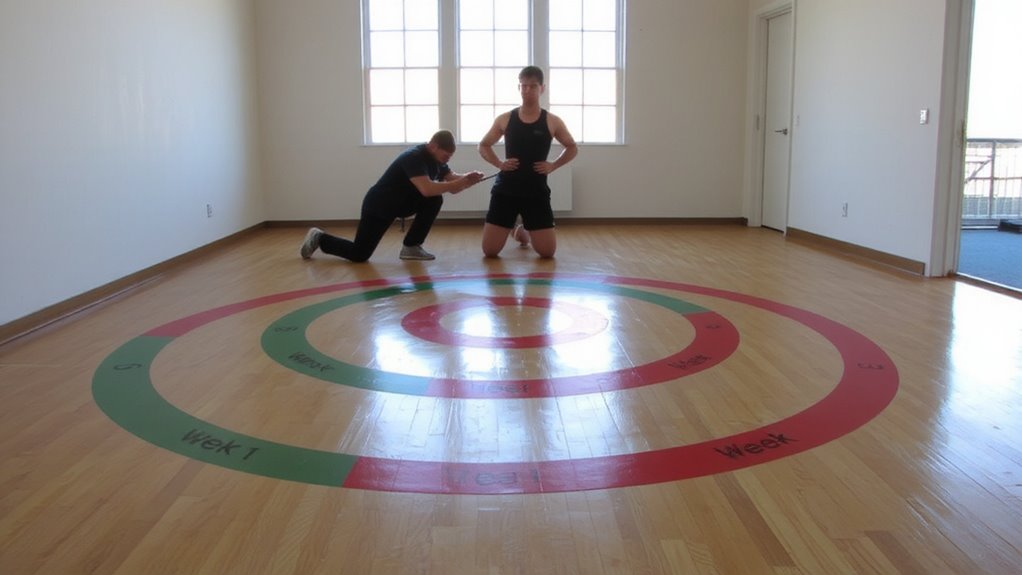
One common yet often overlooked concern during intensive sprint training is femoral neck stress, especially when volume and intensity ramp up quickly without proper load management. You’re at higher risk if your stride mechanics lack consistency, since poor alignment increases load on the hip joint. Improper ground reaction forces-especially from overstriding or excessive vertical oscillation-can amplify stress over time. A 6-week sprint progression plan allows controlled adaptation, letting bone tissue respond positively to loading. You’ll start below threshold, then gradually increase volume and intensity based on tolerance. This phased approach supports better movement efficiency and reduces injury risk. Quality recovery, supported by effective fitness gear like compression wear and recovery boots, helps maintain tissue resilience. For optimal results, consider using best compression boots to enhance circulation and accelerate recovery between training phases. But don’t rely solely on gear-monitor your biomechanics closely. Proper progression isn’t just about readiness; it’s about respecting physiological limits while optimizing performance safely and sustainably.
Start With Walk-Jog Intervals (Week 1–2)
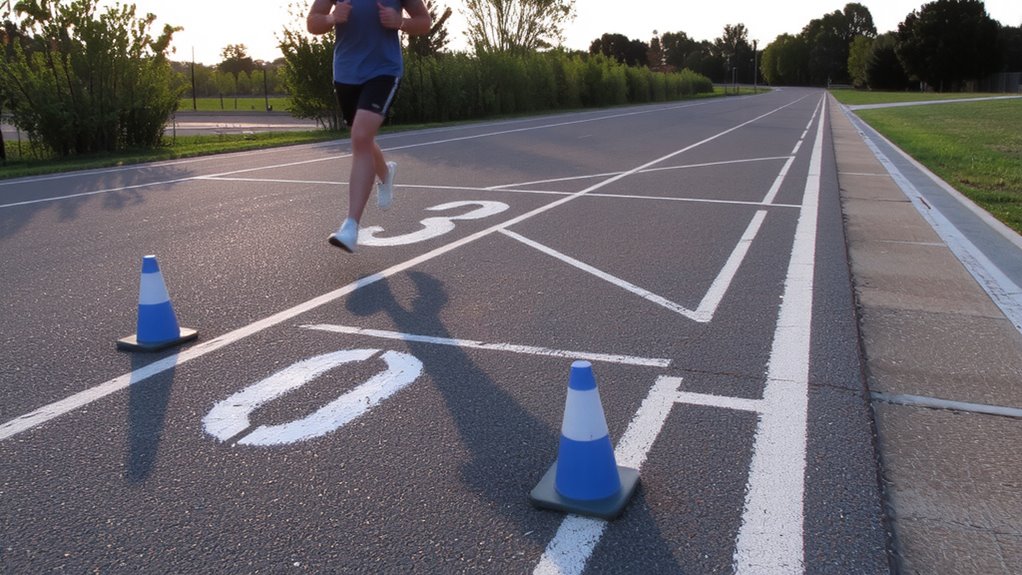
You’re coming off a period where managing load on your hip joint was a top priority, especially with femoral neck stress lurking when volume jumps too soon. That’s why walk-jog intervals in weeks 1–2 are essential-they offer a controlled reintroduction to running with built-in impact reduction. You’ll alternate 2 minutes of walking with 1 minute of easy jogging, gradually increasing jog frequency over 10–15 minutes. This approach minimizes compressive forces while reacquainting your body with rhythmic loading. It’s not just about easing in; it’s strategic. These sessions allow you to reassess basic stride mechanics without fatigue distorting form. Subtle cues-foot strike, pelvic control, arm drive-start returning naturally under low stress. Think of this phase as recalibration, not conditioning. Proper footwear with responsive cushioning supports impact reduction, but don’t rely on gear alone-technique governs recovery. You’re rebuilding smart, not fast.
Begin Acceleration Drills (Week 3–4)
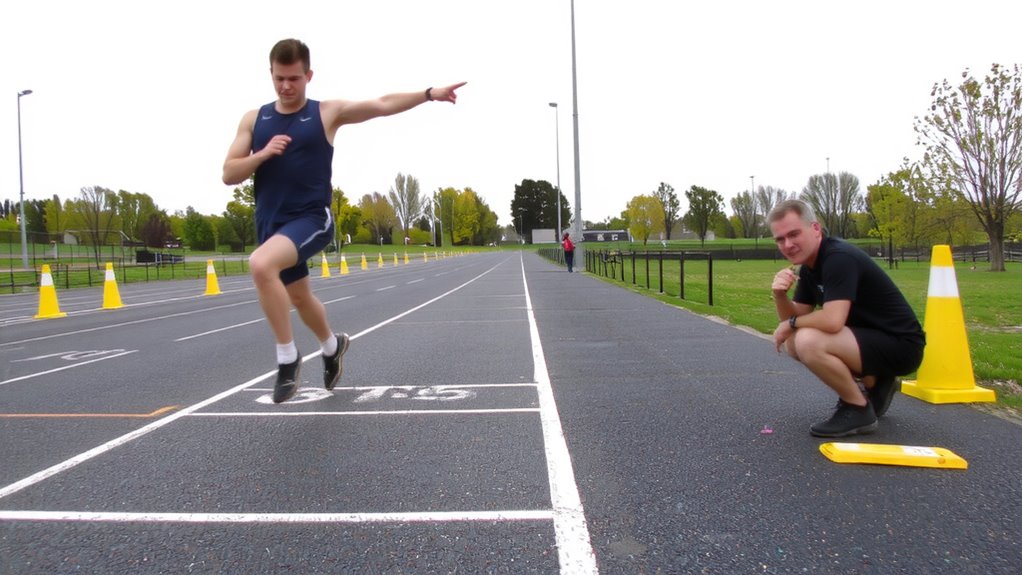
Now that your body’s had time to adapt to rhythmic loading, it’s time to shift toward more dynamic movement with acceleration drills in weeks 3–4. You’ll start building velocity over 10–20 meters, focusing on proper sprint mechanics-lean, drive phase alignment, and pawing action-to reinforce neuromuscular efficiency. These drills retrain your body to produce force safely while minimizing shear stress on the femoral neck. Plyometric integration begins here, using low-amplitude bounds and A-skips to enhance elastic recoil and coordination. Keep volume low and intensity moderate, aiming for 2–3 sessions weekly with full recovery between reps. Quality matters more than quantity. Use a soft track surface to reduce impact, and wear supportive, responsive spikes to optimize foot-to-ground feedback. Monitor any discomfort closely-progress only if pain-free. This phase builds foundational power without overloading healing bone, balancing stimulus and safety as you advance.
Progress to Full Sprints (Week 5–6)
By week 5, your neuromuscular system should be primed for higher-intensity efforts after two weeks of refining acceleration mechanics and elastic loading. Now’s the time to progress to full sprints, carefully introducing maximal velocity work. You’ll start with fly-ins-30–40m build-ups into 20m maximal zones-to safely stress top-end speed without excessive fatigue. These efforts should feel controlled, not frantic; your body’s still rebuilding resilience. Plyometric integration continues here, syncing with sprint volume to reinforce tendon stiffness and ground-reaction efficiency. Think low-amplitude bounds and quick-contact hops-complements to sprint mechanics, not replacements. Monitor stride symmetry and ground contact times; asymmetries could signal lingering compensation patterns. You’re not just returning to speed-you’re retraining your system to handle it safely. Keep session volumes low (4–6 sprints max) and prioritize quality over quantity. Recovery remains critical-this phase demands precision, not recklessness.
When to Advance Phases After Bone Stress
While healing timelines can provide a general roadmap, returning to full training isn’t just about waiting long enough-it’s about verifying that your body’s actually ready. You need clear signs of complete bone healing, confirmed through imaging and clinical evaluation, before advancing phases. Don’t rely on how you feel alone; objective markers like reduced bone marrow edema on MRI are key. Gradual progression with controlled sprint loading lets you monitor tolerance without risking setbacks. Each phase shift should align with both time and performance metrics-like maintaining sprint form without compensation. This careful approach supports long-term injury prevention and guarantees resilience. Pushing too soon might save days now but could cost weeks later. Your return-to-run protocol isn’t just about recovery-it’s about building smarter, sustainable adaptations that protect your athletic future.
Adjust the Plan If Pain Returns
Pain during a return-to-sprint program isn’t just feedback-it’s a signal your body needs immediate attention. If pain returns, stop sprinting and reassess. You’re not failing; you’re practicing smart pain management. Drop back to the last pain-free phase and reduce volume or intensity. Pushing through delays healing and risks reinjury. Use this pause to refine your recovery monitoring: track daily soreness, sleep quality, and gait mechanics. Tools like pain diaries or wearable sensors can detect subtle changes before symptoms worsen. Remember, femoral neck stress needs time and precision, not force. Adjusting your plan isn’t a setback-it’s a strategic recalibration. Consistent monitoring lets you respond early, maintain progress, and align training with tissue tolerance. Your ability to adapt defines recovery success, not how fast you push forward. Stay observant, stay flexible.
Support Sprinting With Strength and Mobility
Strength and mobility aren’t just add-ons to your sprinting comeback-they’re the foundation. You need both to handle the forces involved without risking re-injury. Hip stability guards against excessive femoral loading, ensuring proper mechanics during drive and flight phases. Weakness here can misalign your pelvis, increasing stress on healing bone. Target it with resisted band walks, single-leg bridges, and controlled lunges. Ankle mobility, meanwhile, lets you achieve full dorsiflexion and push-off power without compensation. Without it, your stride shortens and your Achilles or knee may pay the price. Incorporate calf rock-backs, joint glides, and dynamic stretches daily. Pair these with resistance training using body weight or light loads-progress slowly. Your tissues adapt best when challenged systematically, not overwhelmed. Done right, this combo supports faster, safer sprint progression. Recovery can be further enhanced with the use of best recovery sleeves to support circulation and muscle recovery between training sessions.
On a final note
You’ve followed a structured 6-week sprint progression after femoral neck bone stress, starting with walk-jog intervals, then acceleration drills, and finally full sprints. Advancing only when pain-free guarantees safe recovery. Strength and mobility work support tissue resilience. Listen closely to your body-if pain returns, scale back immediately. This phased approach balances load management with gradual reconditioning, optimizing return-to-sprint success while minimizing re-injury risk.