Functional Single-Leg Squat Progression for Basketball Players Returning From Ankle Sprains
You start with the wall-supported single-leg squat, keeping your back flat and heel down to maintain alignment and protect your healing ankle. Once you can control the descent, hold the bottom position, and rise without wobbling, you progress to free-standing squats with proper knee and hip alignment. Then, challenge your stability on foam pads or wobble boards while adding controlled reaches. Sport-specific hops and lateral movements test neuromuscular control under dynamic loads, mimicking real-game demands. Only when your strength, balance, and form match your uninjured side are you truly ready-what comes next fine-tunes your return to full performance.
Notable Insights
- Start with wall-supported single-leg squats to ensure proper alignment and reduce joint strain during early rehab.
- Progress to free-standing squats only after demonstrating controlled descent, stable hold, and proper knee tracking.
- Introduce instability using foam pads or wobble boards to enhance dynamic ankle stabilization safely.
- Incorporate sport-specific movements like controlled hops and lateral reaches to mimic basketball demands.
- Return to play only when single-leg strength, balance, and landing control are symmetrical and pain-free.
Master the Wall-Supported Single-Leg Squat
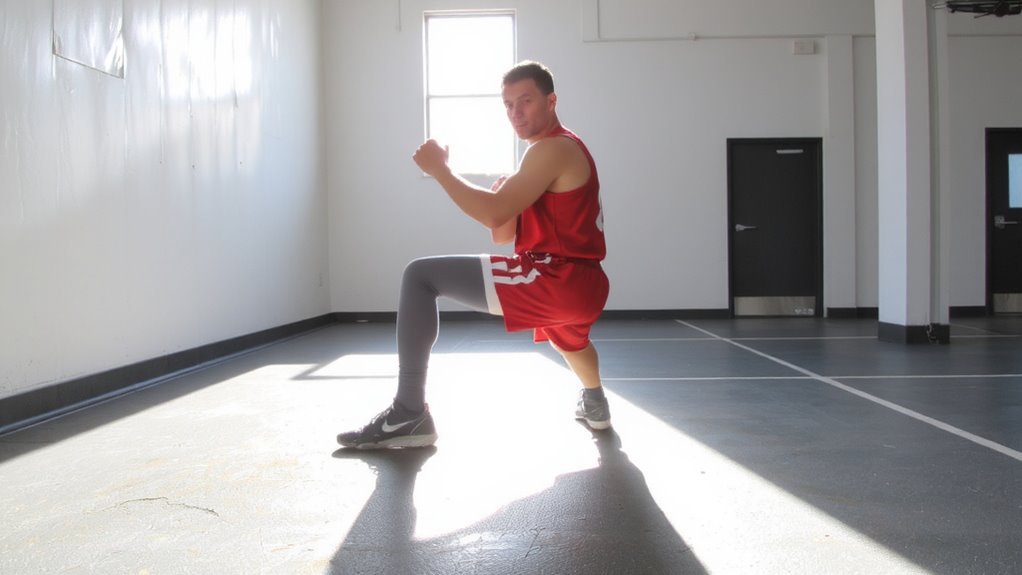
While standing close to a wall with your back flat against it, lower yourself into a single-leg squat using just one leg for support, and you’ll immediately feel how much stability and strength this move demands. Proper wall alignment keeps your spine neutral and reduces compensatory motions, which is essential during fitness recovery after an ankle sprain. Heel placement matters just as much-keep your heel down and aligned with your toes to maintain balance and engage the correct muscle groups. This variation minimizes joint strain while still building functional strength. It’s an effective, low-risk movement that allows you to focus on form without external loads. For basketball players re-entering training, mastering this version guarantees safer progression. Supportive footwear with firm heel counters can enhance heel placement control, but barefoot practice may improve proprioception. The wall-supported squat isn’t flashy gear, but its role in retraining movement patterns is invaluable.
Progress to the Free-Standing Squat
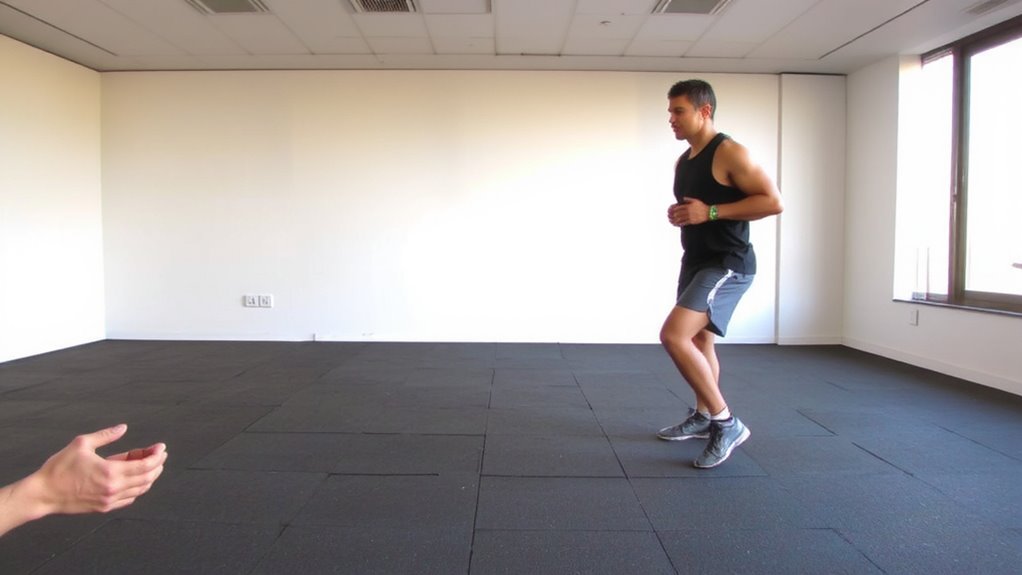
How do you know when you’re ready to leave the wall behind? When your balance control improves and you can maintain proper joint alignment without external support. You’re progressing well if you can slowly lower into a single-leg squat on the injured side, hold the bottom position for three seconds, and rise without wobbling or letting your knee cave inward. This shift to a free-standing squat means your ankle and surrounding musculature are regaining stability. Good joint alignment-neutral foot, knee tracking over the toes, hips level-should remain consistent throughout. Focus on quality, not depth. If you struggle with balance control, revisit wall-supported reps. This stage bridges guided movement to functional independence, prepping you for dynamic loads ahead. Free-standing squats demand more neuromuscular coordination, so perform them on a non-slip surface. Track progress weekly and guarantee both legs move with equal control.
Add Motion and Instability Safely
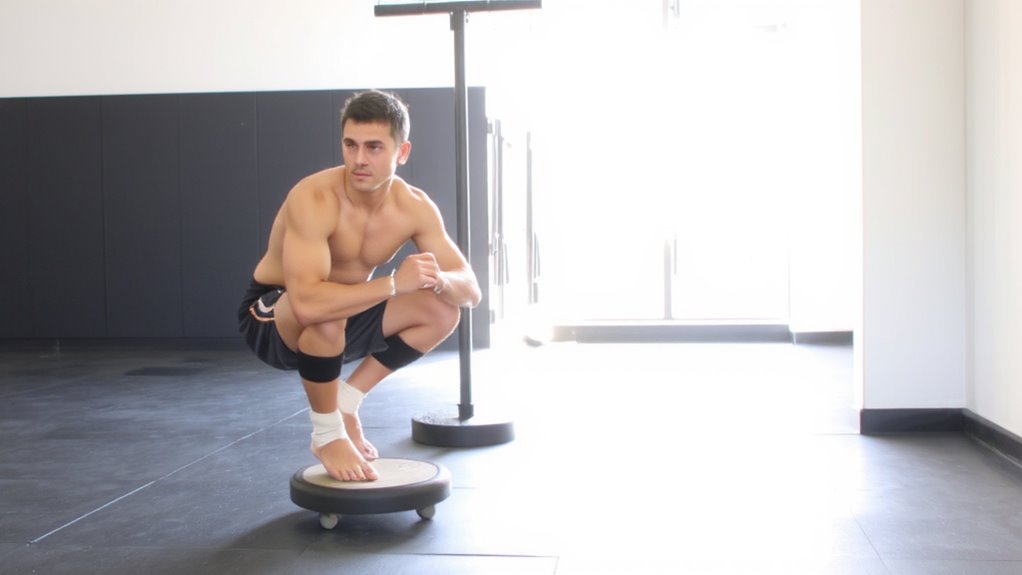
Why keep things static when real movement demands control in motion? Now that you’ve mastered the free-standing single-leg squat, it’s time to challenge your body the way the game does. Adding motion and instability safely trains balance control and prepares your ankle for sudden shifts on the court. Start by performing mini-squats on a foam pad or wobble board-you’ll notice how even slight surface changes increase demand on stabilizing muscles. Progress to slow, controlled reaches in front or to the side while maintaining your squat position. This builds dynamic stabilization without overloading healing tissues. Keep your movements smooth and pain-free, focusing on alignment. Don’t rush-your body needs time to adapt safely. These adjustments mimic real gameplay mechanics, making rehab not just functional but effective. With consistent practice, your ankle’s resilience improves alongside neuromuscular coordination, setting you up for a smarter, stronger return.
Test Strength With Sport-Specific Variations
You’ve built control through movement and instability, but now it’s time to see how well your strength holds up under sport-specific demands. Add dynamic variations to your single-leg squat-like controlled landings from a small hop or incorporating a lateral reach-to challenge real-game conditions. These progressions test both ankle stability and neuromuscular control, ensuring your body can react quickly and efficiently during cuts, jumps, and sudden direction changes. You’ll notice if your form breaks down under fatigue or momentum, which is key for safe reintegration. Using a force plate or slow-motion video can give objective feedback on symmetry and control. Don’t rush this phase-your brain needs to relearn how to fire muscles fast and in the right sequence. Success here means you’re not just strong, but responsive and coordinated under load.
Meet Readiness Criteria for Return to Play
What does it really take to know you’re ready to return to play after a lower-body injury? It’s not just about pain-free movement-it’s function. You need full ankle mobility to absorb impact during cuts and jumps, ensuring your mechanics stay efficient. Without it, you’ll compensate elsewhere, raising reinjury risk. Just as essential is neuromuscular control: your brain must quickly coordinate muscle firing in your ankle and leg during dynamic tasks. Can you hold a single-leg squat without wobbling? Do you maintain alignment when landing from a hop? These aren’t just tests-they’re necessities. Sport-specific drills should mirror game demands, progressively increasing load and speed. Only when strength, balance, and movement quality match your uninjured side should you return. Rushing back without meeting these criteria jeopardizes performance and long-term joint health. Patience now protects your future on the court.
On a final note
You’ve built foundational strength and stability through progressive single-leg squat stages, which are critical after an ankle sprain. This methodical approach guarantees safe return-to-play readiness by emphasizing control, balance, and neuromuscular re-education. Functional progressions mimic basketball demands, letting you test performance confidently. Proper footwear and supportive braces may enhance protection during shift, but reliance should decrease as intrinsic stability improves.