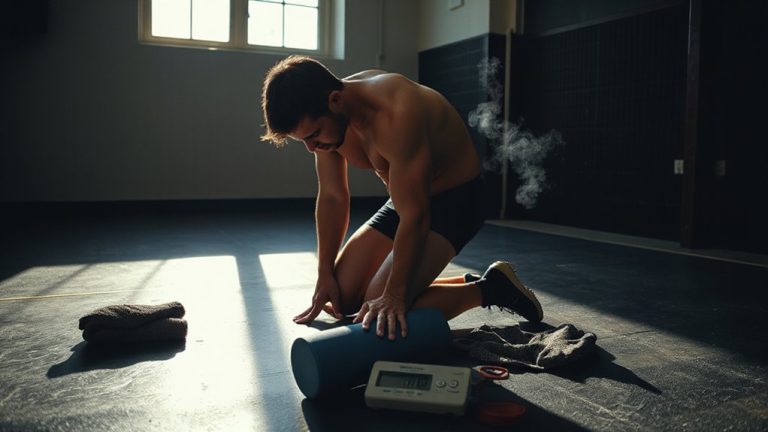
Building a Graduated Plyometric Ladder for Volleyball Athletes Recovering From Patellar Tendinopathy
You start with double-leg hops to safely reload your tendon without flaring pain, focusing on soft, quiet landings and proper knee alignment. Progress to controlled bounces that build elastic strength using a plyometric mat for ideal stiffness and joint feedback. Gradually add height, speed, and directional changes only with flawless form and balanced force distribution. Sport-specific jumps like approach and lateral blocks prep you for real-game demands. Pain and technique guide every step-ignore them, and setbacks are likely. Keep refining each phase, and the next level of performance becomes possible.
Notable Insights
- Begin with double-leg hops on firm surfaces to minimize tendon load and ensure pain-free, controlled landings.
- Progress to controlled bounces with short ground contact time to safely enhance tendon elasticity and neuromuscular control.
- Gradually increase jump height and speed only after mastering symmetry in takeoff and landing mechanics.
- Introduce directional changes from linear to lateral movements as tolerance improves and pain remains absent.
- Incorporate sport-specific drills like approach jumps and reactive counter jumps to simulate game demands.
Why Volleyball Players Get Patellar Tendinopathy
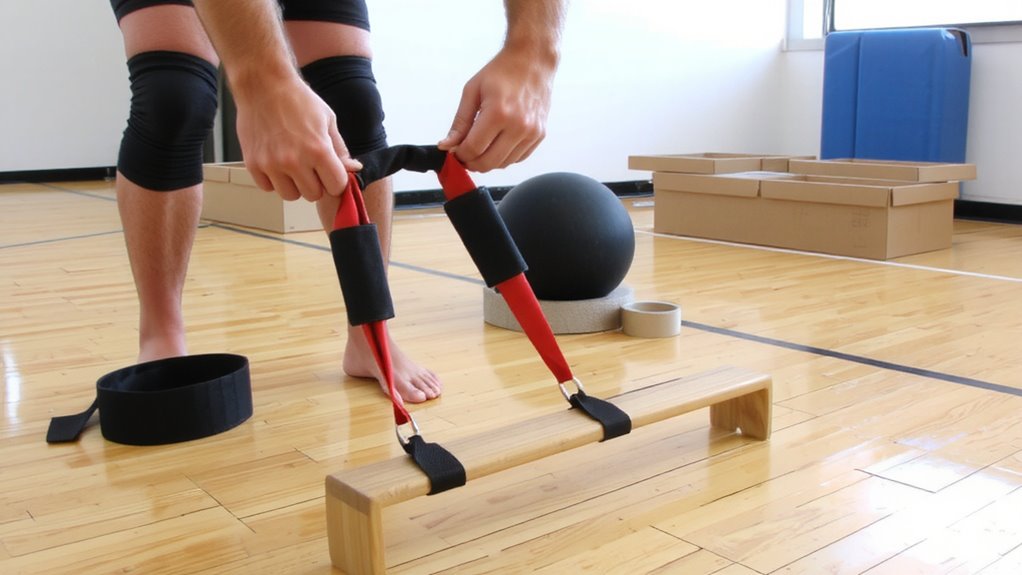
Patellar tendinopathy, often called “jumper’s knee,” hits volleyball players hard because your sport demands relentless takeoffs and landings-each jump stressing the patellar tendon more than body weight alone. Your anatomical predisposition-like high-arched feet or tight quads-can amplify strain, making some athletes more vulnerable. This condition stems from repetitive microtrauma: tiny tears accumulate faster than your body can repair when landing mechanics overload the tendon. Over time, inflammation gives way to degraded tissue, reducing resilience. Monitoring load is critical-practices often skew toward volume over recovery, accelerating breakdown. While fitness recovery gear like compression sleeves may offer support, they don’t fix flawed mechanics. Relying on them without addressing root causes-training errors, muscle imbalances-delays real healing. You need structured, progressive reconditioning, not just passive tools. Understanding why this happens helps you reshape training smartly, prioritizing tendon health without sacrificing performance. For added protection during rehabilitation, consider using a best volleyball knee support to help stabilize the joint and reduce strain during movement.
Start With Double-Leg Hops to Avoid Pain Flares
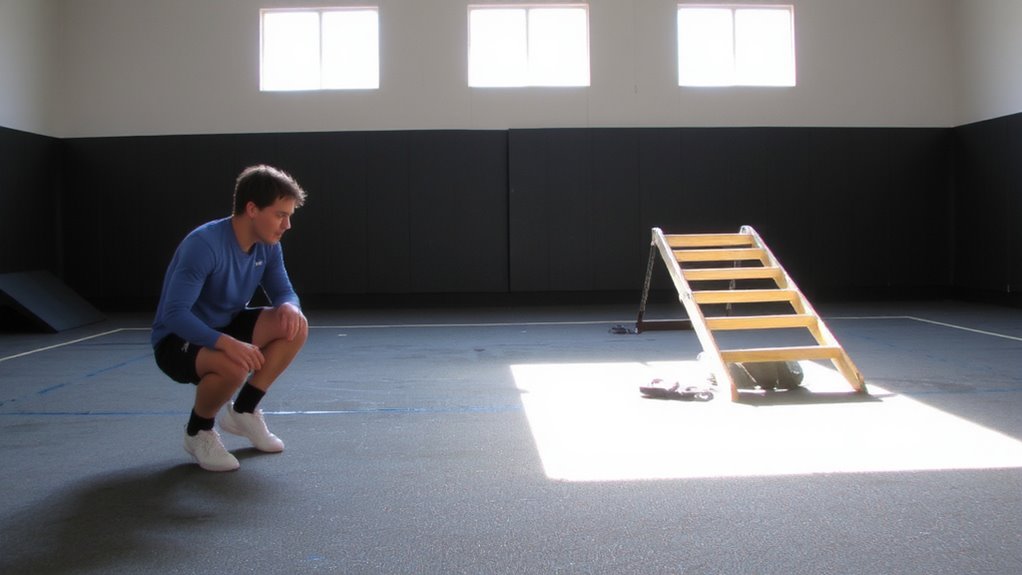
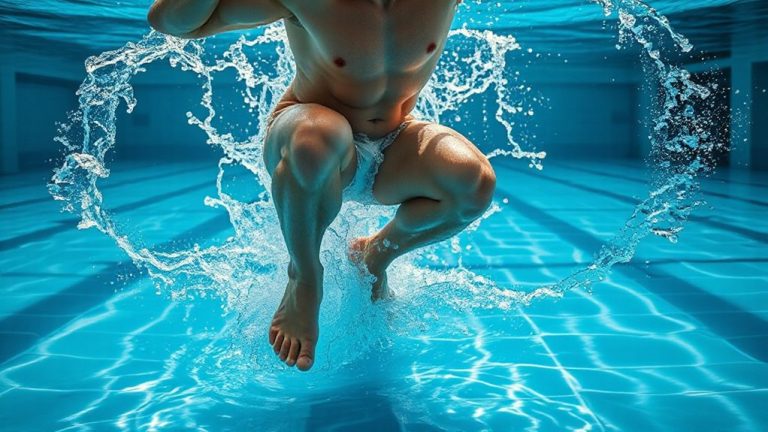
Double-leg hops lay the foundation for safe reintegration into jumping movements, especially when you’re managing patellar tendinopathy. This low-load strategy minimizes stress on the tendon while letting you rebuild essential landing mechanics and neuromuscular control. You’ll start with small, controlled hops-just a few inches off the ground-focusing on soft, quiet landings to reduce impact. Proper technique is non-negotiable: knees should track over toes, with hips back and chest up to distribute forces evenly. Performing these hops on a firm surface gives reliable feedback, helping you correct imbalances early. Because you’re using both legs, the load per tendon is roughly half that of a single-leg jump, which lowers the risk of pain flares. It’s not flashy, but this phase is critical for retraining movement patterns safely. Stick with it until you can hop 20 times without discomfort-then you’re ready to progress.
Boost Tendon Resilience With Controlled Bounces
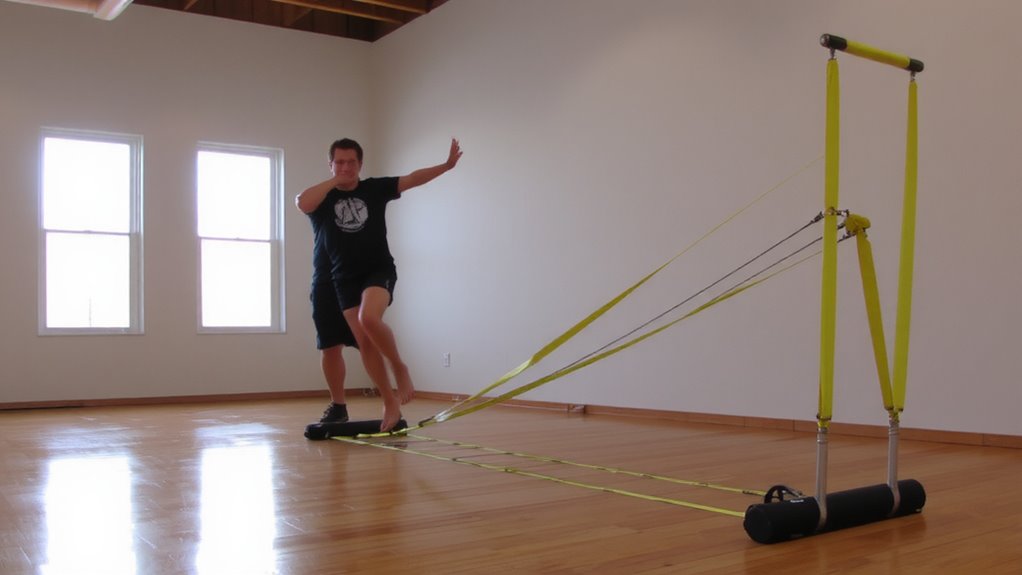
Resilience isn’t built in comfort-it’s forged through gradual exposure to stress, and that’s exactly where controlled bounces come in. You’re not just hopping; you’re training your tendon to handle elastic recoil efficiently. By using consistent, low-amplitude bounces on surfaces with moderate ground stiffness, you promote tendon adaptation without overloading healing tissue. Think of it as recalibrating your spring-short contacts, minimal knee bend, and strict rhythm. This phase isn’t about power; it’s about precision and timing. Incorporating proper knee support gear can further stabilize the joint and enhance confidence during early loading phases.
| Surface Type | Ground Stiffness | Elastic Recoil Efficiency |
|---|---|---|
| Rubber Gym Floor | Moderate | High |
| Grass | Low | Low |
| Concrete | High | Poor (High Impact) |
| Plyometric Mat | Controlled | Best |
Stick to surfaces that balance stiffness and safety to maximize tendon resilience and minimize pain recurrence.
Add Height, Speed, and Direction Safely
A few inches more in jump height, a fraction faster in lateral movement-these small gains can make a big difference on the court, but only if you build them the right way. As you progress, focus on controlled increases in intensity, guaranteeing each phase reinforces tendon adaptation without overload. You can start adding height to your jumps, but only if landing symmetry remains consistent-uneven force distribution risks re-injury. Use force plates or video analysis to assess symmetry objectively. Increase movement speed gradually, emphasizing clean takeoffs and balanced landings. Plyometric boxes should be sturdy, with non-slip surfaces to support safe progression. Directional changes must be introduced slowly, beginning with forward-backward hops before advancing to lateral bounds. The goal isn’t to rush but to refine neuromuscular control. Proper footwear with responsive cushioning supports joint alignment during impact. Jump height means nothing if landing symmetry breaks down-quality over spectacle guarantees lasting recovery and performance. For added support during high-load phases, consider using knee straps for squats to help manage patellar tendon stress.
Rehearse Game-Like Jumps for Court Return
When you’re close to returning to the court, simulating actual gameplay becomes essential-especially since volleyball demands explosive, reactive jumps in unpredictable sequences. This phase focuses on sport specific rehearsal to bridge rehab and competition. You’ll perform movements that mimic spiking, blocking, and defensive shifts, ensuring your tendons tolerate dynamic loads. Use simulated gameplay drills like reactive jump-land patterns and directional changes to refine timing and coordination. Below is a sample progression:
| Drill Type | Intensity | Purpose |
|---|---|---|
| Reactive Counter Jump | Moderate | Improve landing control |
| Approach Jump (3-step) | High | Replicate spiking mechanics |
| Lateral Block Step | Moderate | Enhance side-to-side power |
| Random Signal Jump | High | Boost reaction & specificity |
These drills build confidence and neuromuscular efficiency. Sport specific rehearsal isn’t just physical-it conditions your body’s response under realistic conditions, preparing you for true match intensity.
Use Pain and Form to Guide Your Progression
While pushing toward full return-to-play readiness, you’ve got to keep a close eye on pain and movement quality-because no drill progression makes sense if form breaks down or discomfort spikes. Pain monitoring isn’t just about avoiding setbacks; it’s a real-time feedback tool that helps you adjust intensity and volume. You should tolerate mild soreness, but sharp or increasing pain during or after plyometrics signals you’ve gone too far. Equally important is form consistency-each jump, landing, and shift must stay crisp and controlled. If your knee dips, your hips wobble, or your landing gets noisy, it’s time to step back. Reliable recovery gear, like quality compression sleeves or responsive foam rollers, supports tissue health, but nothing replaces honest self-assessment. Progress isn’t measured by how fast you climb the plyometric ladder, but by how well you maintain control, alignment, and comfort every rung of the way.
On a final note
You’re now ready to return stronger, thanks to a smart, step-by-step plyometric rebuild. This ladder approach prevents setbacks by balancing load with recovery, letting your tendon adapt safely. Good fitness recovery isn’t just time-it’s targeted effort. Quality gear, like supportive shoes and shock-absorbing surfaces, boosts gains by reducing strain. Always let pain and form guide you; they’re your most honest feedback.