Thoracic Mobility Drills With Seated Forward Bend With Rotation
You’re missing a key move if your thoracic mobility routine skips the seated forward bend with rotation. This drill boosts spinal articulation by combining flexion and rotation, targeting the mid-back where stiffness often hides. It improves posture, eases neck and lower back strain, and enhances breathing. Done right, it builds neuromuscular control with minimal joint stress-ideal for daily recovery. Keep your spine long, rotate from the core, and avoid common errors like rib flaring or neck dominance. There’s more to discover about progression and integration.
Notable Insights
- Perform the seated forward bend with rotation by hinging at the hips while keeping the spine long before twisting through the mid-back.
- Initiate the rotation from the thoracic spine, not the neck or lower back, to ensure proper segmental movement.
- Use hand support during the twist to enhance stability and improve neuromuscular control of the core and postural muscles.
- Avoid flaring the ribs or holding your breath to maintain thoracic specificity and movement efficiency.
- Practice 3–5 times weekly, progressing from supported rotations to active bends to build mobility and reduce stiffness.
What Is Thoracic Mobility and Why You Need It
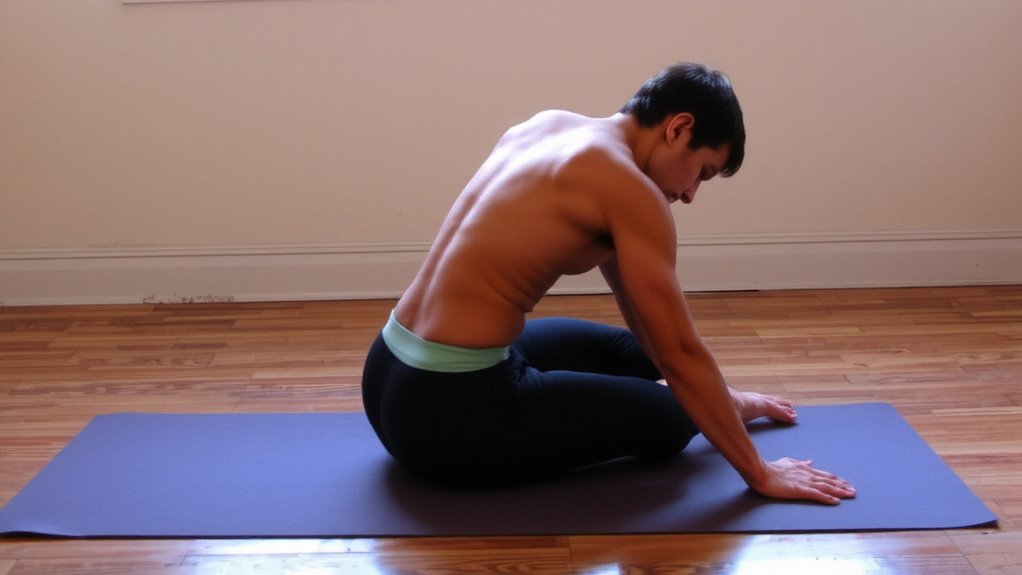
While most people focus on stretching tight hips or loosening stiff shoulders, you’re probably overlooking a key area that affects posture, breathing, and overall movement: your thoracic spine. This middle section of your spine is vital for spinal flexibility, allowing rotation and extension essential in daily and athletic motions. Limited mobility here often leads to slouching, shallow breathing, and strain on your neck and lower back. Prioritizing thoracic mobility directly supports posture improvement, helping you sit and stand with less effort and reduced risk of chronic discomfort. Unlike passive stretching, dynamic thoracic drills actively engage core and postural muscles, enhancing neuromuscular control. In recovery-focused fitness routines, integrating mobility work restores balanced movement patterns, especially after prolonged sitting or intense training. Investing in tools like foam rollers or mobility bands can assist, but consistency matters more than gear. Proper form and mindful movement yield better long-term results than aggressive manipulation.
Why This Seated Rotation Unlocks Your Upper Back
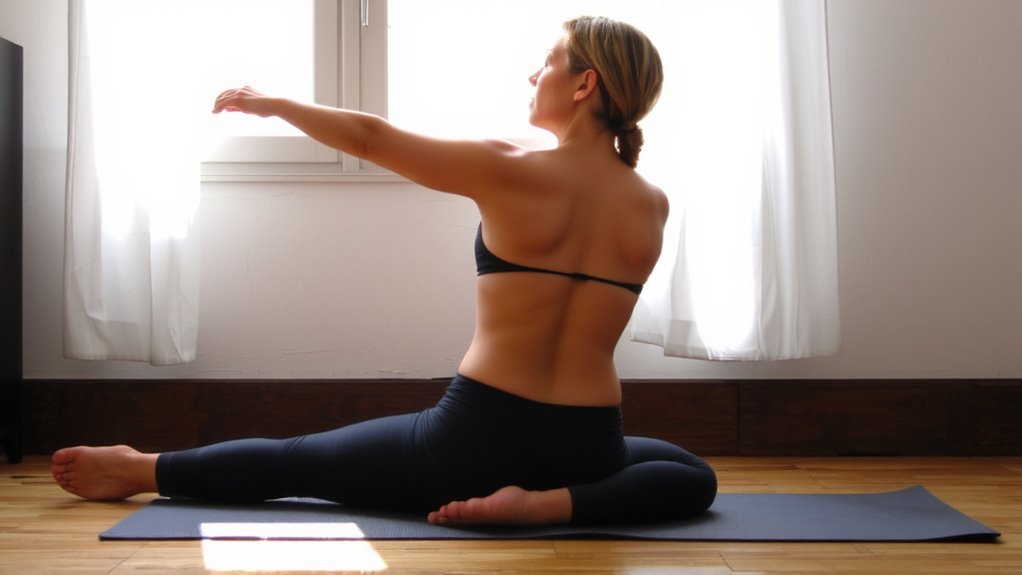
You’re already aware that a stiff thoracic spine undermines posture and breathing, but accessing movement in this region doesn’t always require complex tools or aggressive stretching-sometimes it starts with something as straightforward as a seated rotation. This simple twist enhances spinal alignment by encouraging each vertebra to move within its proper plane, reducing the compensatory strain often seen in the neck and lower back. As you rotate, you stimulate joint lubrication in the facet joints, promoting smoother motion and decreasing stiffness over time. Unlike passive stretches, this active movement integrates neuromuscular control, making it more effective for long-term mobility. It’s not about force-it’s about precision and repetition. When done correctly, you’ll notice improved rib cage excursion and easier shoulder mechanics. The drill’s low-intensity nature makes it ideal for daily recovery, especially when used alongside quality fitness gear that supports posture, like ergonomic mats or alignment-focused seating.
How to Do the Thoracic Forward Bend and Twist
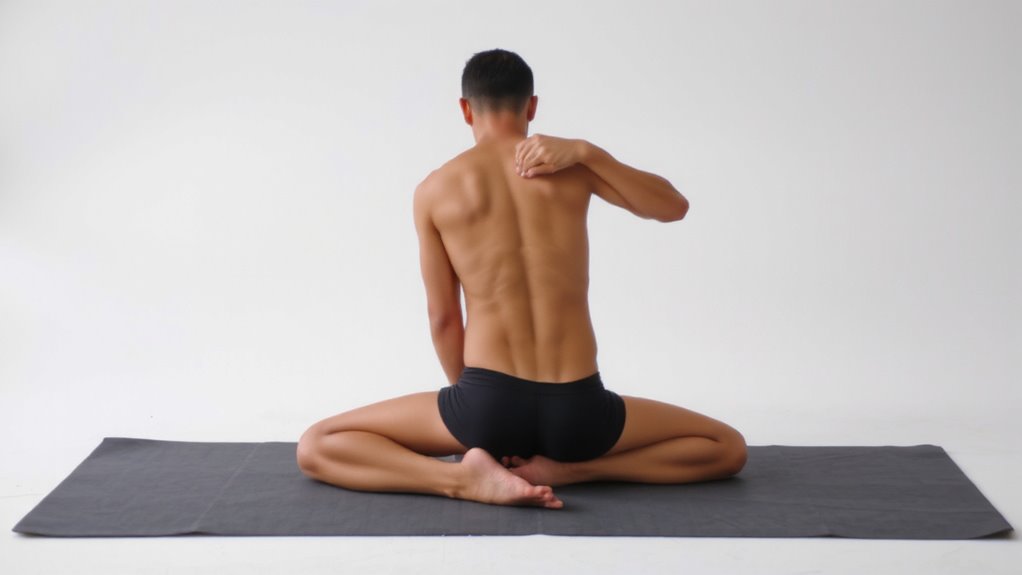
This drill combines flexion and rotation to target the thoracic spine with precision, making it a standout choice for those rebuilding mobility after prolonged sitting or intense training. Proper spinal alignment guarantees the movement occurs primarily in the upper back, not the neck or lower spine, enhancing both safety and effectiveness. You’ll feel targeted muscle engagement across the rhomboids, obliques, and posterior chain, reinforcing postural integrity.
| Phase | Key Action | Focus Cue |
|---|---|---|
| Starting Hold | Sit tall, spine neutral | Maintain pelvic neutrality |
| Forward Flex | Hinge at hips, reach ahead | Keep spine elongated |
| Rotate | Twist torso, one arm across | Engage core to stabilize |
| Return | Undo twist, sit tall again | Reassess spinal alignment |
Controlled execution maximizes neural feedback and joint articulation, aiding recovery in active individuals.
Avoid These 5 Thoracic Rotation Mistakes
Why do so many people struggle to gain real mobility from thoracic rotation drills despite consistent practice? You’re probably making one of these five common mistakes. First, you might be twisting from the neck instead of the mid-back, which ruins spinal alignment and shifts motion to weaker joints. Second, hunching your shoulders forward compromises joint stability and limits actual thoracic movement. Third, rushing through reps means you’re not engaging deep stabilizers properly. Fourth, holding your breath disrupts rhythm and reduces control. Finally, flaring your ribs excessively transfers rotation to the lumbar spine, increasing injury risk. When you correct these, you’ll notice improved spinal alignment and better joint stability, leading to real mobility gains. Avoid letting poor form waste your effort-precision in movement quality beats repetition every time. You’ll get more from fewer reps when executed right.
Try These 3 Levels of Thoracic Rotation
While mobility work often feels like a one-size-fits-all approach, effective thoracic rotation actually requires progression tailored to your current capacity. These three levels help improve spinal alignment and support posture correction, guaranteeing you move with control and efficiency. Start where it feels challenging but manageable, then advance as mobility increases.
| Level | Exercise | Focus |
|---|---|---|
| 1 | Seated rotation with hand support | Stability and awareness |
| 2 | Elevated knee rotation with reach | Increased range of motion |
| 3 | Active rotation with forward bend | Integration and control |
Each level builds on the last, promoting better movement patterns and joint integrity. You’re not just stretching-you’re retraining your spine to move well. Consistent use of proper form guarantees lasting gains. This kind of targeted mobility supports long-term posture correction and enhances overall movement quality. Incorporating tools like a foam roller or stretching strap can further enhance mobility by releasing tight tissues and improving flexibility.
How Often to Do Thoracic Mobility Drills
Typically, you’ll get the best results from doing thoracic mobility drills 3 to 5 times per week, especially when integrated into your warm-up or recovery routine. The frequency benefits include improved spinal articulation, reduced stiffness, and enhanced breathing mechanics over time. You’ll notice consistency results within a few weeks-things like increased rotation range and decreased upper back tension. Doing drills too sporadically won’t build lasting neuromuscular patterns, while daily performance without variation may lead to overuse fatigue. Quality matters more than quantity, so aim for focused, controlled reps rather than speed or force. Use supportive fitness gear like a firm foam roller or stable yoga mat to maintain proper alignment. Recovery isn’t just rest-it’s active maintenance, and your thoracic spine responds best when you treat mobility as a skill. Stick with it, and the improvements in posture and movement efficiency become both measurable and functional.
Add These 2 Drills for Full Thoracic Relief
You’ve already set a solid foundation by incorporating thoracic mobility work 3 to 5 times weekly, and now it’s time to refine your routine with two targeted drills that deliver full thoracic relief. First, try the seated thread-the-needle stretch: it promotes joint awareness by emphasizing precise spinal rotation and shoulder positioning, helping identify movement imbalances. Pair this with breath synchronization-inhale to lengthen, exhale to twist deeper-for improved neuromuscular control. Second, add thoracic spine foam rolling with a lacrosse ball; place it near mid-back and gently roll to release tight fascia. This enhances joint awareness by spotlighting tender zones and encourages breath synchronization to relax into each pulse. Both drills integrate seamlessly into recovery days or warm-ups, especially when using high-density foam rollers or textured balls designed for myofascial release. These tools boost effectiveness, offering firm, consistent feedback that cheaper gear often lacks. For optimal results, choose a high-density foam roller based on your sensitivity and target muscle group.
On a final note
You’ll find thoracic mobility drills like the seated forward bend with rotation essential for combating stiffness and improving posture. This move specifically targets rotational control and spinal articulation, yielding real gains in functional movement. Paired with quality recovery gear-think supportive mats and alignment cushions-your progress becomes more consistent. These tools don’t replace effort, but they do enhance form and comfort. Done regularly and correctly, these drills support long-term spinal health, making them a smart, sustainable addition to any fitness routine.