Guiding Tennis Players Through Serve Intensity Progressions After Rotator Cuff Repair
You can return to serving 4–6 months post-surgery, but only after clearing strength, range of motion, and pain-free movement with your therapist. Start with dynamic warm-ups and toss drills to retrain muscle memory. Progress to slow-motion serves using a balanced racket, focusing on smooth kinetic sequencing. Gradually build intensity-from 50% effort to full power-in structured stages. Use wearable sensors to monitor joint load. Realistic target practice and point simulations guarantee safe integration, with finer details on optimizing form and load management just ahead.
Notable Insights
- Wait 4 to 6 months post-surgery and meet strength and mobility benchmarks before attempting serving.
- Begin with dynamic stretches and resistance band exercises to safely restore shoulder mobility and stability.
- Use slow-motion serves with proper technique to rebuild neuromuscular control and correct form.
- Progress intensity gradually: start at 50% effort and advance only when form remains consistent.
- Simulate match serving scenarios with wearable sensors to monitor load and ensure safe integration.
Know When It’s Safe to Serve Again
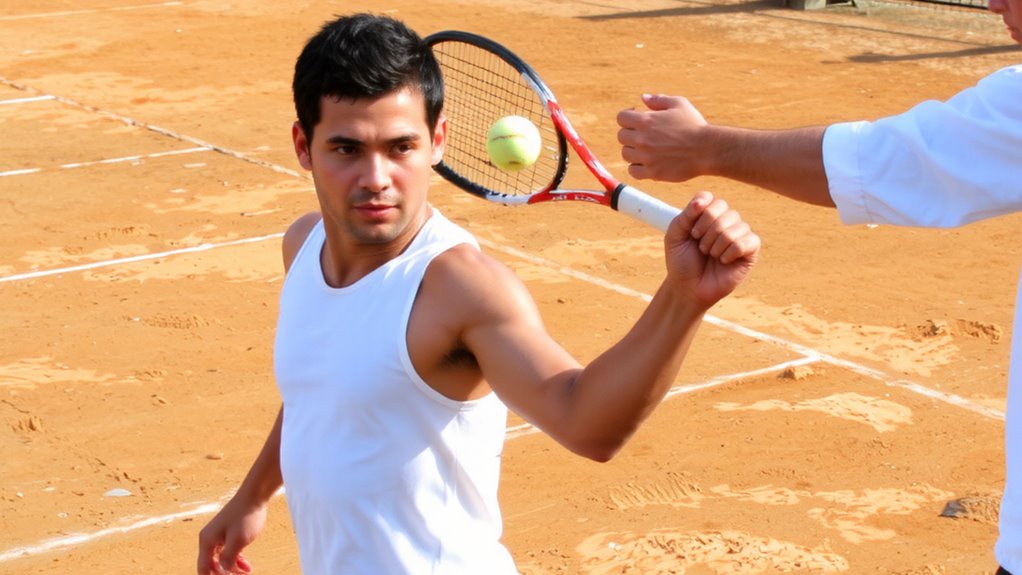
When can you actually get back on the court and deliver a powerful serve after rotator cuff repair? That depends on your recovery timeline and consistent pain monitoring. Most surgeons clear light serving between four to six months post-op, but only if strength and range of motion meet clinical benchmarks. Rushing back too soon risks re-injury, especially since the rotator cuff healing process varies by tissue quality and surgical technique. You’ll need to track discomfort honestly-sharp or persistent pain means you’re not ready. Fitness recovery isn’t just about time; it’s about functional progress. Wearable fitness gear, like smart sleeves that monitor muscle activation, can support this phase by offering real-time biofeedback. But don’t rely solely on tech-combine device data with clinical evaluations. Your serve intensity should increase only when pain monitoring shows consistency across daily movement and rehab exercises, not just isolated tests.
Begin With Shoulder Warm-Ups and Toss Drills
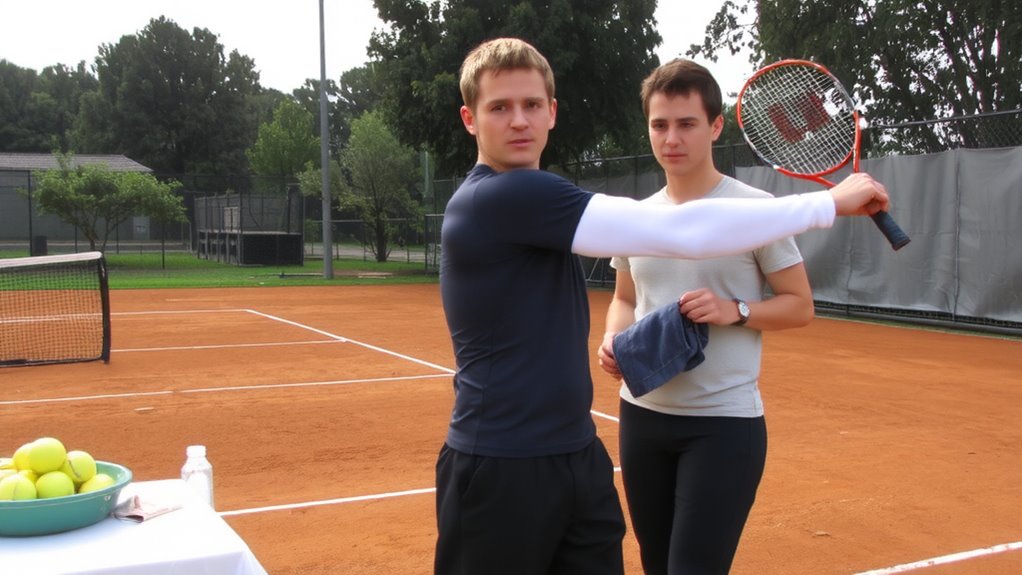
A strong foundation begins with preparation, and your shoulder’s readiness for serving starts with proper warm-ups and controlled toss drills. You need to prioritize shoulder mobility to regain full range of motion and reduce strain on the repaired cuff. Begin with dynamic stretches-arm circles, scapular slides, and wall crawls-to activate key stabilizing muscles. Incorporate light resistance bands to gently challenge the rotator cuff without overloading it. Once mobility improves, focus on toss consistency, a vital yet often overlooked element. A predictable ball toss minimizes unnecessary shoulder compensation, letting you practice mechanics safely. Use a fixed target to train muscle memory and guarantee each toss peaks at the same height and location. This phase isn’t about power; it’s about retraining control. Consistent, mindful repetition builds neuromuscular efficiency, setting the stage for successful, injury-resistant serving long-term.
Progress to Slow-Motion Serves With Proper Form
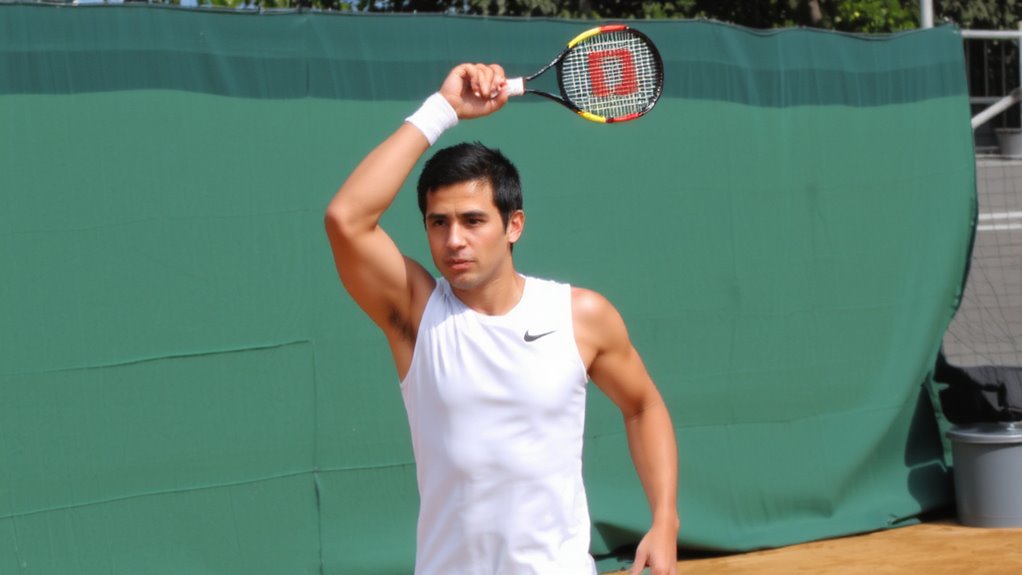
Form matters more than force, especially now-your shoulder’s healing trajectory hinges on precision, not power. You’re ready to progress to slow-motion serves, focusing squarely on technique refinement and controlled movement. This phase isn’t about speed or spin; it’s about rebuilding neuromuscular pathways with deliberate, low-load repetition. Use a light racket, possibly a beginner-friendly model with a balanced weight distribution, to minimize joint stress. Emphasize smooth kinetic sequencing: footwork, rotation, and arm path must sync to optimize serve timing. Record your form or work with a coach to catch micro-errors early. These slow reps condition stabilizing muscles without provoking inflammation. Think of each serve as a rehearsal-not just for motion, but for consistency under load. Gear matters: wear a breathable compression sleeve only if it supports joint awareness without restricting motion. Your discipline here shapes long-term recovery and performance.
Add Power Step by Step: From Half-Serves to Full Motion
Though your shoulder’s strength has improved, rushing into full-power serves risks setbacks-instead, build intensity gradually by advancing from half-serves to complete motion with controlled intent. Focus on smooth power generation, letting kinetic energy move from the ground up, not just your arm. This progression sharpens muscle memory while protecting healing tissue. Start with abbreviated motions, then extend range as comfort allows.
| Stage | Motion Type | Intensity Level |
|---|---|---|
| 1 | Half-serve | 50% effort |
| 2 | Three-quarter | 70% effort |
| 3 | Full motion | 90% effort |
Aim for 3 sets of 10 serves per stage, advancing only when form stays consistent. Using a structured approach guarantees safer reintegration of explosive movement. Your muscle memory will adapt faster when reinforced with accurate, low-risk reps. Don’t skip steps-consistency now means confidence later on the court.
Simulate Real Matches: Target Serving and Point Play
You’ve built up your serve step by step, starting light and expanding into full motion with controlled power-now it’s time to put that progress to the test under realistic conditions. Match simulation is essential for evaluating readiness and building confidence. Begin by serving to specific targets, replicating first and second serve placements you’d use in competition. Then, progress to full point play in controlled competitive scenarios, allowing you to integrate movement, strategy, and serve consistency. These drills should mimic real match demands while letting you monitor shoulder response. Use wearable feedback sensors if needed-some fitness recovery gear provides real-time load tracking, helping avoid overuse. This phase isn’t just about physical tolerance; it evaluates timing, accuracy, and mental focus. Gradually increase point length and intensity, ensuring your rotator cuff adapts without strain. Successful return to play hinges on this practical, progressive reintegration.
On a final note
You’ve progressed from basic warm-ups to full-serve simulations, rebuilding strength and neuromuscular control post-rotator cuff repair. Each phase-toss drills, slow-motion reps, graduated power increases-safely restores function. Proper form remains critical, supported by targeted fitness recovery principles and reliable gear like resistance bands and shoulder stabilizers. These tools enhance feedback and consistency. Returning too fast risks re-injury; your disciplined, stepwise approach guarantees lasting performance and shoulder health on the court.