Lumbar Mobility Drills With Pelvic Tilts in Bridge Position
You should perform pelvic tilts in the bridge position to improve lumbar mobility and correct poor alignment from sitting or training. Lie on your back, knees bent, and gently tilt your pelvis upward while engaging your core. This movement resets anterior or posterior tilt, reducing lower back strain. Pair each tilt with a controlled breath-exhale as you flatten your spine. Proper form guarantees glute and transverse abdominal activation without joint stress. Use a non-slip mat for stability, and explore progressions once foundational control is built.
Notable Insights
- Pelvic tilts in the bridge position enhance lumbar mobility by promoting controlled movement at the pelvis-spine junction.
- Perform the drill lying on your back, knees bent, and feet flat to safely isolate lumbar articulation.
- Engage your core by drawing the navel in and tilt the pelvis to flatten the lower back against the floor.
- Coordinate exhalation with the upward tilt to maximize deep core activation and spinal control.
- Avoid overextending by keeping motion small and focusing on pelvic rocking rather than hip elevation.
Why Your Lower Back Needs Pelvic Tilts
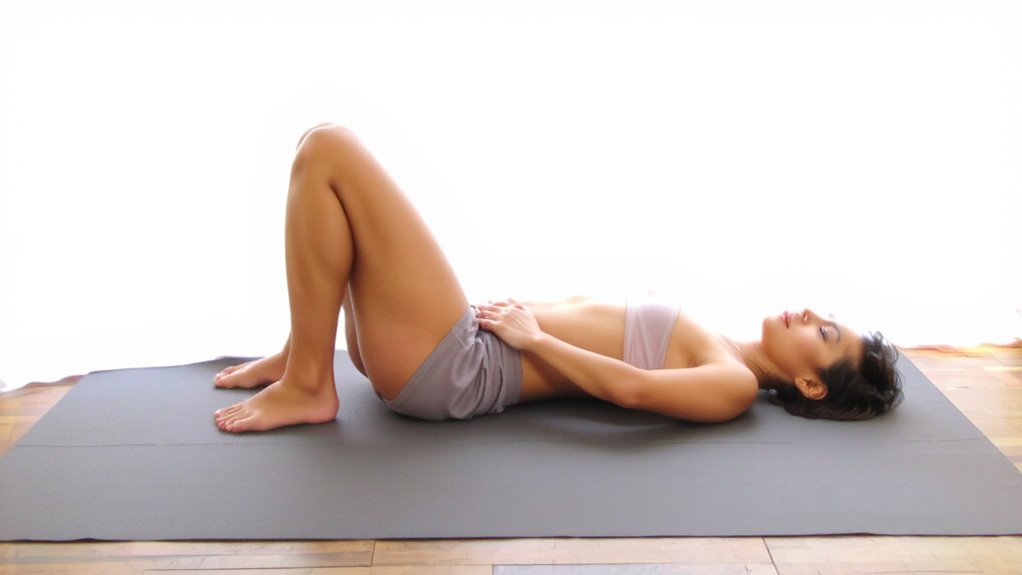
Why does your lower back often feel tight or stiff after long periods of sitting or intense workouts? Poor pelvic alignment is often the culprit. When your pelvis tilts incorrectly-either anteriorly or posteriorly-it places excess strain on the lumbar spine, leading to discomfort and reduced mobility. Pelvic tilts help reset this misalignment by encouraging neutral positioning, which in turn supports proper spinal curvature. You also get improved core activation, since these movements engage the transverse abdominals and glutes, stabilizing the lower back during daily activities and exercise. Without this foundational control, even high-end fitness gear-like supportive belts or recovery rollers-can’t fully offset dysfunctional movement patterns. Pelvic tilts may seem simple, but their impact on lumbar health is significant. They’re not just prep work; they’re essential maintenance for anyone serious about recovery, mobility, and long-term spinal resilience. Consistent practice delivers measurable gains in posture and movement efficiency.
How to Do Pelvic Tilts in the Bridge Position
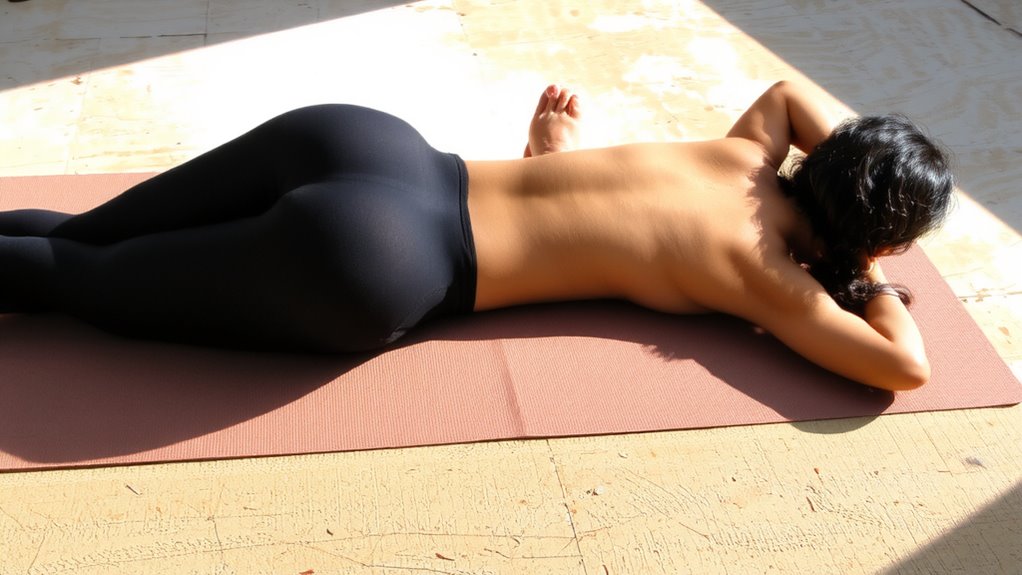
While lying on your back with knees bent and feet flat on the floor, you can perform pelvic tilts in the bridge position to amplify lumbar control and gluteal engagement. Begin by drawing your navel toward your spine-this triggers core activation and stabilizes the lower back. As you exhale, gently tilt your pelvis upward, flattening your lower back against the floor to achieve ideal pelvic alignment. Hold briefly, then inhale as you allow the pelvis to return to a neutral position. Move slowly, focusing on control rather than momentum. This drill enhances neuromuscular coordination, supporting not just mobility but functional strength in recovery phases. When paired with proper fitness gear-like supportive mats that cushion joints-performance improves due to better feedback and comfort. Consistent practice sharpens body awareness, making it a practical addition to rehab or maintenance routines, especially for those reengaging post-inactivity or managing lower back tension. Choosing the right best pillows for back sleepers can further support spinal alignment during rest.
Avoid These 5 Bridge Form Mistakes
You’ve already built a foundation with controlled pelvic tilts in the bridge position, sharpening core engagement and spinal awareness. Now, avoid these 5 common form mistakes that undermine effectiveness and invite strain. First, poor knee alignment-knees caving inward-stresses the joints; keep them stacked over your ankles throughout. Second, incorrect foot placement-too far forward or wide-reduces glute activation and shifts load to the lower back. Position feet hip-width apart, toes pointing forward, close enough that you can graze your heels with fingertips. Third, overextending at the top of the bridge promotes lumbar compression-lift only until your body forms a straight line. Fourth, lifting with the toes instead of driving through the heels diminishes stability. Fifth, holding your breath disrupts core control. Correct form guarantees maximum mobility gains and safeguards joint health during each repetition.
Sync Your Breath With Each Pelvic Tilt
A well-timed breath isn’t just a rhythm tool-it’s a performance lever when executing pelvic tilts. You’ll find that syncing your breath rhythm with movement sharpens control and boosts core activation. Inhale as you gently arch your lower back, letting the breath expand your diaphragm and prepare the spine for motion. Exhale fully as you tilt the pelvis upward, engaging the deep core muscles to stabilize and protect the lumbar area. This coordination isn’t incidental-it enhances neuromuscular efficiency, making each repetition more effective. Think of breath as an internal cue: it deepens focus and guarantees you’re not just moving, but moving with intent. Over time, this mindful pairing improves spinal awareness and movement quality. You’re not just going through the motions-you’re training with precision. Breath rhythm transforms a simple drill into a dynamic mobility exercise that supports long-term lumbar health and functional strength.
Bridge Progressions That Boost Spinal Mobility
Since mastering the basic pelvic tilt lays the foundation, progressing to bridge variations naturally amplifies spinal mobility by integrating segmental control and gluteal strength. You’ll notice improved spinal articulation as you slowly lift and lower your pelvis, vertebra by vertebra. This mindful movement enhances proprioception and promotes balanced muscle activation along the posterior chain. Maintaining consistent core engagement throughout each progression guarantees stability and protects the lumbar spine during motion. Try single-leg bridges to increase demand on stabilization or add a foam roller under your feet to challenge control further-both upgrades intensify neuromuscular feedback. These progressions aren’t just about strength; they refine the quality of movement, allowing smoother shifts and reducing stiffness. When performed with precision, advanced bridge drills build functional mobility that supports daily movement and athletic performance. The right fitness gear, like non-slip mats or stable rollers, complements proper form and durability in practice.
When to Add This Drill to Your Routine
When should you integrate lumbar mobility drills with pelvic tilts into your routine? The timing integration depends on your current fitness level and movement goals. If you sit for long hours or feel stiffness in your lower back, adding this drill during your warm-up or recovery phase makes sense. It’s ideal after light cardio or dynamic stretching, where your muscles are warm but not fatigued. For best routine placement, perform these drills before strength training to activate core stabilizers or after workouts to promote spinal decompression. Avoid doing them when sore or injured without professional guidance. These movements aren’t just filler-they enhance neuromuscular control and joint articulation. When paired with proper recovery gear like supportive mats, they contribute to long-term spinal health. Consistency matters more than intensity. A high-quality best workout mats for home gyms can provide the necessary cushioning and support during these drills.
On a final note
You’ll find pelvic tilts in the bridge position effectively enhance lumbar mobility when performed with control. This drill improves spinal articulation, strengthens glutes, and reduces lower back stiffness. Paired with mindful breathing, it supports recovery and posture. Use quality fitness gear like supportive mats to maintain form. It’s not flashy, but consistent use yields measurable gains in movement quality, making it a practical addition to warm-ups or cooldowns for lasting spinal health.