Supine Figure-Four Hold With Deep Abdominal Breathing for Piriformis Release
You’re likely holding tension in your piriformis without knowing it. This small, deep hip muscle can compress the sciatic nerve when tight, causing radiating pain. The supine figure-four stretch, combined with deep abdominal breathing, effectively targets this area by promoting relaxation and neural release. Lying on your back, cross one ankle over the opposite knee, gently pull the supporting leg toward your chest, and maintain neutral hips. Engage in slow, diaphragmatic breaths-this enhances oxygen flow and reduces muscular resistance, allowing deeper, safer release. Avoid arching your back or lifting your shoulders. Proper form guarantees targeted relief, not compensation. You’ll notice improved hip mobility and reduced nerve irritation with consistent practice. There’s more to optimizing this stretch than just positioning-timing and complementary techniques matter too.
Notable Insights
- Lie on your back, cross one ankle over the opposite knee, and pull the bottom thigh toward your chest to target the piriformis.
- Keep both hips flat on the floor to ensure proper alignment and maximize stretch effectiveness.
- Engage in deep abdominal breathing to activate the parasympathetic nervous system and promote muscle relaxation.
- Maintain a neutral spine by gently engaging the core to avoid lower back strain.
- Hold the stretch for 30–60 seconds per side, using controlled exhalations to deepen the release.
What Is the Piriformis and Why It Causes Hip Pain
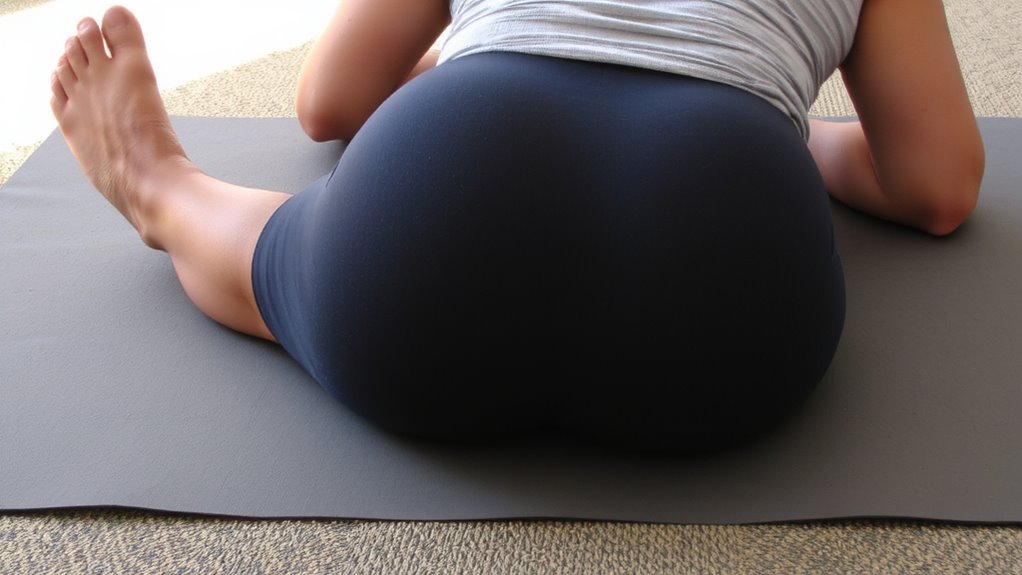
Tightness in the piriformis-a small but powerful muscle deep in the buttocks-might be the culprit behind your persistent hip discomfort. Piriformis anatomy places it near the sciatic nerve, and when it spasms or shortens, it can cause sciatic nerve compression, leading to radiating pain down the leg. Though small, this muscle plays a key role in hip rotation and pelvic stability. When overworked-often due to prolonged sitting or repetitive movements-it tightens and irritates surrounding nerves. You might mistake the ache for a hamstring or glute issue, but the real source lies deeper. Fitness recovery isn’t just about rest; it’s about addressing biomechanical imbalances like this. Foam rollers or vibration tools can help release tension, but understanding piriformis anatomy guarantees you target the right area. Effective recovery gear supports precise intervention, not just general relief. That’s why tools with contoured designs often outperform flat ones-they accommodate the complexity of structures like the piriformis. Choosing the right seating is also critical, and investing in best chairs for piriformis syndrome can significantly reduce daily strain on the muscle.
How to Do the Figure-Four Stretch for Piriformis Relief
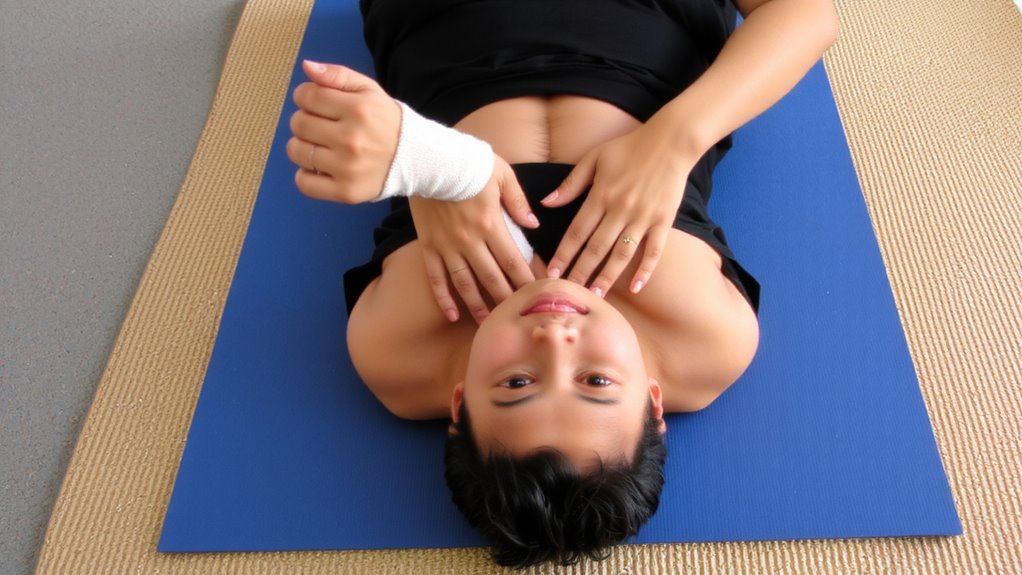
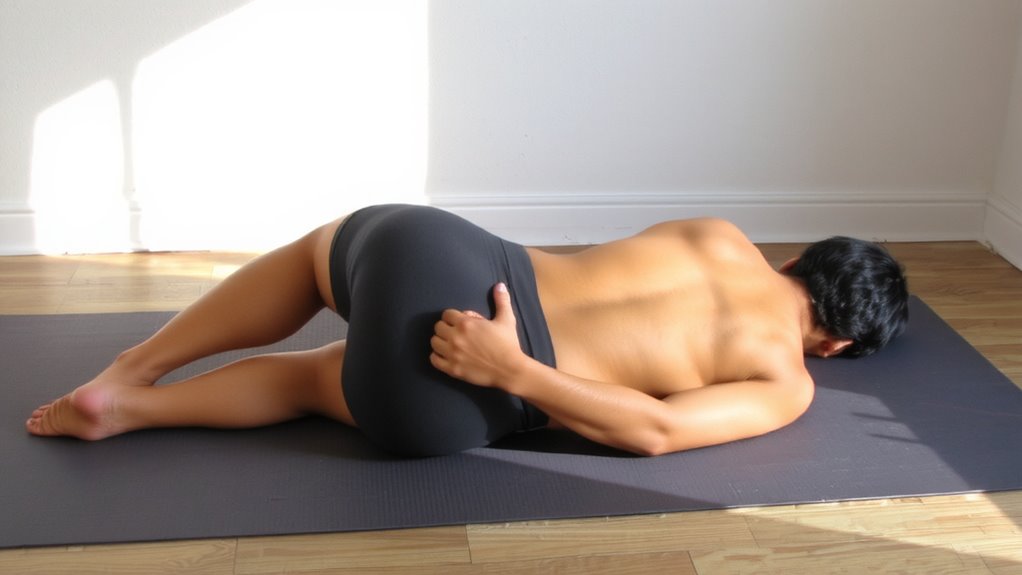
You’re likely already familiar with the deep, nagging ache that radiates from your hip into your glutes or down your leg-a telltale sign of piriformis tightness pressing on the sciatic nerve. To relieve it, lie on your back, knees bent, feet flat. Cross your right ankle over your left thigh, forming a figure-four. Gently pull your left thigh toward your chest, ensuring proper hip alignment-both hips should remain grounded. Avoid rounding your lower back; this maximizes piriformis stretch while minimizing strain. You’ll feel glute activation in the right side, indicating targeted engagement. Hold for 30 seconds, then switch sides. This stretch is effective because it isolates the piriformis without overloading surrounding muscles. For added stability, loop a resistance band around your thighs. Consistent use improves mobility and supports long-term fitness recovery, especially when paired with mindful movement and supportive recovery gear.
Why Deep Breathing Boosts the Piriformis Stretch
While holding the supine figure-four position, your ability to deepen the stretch and enhance recovery hinges particularly on how you breathe. Deep abdominal breathing isn’t just calming-it actively supports piriformis release. When you engage your diaphragm, you trigger a parasympathetic response, reducing muscle tension and allowing the piriformis to relax more fully. This diaphragm engagement promotes greater oxygen flow to tight tissues, accelerating recovery by improving circulation and reducing metabolic waste buildup. You’re not just stretching mechanically; you’re creating internal conditions that boost flexibility. Without proper breath, the stretch remains superficial. With controlled, deep breaths, each exhale lets you sink slightly deeper, making the hold more effective. Fitness gear like supportive mats or straps can assist positioning, but none replace the foundational role of breathing. In recovery, breath is performance-it’s free, always available, and profoundly effective when used intentionally.
Avoid These 5 Piriformis Stretch Mistakes
Your piriformis stretch effectiveness hinges on form as much as intention, and even well-meaning efforts can backfire without attention to detail. Incorrect form isn’t just ineffective-it can lead to muscle strain, especially if you force the movement or misalign your hips. Avoid lifting your shoulders off the floor; that reduces pelvic stability and shifts stress to your lower back. Don’t lock your joints-keep a microbend in the knee to protect the joint and maintain control. Overarching your lower back is another common mistake; keep your spine neutral by engaging your core. Finally, avoid holding your breath, as this increases tension instead of promoting release. Each misstep undermines the stretch’s therapeutic value and may worsen tightness or irritate the sciatic nerve. Precision matters: subtle adjustments markedly improve safety and outcomes.
Best Times to Stretch Your Piriformis
Occasionally, timing can be just as essential as technique when aiming to maximize the benefits of piriformis stretching. You’ll get the most from your routine by aligning it with your body’s natural rhythms. Morning flexibility makes post-sleep stretches effective for easing stiffness and priming muscles. Nighttime relaxation, on the other hand, enhances recovery after daily strain. Below is a guide to ideal stretching windows:
| Time of Day | Purpose | Benefit |
|---|---|---|
| Morning | Activate muscles | Boosts morning flexibility, reduces stiffness |
| Post-Workout | Aid recovery | Prevents tightness, supports muscle balance |
| Evening | Promote calm | Enhances nighttime relaxation, improves sleep |
| Before Bed | Release tension | Eases piriformis pressure from daily activity |
Pair consistent timing with proper form, and you’ll notice improved mobility and fewer discomfort spikes.
Try These Piriformis Stretch Variations
Now that you’ve got a handle on when to stretch, it’s worth exploring how varying your approach can amplify results. Try the supine figure-four with a twist: add neural gliding by extending your leg slowly while maintaining deep abdominal breaths-this combo eases sciatic tension and enhances Piriformis symmetry. The seated twist variation works well too, especially if you’re targeting deeper gluteal layers; just keep your spine long and pelvis neutral. You might also experiment with the standing cross-legged lean, which mimics the figure-four upright and fits easily into a recovery routine. These variations aren’t just about flexibility-they promote balanced neuromuscular feedback and reduce asymmetrical strain. When performed mindfully, they support joint integrity and complement recovery-focused gear like posture-correcting cushions or supportive mats. Consistency beats intensity here; subtle, repeated motion fosters lasting adaptation without overloading soft tissues.
Foam Rolling vs. Stretching: Which Works Better for Piriformis?
A common debate in fitness recovery circles centers on whether foam rolling or stretching delivers better results for piriformis relief, and the answer isn’t always straightforward. Foam rolling offers Self Myofascial Release, helping break up tightness in the glutes and piriformis by applying sustained pressure. It’s effective pre-workout to improve mobility, but can be intense if you’re new to it. Stretching, like the supine figure-four hold, increases flexibility and lengthens the muscle afterward. For targeted relief, combining both often works best-use foam rolling to prep the tissue, then stretch to lock in gains. Trigger Point Therapy, especially with a ball or roller, can also zero in on stubborn knots. While foam rollers vary in density and texture, softer ones suit beginners; firmer ones offer deeper penetration. Ultimately, consistency and proper form matter most-neither tool works well without targeted, mindful use. Choosing the right best foam rollers can significantly enhance the effectiveness of your self-myofascial release routine.
On a final note
You’ll find the supine figure-four hold with deep abdominal breathing effective for piriformis release, especially when consistency and proper form are maintained. It targets tightness while enhancing neuromuscular control. Combined with quality recovery gear-like a firm foam roller or breathable yoga mat-the stretch becomes more sustainable. These tools support proper alignment and comfort, making the routine practical for daily use. Overall, it’s a reliable, low-risk method backed by functional movement principles.