Closed Kinetic Chain Rowing Simulations Using Suspension Trainer Anchors
You’re getting a more effective, joint-friendly workout with closed kinetic chain rows using suspension trainer anchors. Your hands stay fixed while your body moves, boosting stabilizer engagement and functional strength. Unlike traditional rows, suspension trainers offer adaptable resistance and greater core activation with minimal joint stress. Proper setup-waist-height anchor, 45-degree body angle, and correct grip-ensures ideal back engagement. Keep your form sharp to maximize benefits and avoid common mistakes; you’ll soon discover how to fine-tune the movement for your fitness level.
Notable Insights
- Closed kinetic chain rows using suspension trainers fix the hands while the body moves, enhancing functional strength and joint stability.
- Anchor suspension straps at waist height to target the mid-back, ensuring stable attachment before performing rows.
- Adjust body angle by changing foot position-closer to anchor increases resistance, farther reduces load.
- Maintain full-body tension with a straight head-to-heel alignment and pull through elbows to engage the back.
- Use shoulder-width grip plus slight offset to optimize scapular retraction and prevent shoulder strain during the row.
What Is a Closed Kinetic Chain Row: And Why Try It?
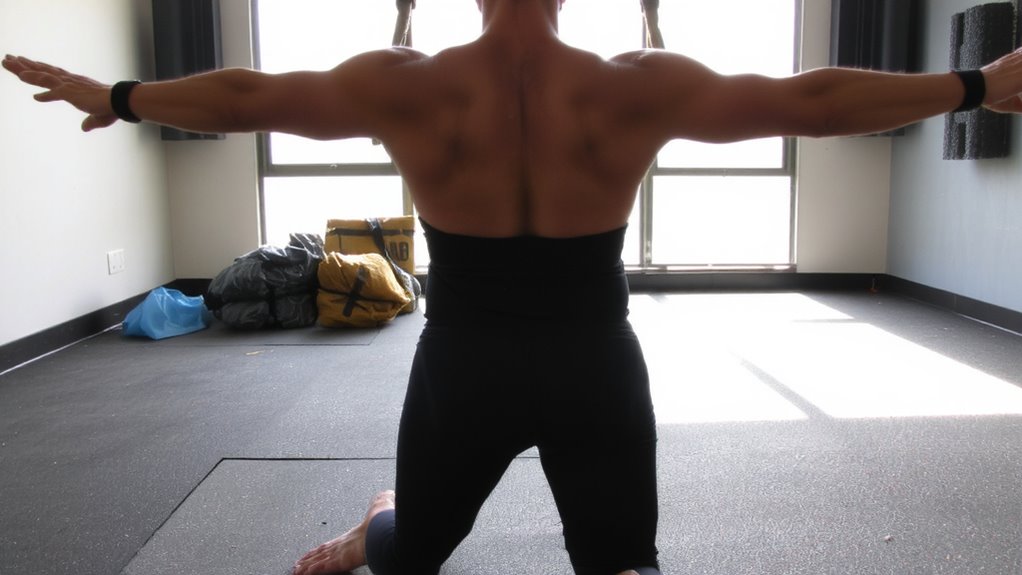
Why should you care about how your body connects to the equipment during recovery workouts? Because that connection shapes muscle activation and joint stability. In a closed kinetic chain row, your hands or feet stay fixed while your body moves-like when using suspension trainers anchored overhead. This setup forces your muscles to work together, engaging stabilizers you often miss. Unlike open chain exercises, this method boosts functional strength and control, especially useful when recovering from injury or fatigue. You maintain joint stability through controlled motion, reducing strain on vulnerable areas. The resistance adapts to your effort, making it ideal for low-impact training. Proper form guarantees maximum muscle activation without overloading tendons. It’s not just about movement-it’s about movement with purpose. Using durable anchors and adjustable straps guarantees safety and consistency, supporting long-term recovery goals.
Why Suspension Trainers Beat Traditional Rows?
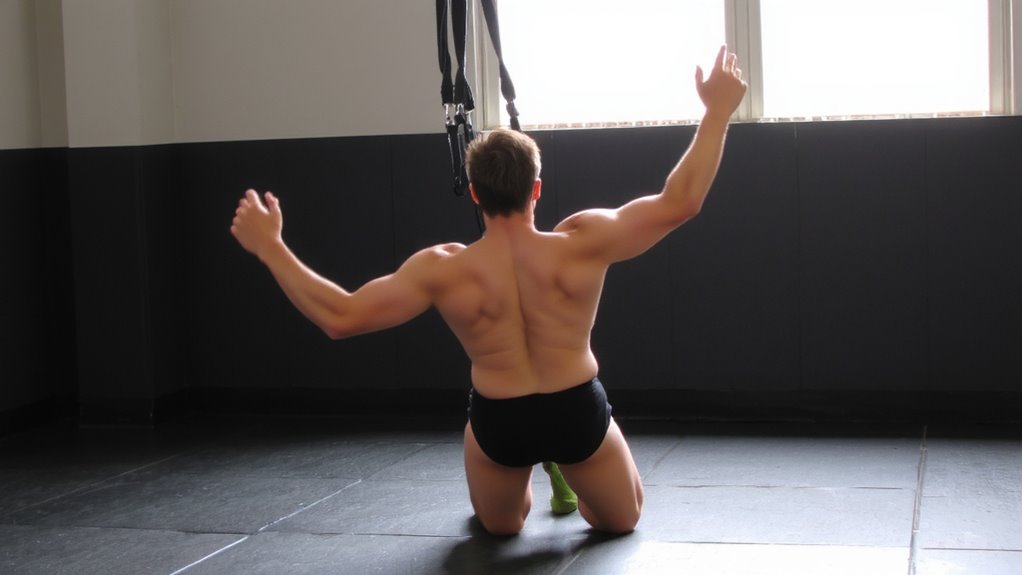
How do suspension trainers stack up against traditional rowing machines when it comes to recovery-focused training? They outperform in stability training and muscle activation. Traditional rows lock you into a fixed path, limiting neuromuscular engagement. Suspension trainers, however, challenge your core with unstable resistance, enhancing proprioception and joint support-key for recovery. You’re not just moving; you’re controlling movement.
| Feature | Suspension Trainer | Traditional Rower |
|---|---|---|
| Stability demand | High | Low |
| Muscle activation | Full-body, integrated | Isolated |
| Joint stress | Low | Moderate |
| Adaptability | High | Limited |
| Space and portability | Compact | Bulky |
This means better motor control, improved tissue resilience, and smarter strength-without overloading healing tissues.
Set Up Your Suspension Trainer for Rows (Step by Step)
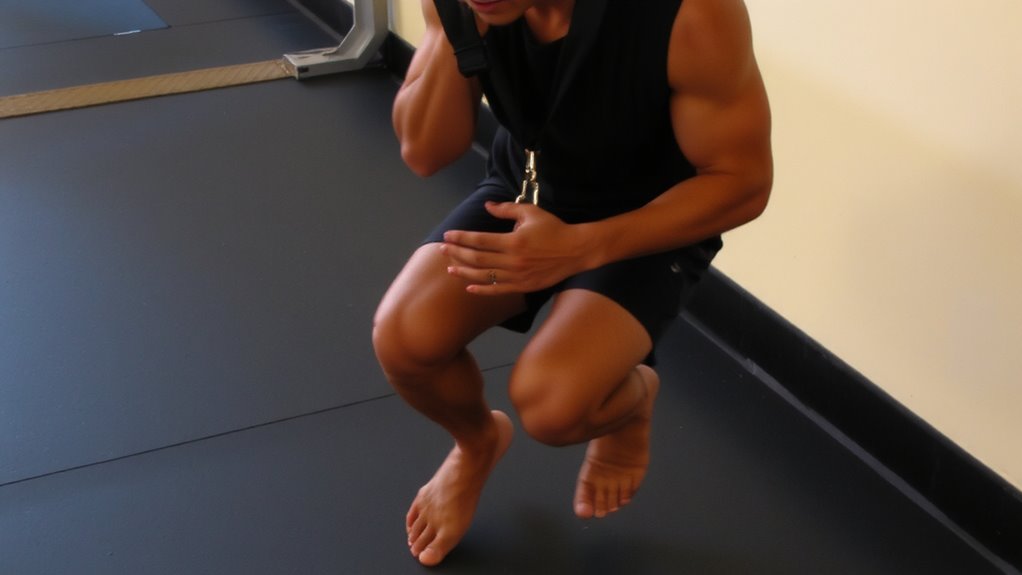
Your suspension trainer’s setup determines both the effectiveness and safety of your rowing motion, so getting it right matters. Begin with anchor positioning-secure the trainer at waist height if you’re targeting mid-back engagement, or slightly above for increased resistance. A poorly placed anchor throws off body alignment and reduces muscle activation. Adjust the strap length so you’re leaning back at about a 45-degree angle when in starting position. This guarantees ideal tension. Next, set your grip width: hands slightly wider than shoulders maximize upper back involvement without straining the joints. Too narrow, and you emphasize arms; too wide, and shoulder stress increases. Proper grip width improves scapular retraction, essential for injury prevention. Always check anchor stability and strap integrity before starting. A solid setup enhances biomechanical efficiency and supports consistent, effective rows.
How to Do a Perfect Suspension Row (Step by Step)
What does it take to execute a flawless suspension row? It starts with proper form and attention to detail. Stand facing the anchor point, lean back slightly, and maintain a straight line from head to heels. Your foot positioning determines resistance-feet flat and closer to the anchor increase difficulty, while stepping back reduces load. Keep your core tight and chest up throughout. Grip width matters: hands slightly wider than shoulders optimize shoulder mechanics and prevent strain. Pull through your elbows, not arms, driving them toward your hips. Control the return-no swinging. Engage your back muscles fully at the top, then extend smoothly. Proper foot positioning and grip width enhance joint safety and muscle activation. Suspension trainers excel here-minimal joint impact, maximal control. They’re durable, portable, and effective when used correctly. Consistent use supports fitness recovery by building balanced strength without overloading tendons.
Make It Easier or Harder: Adjust Intensity With Body Angle
Body position plays a major role in how hard your suspension row feels, even when everything else stays the same. The angle of your body relative to the floor directly affects the resistance level you experience. The more upright you are-closer to a vertical body position-the less body weight you’re pulling, making the exercise easier. As you lean back further, increasing the angle between your torso and the floor, you take on more of your body weight, ramping up the resistance level substantially. This scalable nature makes suspension trainers highly effective for progressive strength training. You don’t need added weights; just adjusting your body position changes intensity instantly. It’s a simple, efficient way to match the exercise to your current strength and endurance. This adaptability is one reason suspension systems are praised in fitness recovery and training-offering precise control with minimal setup. Body position is your primary tool for progression.
Avoid These 5 Common Form Mistakes
How often do you finish a rowing simulation only to feel strain in your lower back rather than your rhomboids and lats? It’s usually due to common form mistakes. First, your grip width matters-too wide and you limit range of motion, too narrow and you risk elbow flaring. Keep hands just wider than shoulder-width for best pull mechanics. Second, avoid the shoulder shrug at the top; your traps shouldn’t bear the load-your scapulae should retract, engaging the mid-back. Third, don’t sag your hips; maintain a straight line from head to heels. Fourth, pulling with arms only neglects posterior chain engagement. In the end, rushing reps sacrifices control and muscle connection. Correct form makes certain suspension trainers deliver effective, joint-friendly strength work. Fix these, and you’ll feel the burn where it counts-no guesswork, just results.
On a final note
You’ve seen how closed kinetic chain rowing with suspension trainers builds strength and stability more effectively than traditional rows. The anchored design challenges your core and upper body simultaneously, boosting functional fitness. With proper setup and body angle control, you can easily adjust intensity. Avoid common form errors to maximize gains and prevent injury. Overall, suspension trainers offer versatile, efficient performance-making them a smart, durable addition to any recovery-aware, results-driven fitness routine.