A Step-by-Step Routine for Improving Hip Internal Rotation
You should start by testing your hip internal rotation, sitting with knees bent at 90 degrees and rotating your lower legs inward while keeping heels still. Warm up next with glute bridges and banded clamshells to activate key stabilizers. Then, use the 90/90 stretch to target tight external rotators, holding 2–3 minutes per side. After stretching, strengthen with seated band rotations-2–3 sets of 10–15 reps-and progress to standing stability drills that challenge control under load while maintaining level hips. Consistency in this sequence enhances joint mobility and reduces injury risk over time, especially when you track improvements weekly and fine-tune form for maximal carryover to functional movement.
Notable Insights
- Assess hip internal rotation first by sitting with knees at 90 degrees and measuring inward rotation range using a goniometer.
- Warm up dynamically with glute bridges, banded clamshells, and leg swings to enhance joint readiness and motor control.
- Perform the 90/90 stretch daily to target tight external rotators and stiff hip capsules, holding each side for 2–3 minutes.
- Strengthen with seated internal rotation exercises using a resistance band, focusing on controlled reps and proper glute engagement.
- Develop standing rotational stability through weight shifts and resisted band drills while maintaining level hips and core engagement.
Test Your Hip Internal Rotation First
How much internal rotation do your hips actually have? You can’t improve what you haven’t measured, so start with a simple anatomical assessment. Sit on the edge of a sturdy surface, knees bent at 90 degrees, feet hanging freely. Rotate your lower legs inward as far as possible, keeping heels in place. Measure the range-ideally with a goniometer-for accuracy. Limited motion may signal restricted joint mobility in the hip, often due to capsular tightness or muscular imbalances. This test isn’t just diagnostic; it’s foundational. Without knowing your baseline, any corrective strategy risks being inefficient or misdirected. Adequate internal rotation is critical for squat depth, walking mechanics, and injury prevention. While fitness gear like mobility bands or foam rollers can assist later, they’re ineffective if you skip this initial evaluation. Assess first. Then, and only then, should you begin designing a plan tailored to your specific limitations.
Warm Up to Unlock Hip Internal Rotation
While mobility work alone won’t fully correct limited hip internal rotation, warming up properly can immediately improve joint readiness and neuromuscular control. You need dynamic prep to prime the area, not just static effort. A solid warm-up boosts blood flow, enhances hip mobility, and sharpens joint activation-key for athletic moves like squatting or pivoting. Start with glute bridges to fire up posterior chains, then add banded clamshells to target deep external rotators. Perform leg swings (front-to-back and side-to-side) to increase range and tune motor control. These drills aren’t just fluff; they prep neuromuscular pathways so your hip responds better under load. Skipping this phase means moving stiff and inefficiently, raising injury risk. Good form relies on activation, not just flexibility. Think of it as system-check before engine start-your joints and muscles work better in sync when prepped right. A proper warm-up is non-negotiable for real progress.
Stretch: 90/90 Internal Rotation Fix
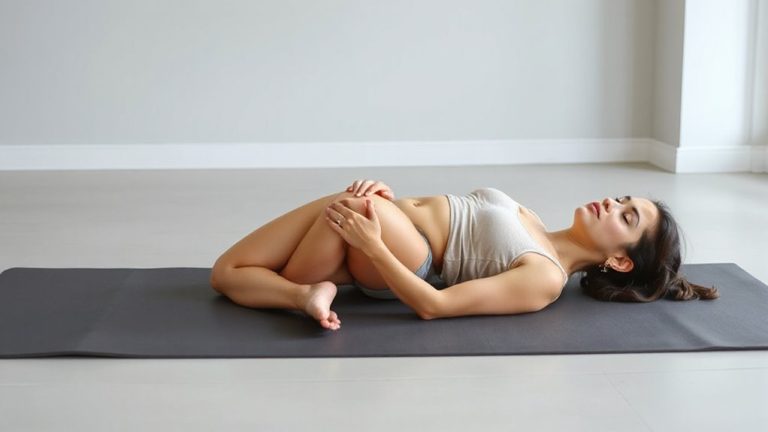
The 90/90 stretch isn’t just another flexibility drill-it’s a targeted reset for tight external rotators and stiff hip capsules limiting your internal rotation. You’ll sit with one leg bent at 90 degrees in front, the other bent at 90 degrees out to the side, both knees aligned over ankles. This position directly challenges hip anatomy by positioning the femur to decompress the joint and encourage internal rotation. It’s rooted in sound joint mechanics, using opposing leg positioning to create subtle torque that eases restriction. You’ll feel a deep stretch in the outer hip of the front leg-the piriformis and gemelli-and possibly the back hip’s capsule. Hold for 2–3 minutes per side, breathing into the tension. Consistent use improves rotational range over time, especially post-movement. It’s not flashy, but it’s effective, requiring no gear-just body awareness and patience.
Strengthen With Seated Internal Rotation
Since building strength within the available range of motion is key to durable internal rotation gains, seated internal rotation exercises offer a focused way to activate the deep hip stabilizers without compensating. You’ll get precise muscle activation by using a resistance band anchored to a stable surface, allowing controlled contractions of the gluteus medius and deep external rotators. Sit tall with hips and knees at 90 degrees, then rotate your leg inward against the band’s pull. This position enhances joint mobility by reinforcing proper movement patterns in a supported posture. Perform 2–3 sets of 10–15 reps per side, focusing on slow tempo and clean form. The seated setup reduces spinal load, making it ideal for early-stage strength work. While it won’t replicate dynamic demands, it builds foundational control-critical before advancing to weight-bearing drills.
Build Stability in Standing Rotation Drills
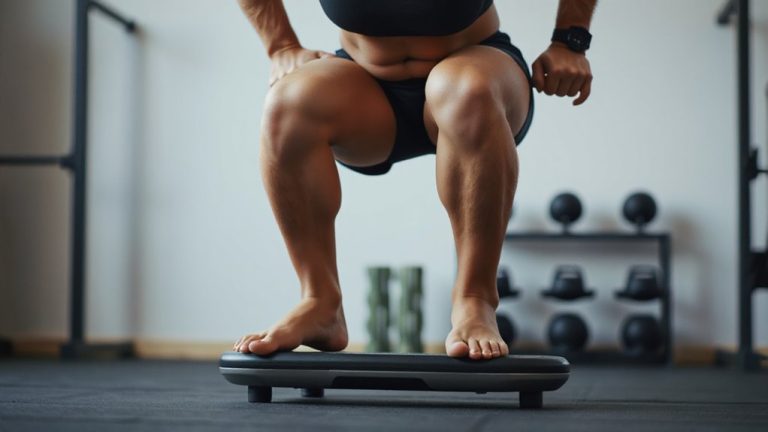
When you’re ready to challenge your hip control in more functional positions, standing rotation drills become essential for building real-world stability. These movements force you to maintain pelvic control while introducing dynamic load, closely mimicking everyday motions like turning or stepping. Start with simple weight shifts and controlled torso rotations, ensuring your hips stay level and your core engaged. Over time, progressing to resisted band rotations or multi-directional reach drills will enhance rotational balance and neuromuscular coordination. Good form is non-negotiable-sloppy execution undermines gains and increases injury risk. Use a mirror or video feedback to monitor alignment. Unlike seated exercises, standing drills integrate the entire kinetic chain, making them superior for functional improvement. Consistency matters more than intensity; perform these 3–4 times weekly for best results. Proper footwear with moderate grip and support can also improve performance, helping you maintain stable, accurate movement patterns throughout each repetition.
Sit Right to Improve Hip Internal Rotation
Posture isn’t just about looking confident-it’s a key player in how well your hips move, especially when it comes to internal rotation. Poor sitting posture can restrict mobility over time, leading to compromised pelvic alignment and reduced joint function. To maintain ideal hip mechanics, you need to sit with intention. Support your spine, keep feet flat, and avoid slouching or crossing legs. Active sitting promotes better alignment and encourages subtle muscle engagement that reinforces mobility gains. Consider using ergonomic aids like lumbar rolls or dynamic seat cushions-they’re not gimmicks if they support healthy pelvic alignment. One effective option is using best active sitting chairs designed to support dynamic posture and enhance pelvic mobility.
| Sitting Position | Pelvic Alignment | Effect on Hip Rotation |
|---|---|---|
| Slouched | Posterior tilt | Decreased internal rotation |
| Knees Higher Than Hips | Restricted | Limited range |
| Upright, Feet Flat | Neutral | Improved mobility |
| On Stability Ball | Engaged | Enhanced activation |
Track Progress and Adjust Weekly
How do you know your hip mobility work is actually working? You need consistent weekly check ins to measure changes in range of motion and symmetry. Use a goniometer or take photos comparing your starting position to current ability-small gains add up. Without these assessments, it’s easy to overestimate progress or miss imbalances. Based on what you observe, make personalized adjustments to your routine: maybe you need more soft tissue work, longer holds, or reduced loading. Don’t just stick to the original plan if it’s not yielding results. Movement quality matters more than reps. Consistent tracking lets you respond to your body’s signals, optimizing recovery and avoiding plateaus. Think of it like tuning fitness gear-minor tweaks improve performance. Over time, this approach builds sustainable hip internal rotation and reduces compensation patterns.
On a final note
You’ve tested, warmed up, stretched, and strengthened-now consistency seals the deal. This routine targets hip internal rotation with purpose, blending mobility, strength, and stability. When practiced weekly, you’ll likely see improved joint function and movement symmetry. Pair it with quality recovery gear, like targeted foam rollers or compression sleeves, to support tissue health. These tools won’t fix form flaws, but used wisely, they enhance recovery, helping you stay on track without setbacks.