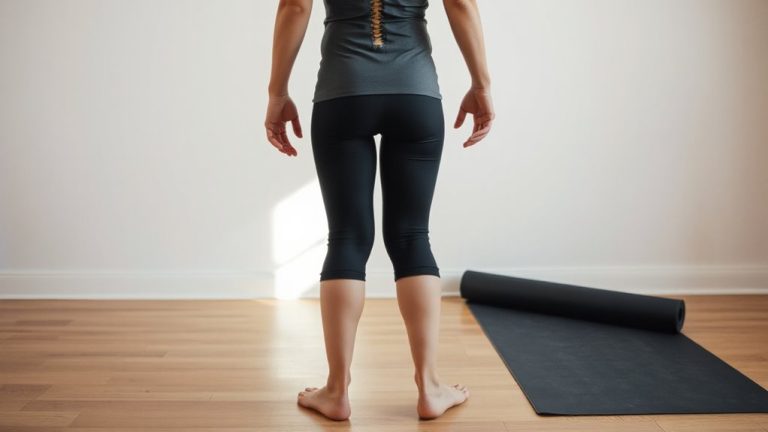
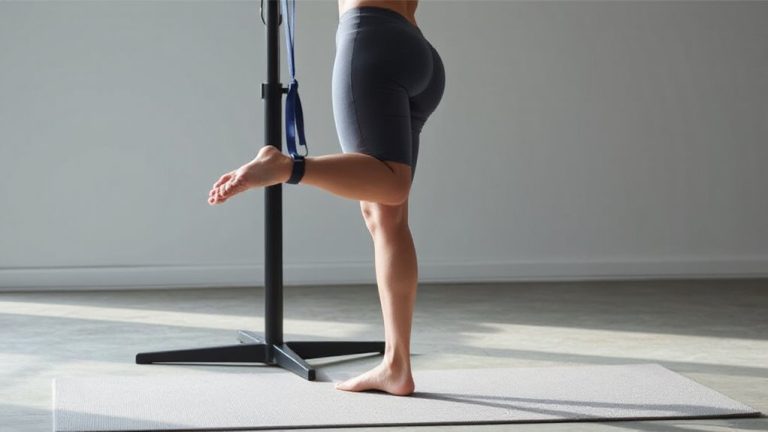
Ankle Mobility Drills With Dorsiflexion With Heel Support
You maintain heel contact to maximize dorsiflexion gains, using drills like banded mobilizations, wall knee taps, and eccentric heel presses. These builds joint glide, control, and strength while minimizing compensation. A wall offers reliable feedback for alignment, ensuring your knee tracks over the first toe. Limited ankle mobility hampers performance and increases injury risk, making consistent, correct practice essential. Proper form prevents setbacks and accelerates functional improvement-see how small adjustments amplify results over time.
Notable Insights
- Banded ankle mobilization uses a resistance band to improve joint glide while maintaining heel contact.
- Wall knee taps enhance control by driving the knee forward with the heel planted on the ground.
- Eccentric heel press builds strength and flexibility through slow, controlled release from dorsiflexion.
- Kneeling dorsiflexion stretches target the ankle joint with a neutral foot and 30–45 second holds.
- Wall-based drills use heel support and knee alignment over the first toe for accurate mobility gains.
Top 3 Heel-Supported Dorsiflexion Drills
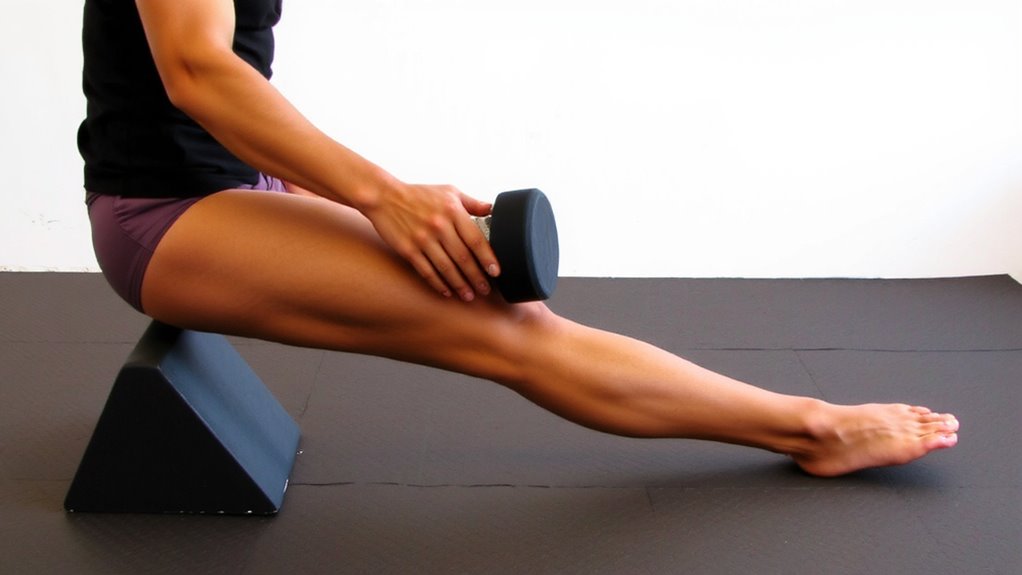
You’ll want to start with heel-supported dorsiflexion drills if you’re serious about improving ankle mobility, especially since limited range in this joint can undermine everything from squat depth to sprint efficiency. These drills combine dynamic stretching with resistance training to enhance both flexibility and strength. The banded ankle mobilization drill uses a resistance band to apply gentle posterior pull, improving joint glide. Wall knee taps build control through repeated knee drives while maintaining heel contact. Finally, the eccentric heel press teaches loading tolerance by slowly releasing from dorsiflexion. Together, they bridge mobility gains with functional stability. You’re not just stretching-you’re conditioning the ankle to handle force. For best results, perform them pre-workout to prime movement patterns or during recovery days to maintain progress. Consistent use improves mechanics in squats, lunges, and jumps. Ideal for athletes using recovery gear like compression sleeves to support tissue health post-drill.
Kneeling Dorsiflexion Stretch: Step by Step
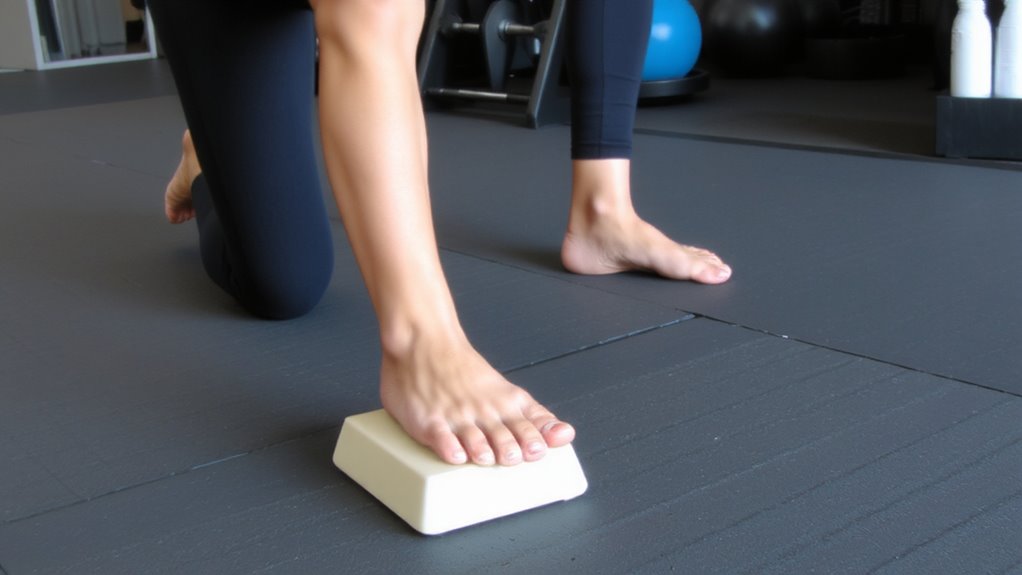
A deep stretch with lasting payoff, the kneeling dorsiflexion stretch targets tight anterior joints and calf complexes often overlooked in lower-body routines. Proper ankle alignment guarantees maximal joint recruitment while minimizing strain on connective tissues. Maintain a neutral foot position and lean forward from the hips to intensify the sensation along the shin and ankle. Consistency in stretch duration-hold each repetition for 30–45 seconds-produces noticeable mobility gains over time. This stretch integrates well with recovery protocols, especially when used post-training.
| Phase | Target Area | Recommended Sets |
|---|---|---|
| Setup | Ankle joint, tibialis | 2–3 |
| Lean Forward | Dorsiflexors, capsule | 2–3 |
| Hold | Anterior ligaments | 30–45 sec |
| Return | Eccentric control | Controlled |
| Repeat | Bilateral balance | Both sides |
How to Use a Wall for Controlled Ankle Mobility
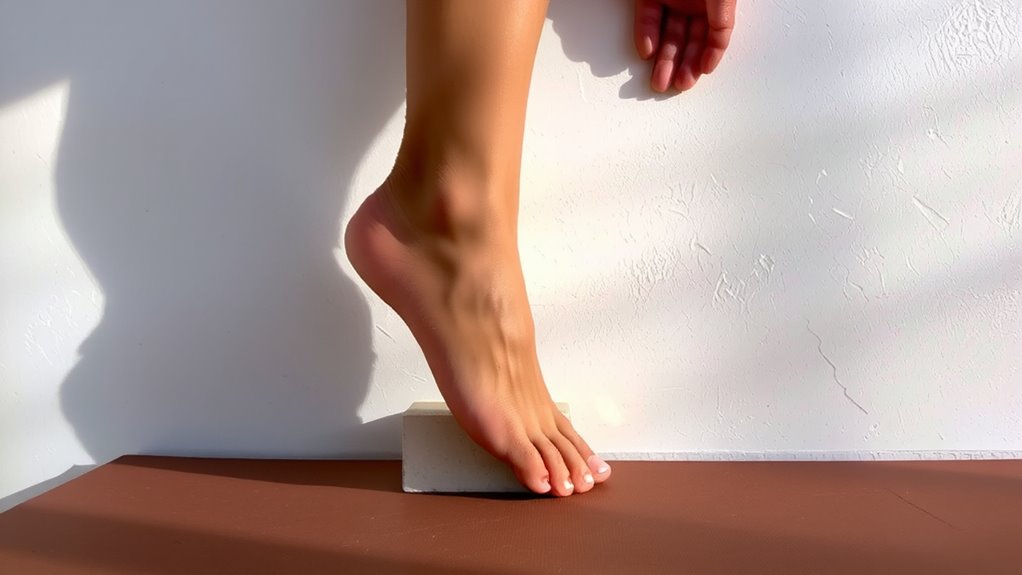
Using a wall for controlled ankle mobility offers a stable, measurable way to improve dorsiflexion while maintaining proper form. Stand facing the wall, place one foot forward, and press your knee toward the wall while keeping your heel down. This controlled motion lets you monitor wall alignment, ensuring your foot doesn’t collapse inward or outward. Proper joint tracking is key-your knee should move smoothly over your first toe without shifting sideways. Adjust your distance from the wall to modulate difficulty: closer increases demand, farther reduces it. Using the wall provides immediate biofeedback, helping you correct flaws in real time. Unlike bands or machines, the wall doesn’t wear out or require maintenance, making it a reliable, low-cost recovery tool. It integrates well into daily warm-ups or rehab, supporting consistent progress with minimal setup.
How Limited Dorsiflexion Slows You Down
When dorsiflexion is restricted, your movement efficiency drops, and you can’t generate the same power or speed during push-off phases. A restricted range at the ankle limits knee travel over the foot, forcing compensatory mechanics that reduce stride length and propulsion. You’re likely to experience impaired performance in activities like sprinting, jumping, or even walking uphill, since your body can’t absorb or transfer force efficiently. Over time, this limitation increases stress on the knees and lower back, raising injury risk. Athletes with poor dorsiflexion often exhibit slower acceleration and weaker landings, undermining both power and control. Simply put, if your ankle can’t move through its needed range, your whole kinetic chain suffers. Addressing this deficit isn’t just about flexibility-it’s about preserving speed, strength, and joint health. Mobility work with heel support helps restore function without sacrificing form.
Why Your Heel Position Changes Everything
Why does something as small as heel position make such a big difference in your training? Because it directly controls your joint alignment and determines the effectiveness of dorsiflexion drills. When you allow your heel to collapse or shift, you lose structural integrity, reducing force transfer and stability. Heel elevation, even by a small degree, alters ankle mechanics considerably-positioning your calcaneus correctly promotes ideal joint alignment, letting your tibia move efficiently over your foot. This isn’t just about comfort; it’s biomechanics. Tools like wedges or slant boards provide consistent heel elevation, making drills more targeted. Without proper heel support, you’re compensating without knowing it, which undermines mobility gains. The right setup guarantees tension lands where it should-in the targeted tissues-not dispersed through poor form. Your heel isn’t passive; it’s foundational. Position it wisely, and everything up the chain improves.
Mistakes That Break Heel-Supported Dorsiflexion Form
How often do you assume your form is solid during dorsiflexion drills, only to miss subtle errors that undermine the entire movement? One of the most common mistakes is allowing a heel lift, which defeats the purpose of heel-supported mobility work. If your heel rises, you’re compensating for tightness rather than improving joint range. Equally disruptive is knee drift-letting your knee collapse inward or flare outward-compromising alignment and reducing targeted muscle engagement. Both errors reduce the drill’s effectiveness and can reinforce poor movement patterns. To maximize benefits, maintain foot contact and guide the knee straight forward over the toes. Use a mirror or video to assess real-time form. Quality matters more than reps: controlled, precise motion builds functional mobility. Don’t rush; even small deviations like heel lift or knee drift diminish returns. Consistent, correct practice guarantees lasting ankle resilience and safer lower-body performance.
On a final note
You’ve seen how heel-supported dorsiflexion improves ankle mobility without sacrificing form. These drills enhance joint range while keeping the heel stable, which supports safer, more effective movement. For recovery, consistency matters more than intensity-daily practice with proper alignment yields better results than sporadic effort. Quality fitness gear, like supportive mats or structured ankle sleeves, can aid performance, but technique remains key. Over time, controlled mobility builds resilience, helping you move efficiently and avoid setbacks.