Adductor Squeezes Between Balls at Different Hip Angles for Groin Strain Recovery
You can speed up groin strain recovery with adductor squeezes using a ball at varying hip angles. Lying on your back, squeeze the ball between your knees to activate inner thigh muscles without stressing healing tissue. Adjusting hip flexion from 30–90 degrees lets you target specific adductors, while firm balls guarantee effective resistance. Avoid over-icing and allow rest for best results-mistakes here limit progress. Proper progression keeps gains on track.
Notable Insights
- Adductor squeezes with a ball between the knees enhance groin recovery by promoting blood flow and neuromuscular control without overloading healing tissue.
- Adjust ball placement and hip angle to target specific adductor muscles: higher flexion engages adductor magnus, while lower angles focus on longus and brevis.
- In early rehab, position the ball above the knees with hips at 90 degrees to safely activate adductors with minimal strain.
- Progress ball placement toward the upper thighs and reduce hip flexion as tolerance improves to increase adductor engagement and functional demand.
- Avoid soft foam balls and excessive ice; use firm resistance and allow 48 hours between intense sessions to prevent overloading and support tissue repair.
Why Adductor Squeezes Speed Groin Recovery

Recovery from a groin strain hinges on targeted, controlled activation of the adductor muscles-and that’s where adductor squeezes shine. You’re not just resting; you’re actively promoting muscle activation in a safe, measurable way. This controlled contraction helps restore neuromuscular signaling without overloading healing tissue. Plus, each squeeze gently increases blood flow to the area, delivering oxygen and nutrients essential for repair. Unlike aggressive stretches or load-bearing exercises, squeezes offer a low-risk stimulus that supports early-stage recovery. Fitness recovery gear like foam balls or inflatable spacers enhance this effect by giving consistent resistance across hip angles. These tools aren’t flashy, but their functional design makes them effective. When used correctly, they bridge the gap between immobilization and full activity. You maintain tone, minimize stiffness, and encourage circulation-all critical for a smooth return to movement. It’s simplicity with purpose.
How to Do Adductor Squeezes Right
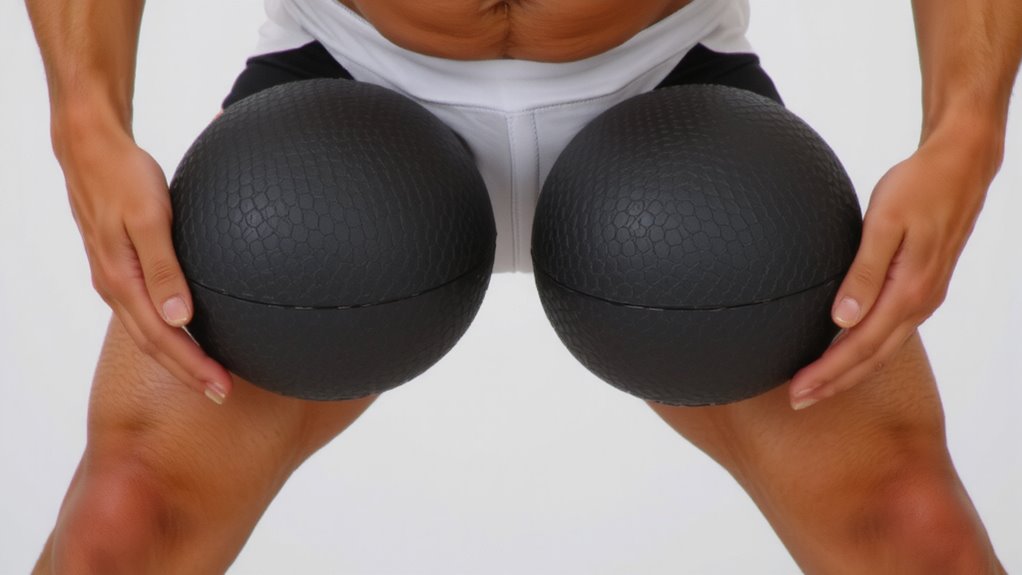
How do you make sure your adductor squeezes actually support healing instead of wasting time? It boils down to proper form and intentional muscle engagement. Lie on your back, knees bent, and position a ball between your knees. Squeeze slowly, focusing on using your inner thighs-not your hips or lower back. Hold for 3–5 seconds, then release with control. Avoid holding your breath or tensing unrelated muscles.
| Key Factor | Why It Matters |
|---|---|
| Proper form | Prevents compensation, targets adductors |
| Muscle engagement | Guarantees therapeutic activation, not just movement |
| Controlled tempo | Promotes joint safety and neuromuscular re-education |
You’ll get better results with mindful reps than endless sloppy squeezes. Quality matters because recovery isn’t just about doing the exercise-it’s about doing it right. Consistency with precision rebuilds strength where you need it.
Best Ball Positions by Rehab Stage
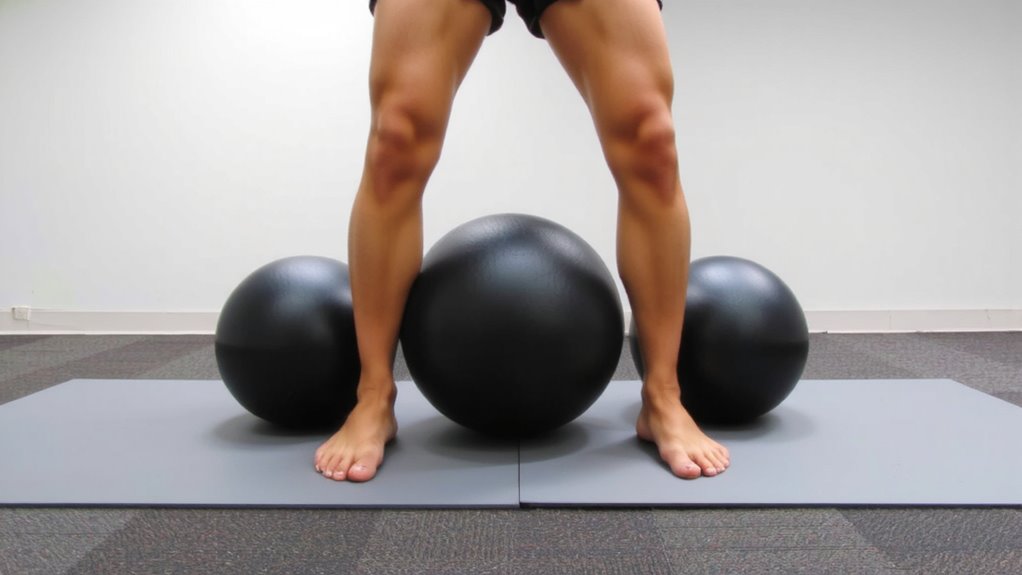
While your groin injury stage guides how aggressive you can be, the position of the ball during adductor squeezes plays a surprisingly big role in effectiveness. In early rehab, place the ball just above the knees with hips at 90 degrees-this reduces strain while promoting proper hip alignment and gentle activation. As healing progresses, move the ball closer to the thighs for increased adductor engagement without compromising form. Your ball placement should match symptom tolerance and functional goals. For advanced stages, try a narrower squeeze near the upper inner thighs to challenge strength, but only if pain-free. Throughout, maintain neutral pelvis positioning to guarantee peak hip alignment. Effective recovery relies not just on repetition, but on strategic ball placement that evolves with your rehab phase.
Which Hip Angles Work Each Part of the Inner Thigh
Why do certain hip angles feel more effective during adductor squeezes? Because they selectively engage different parts of your inner thigh. At 30–45 degrees of hip flexion, you’re hitting the adductor longus and brevis-key for medial stability. These fibers respond well to moderate angles, especially when using a small ball. Push to 60–90 degrees, and you increasingly recruit the adductor magnus, which works more in deeper ranges. This shift matters due to anatomical variations-some people naturally have longer tendons or altered pelvic tilt, changing which fibers activate. Muscle synergists like the gracilis and pectineus assist differently depending on the angle, altering force distribution. Higher hip flexion increases posterior adductor engagement, useful post-initial strain. Choosing the right angle isn’t just comfort-it’s precision. Matching the angle to your rehab stage and structure guarantees efficient, balanced recovery without overloading healing tissues.
Fix These Mistakes That Slow Healing
You’ve likely been told to squeeze a ball between your legs to rehab a groin strain, and maybe you’ve even picked the hip angle that targets the right adductor fibers-great. But if healing feels slow, check your recovery habits. One common mistake? Overdoing ice frequency-more than three times daily can restrict blood flow and delay tissue repair. You don’t need ice after every squeeze session unless there’s active swelling. Equally, skimping on rest duration sabotages progress. Each set should be followed by at least 48 hours before re-challenging the same intensity, giving fibers time to adapt. Performing squeezes daily without sufficient rest leads to overload, not healing. And while soft foam balls feel comfortable, they often lack the density to provide meaningful resistance, slowing strength gains. Use a firm ball, apply ice only when needed, and respect rest duration. Your recovery depends not just on exercise form, but on smart, balanced recovery choices.
When to Make Squeezes Harder (Safely)
How do you know when it’s time to ramp up the intensity of your adductor squeezes? You’re ready when you can perform your current sets with control, minimal fatigue, and no pain-clear signs your groin is adapting. Progress tracking is key: log reps, sets, and perceived effort weekly to spot trends. If sessions feel too easy for two consecutive days, it’s likely time for resistance progression. Start by slightly increasing ball firmness or using a thicker resistance band between your legs. Avoid aggressive jumps in load, as that raises reinjury risk. Instead, opt for gradual upgrades every 7–10 days, depending on tolerance. Quality over speed matters-maintain proper hip alignment and full muscle engagement. This measured approach guarantees strength gains align with tissue healing, making your recovery both efficient and sustainable.
On a final note
You’ll speed recovery best by doing adductor squeezes correctly and progressively. Using a ball at varied hip angles targets specific inner thigh fibers, boosting strength where you need it. Start gentle, then increase resistance as healing allows-too much too soon risks setbacks. Pair smart technique with consistent, stage-appropriate positioning, and you’ll rebuild resilience. This simple, gear-light method works because it’s biomechanically sound and adaptable to real rehab needs.